
The short version
Draw the outer walls before you decorate, roof the shell before you furnish, and budget for a bed, fridge, stove, toilet and shower before you place the pretty stuff. A basic two-bedroom starter runs roughly 20,000–40,000 Paradimes depending on finish level.
- Simple empty terrain is the fastest practice lot — no Paras required
- Plan bedrooms and bathrooms with interior walls before paint and flooring
- Roof in one or two pieces, then drag the edges out for a slight overhang
- Run the house-needs checklist on the budget tool before you save
Step 1–3
Plan the footprint
Rooms cannot move once drawn, so get the shape right on an empty lot before you touch paint or furniture. A simple rectangle with one interior wall for a bathroom is enough for a first home.
- 1
Start on an empty lot
From the main menu pick Simple Empty Terrain for a free practice box, or buy any vacant lot on the map if you are building for an active household. Click the house icon in the bottom-left corner to enter build mode — no loading screen either way. If this is your first time in the toolbar, read the full build mode tutorial for autosave and grid settings before you draw anything permanent.
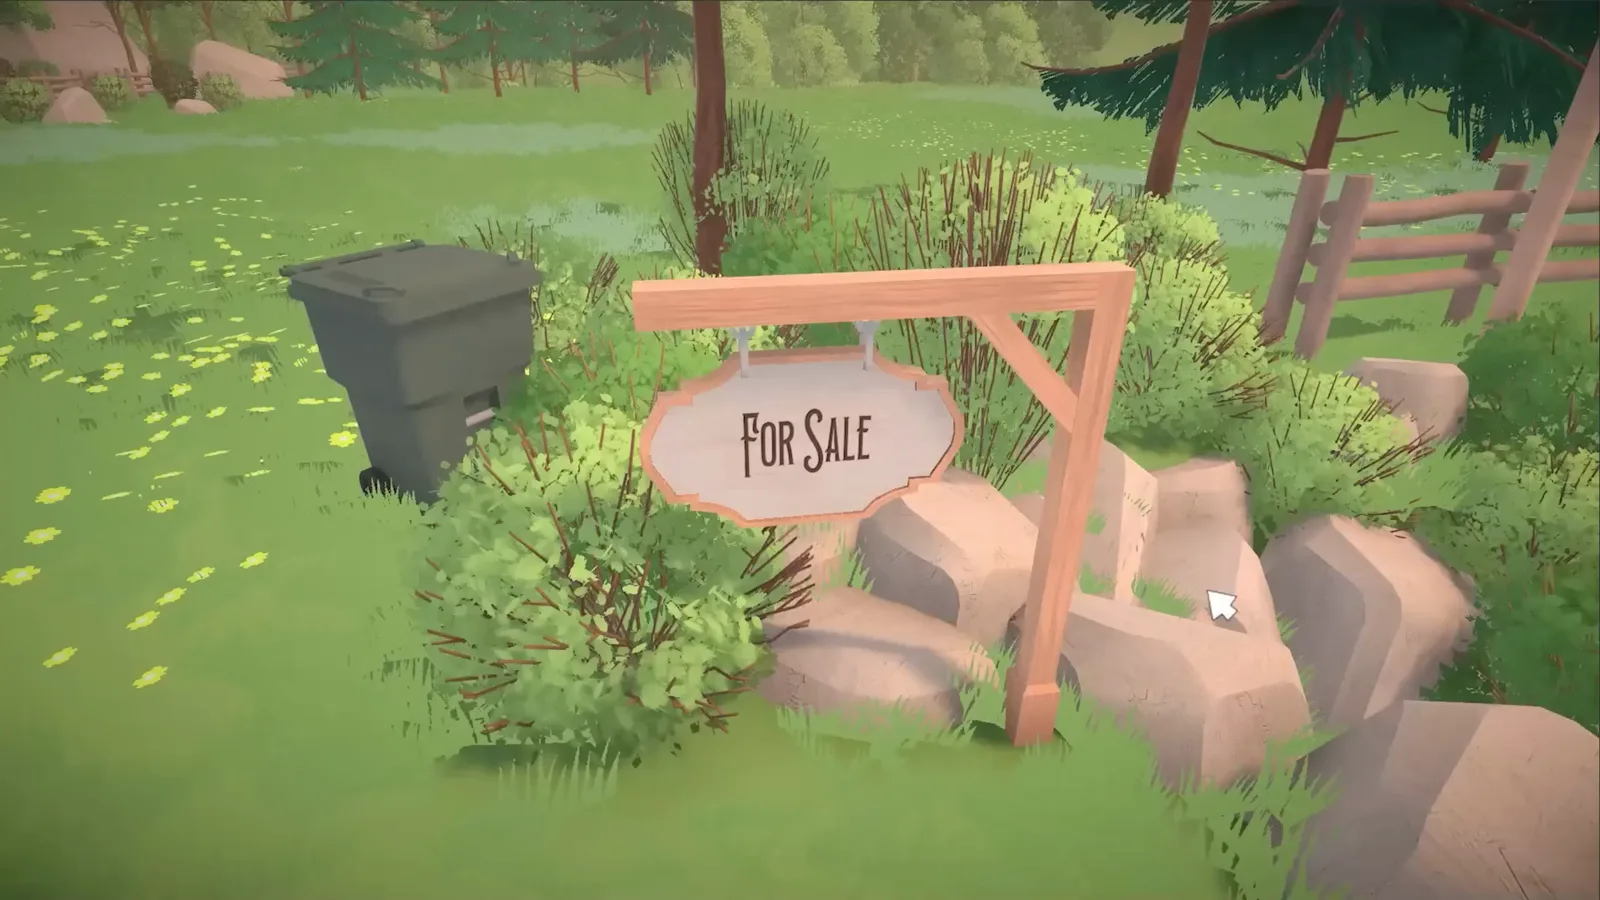
Simple empty terrain skips household setup — straight into build mode.Watch at 0:00 - 2
Draw the outer walls first
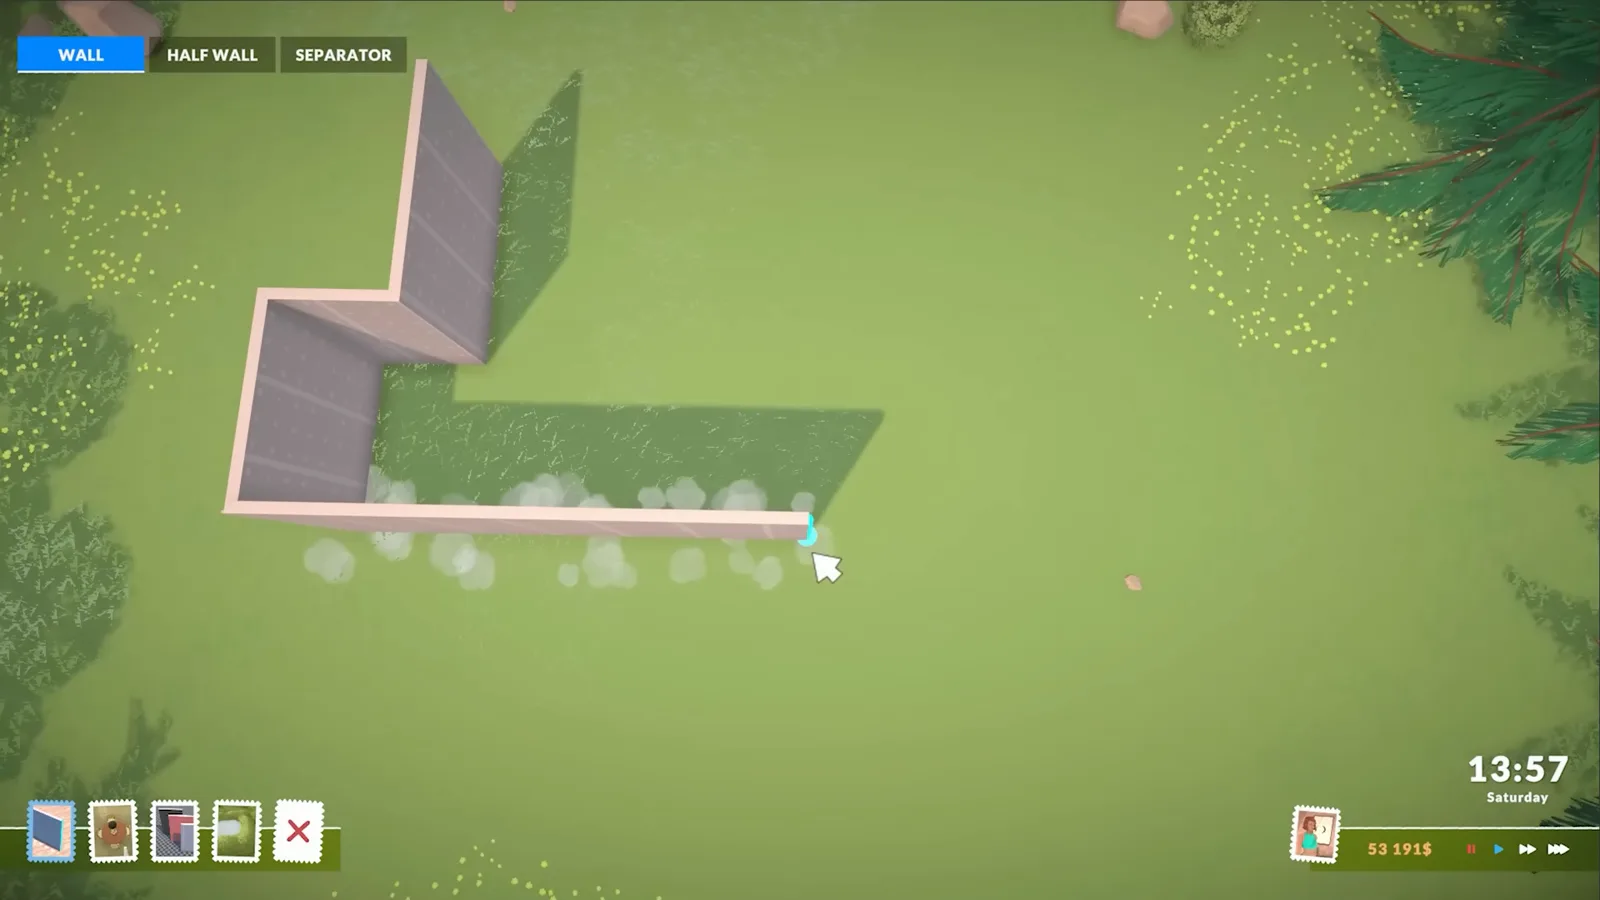
Select full walls and drag a rectangle on the grid — one metre per tile, half-metre steps with Shift held. Keep the first build square and on 90° angles; angled walls are harder to resize later. Do not furnish yet: the footprint is fixed once the room exists, although you can drag a single wall to enlarge one side.
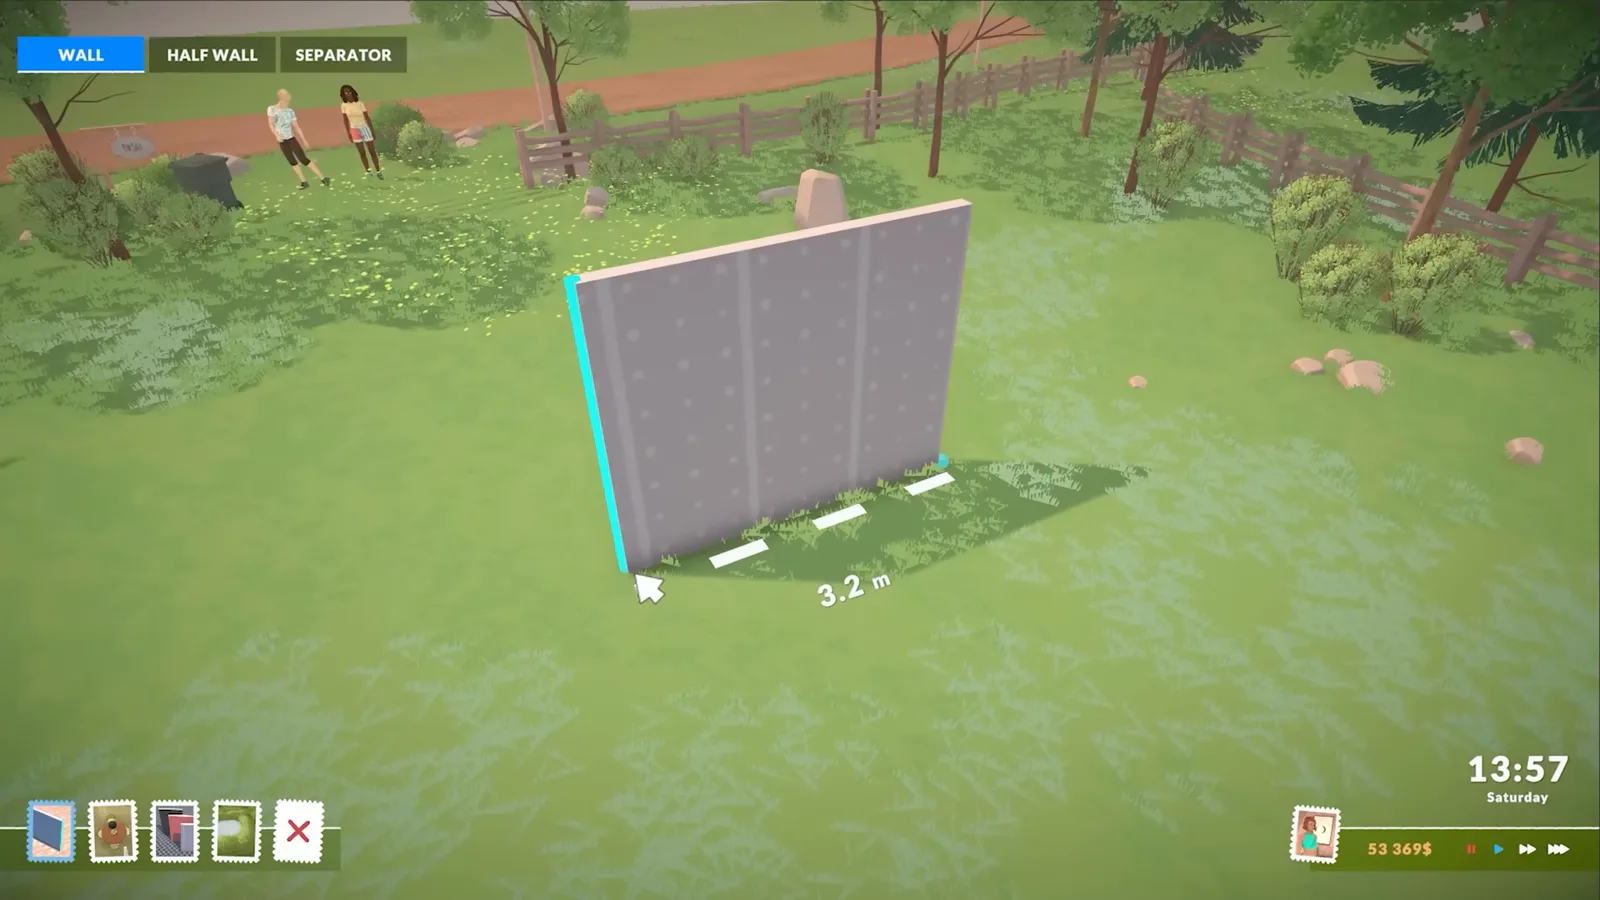
Outer shell first — interior walls come next.Watch at 0:30 - 3
Split the floor plan with interior walls
Add walls inside the shell for a bathroom, bedroom and open living area. A starter home for two Paras needs at least one bedroom and one bathroom; put the plumbing cluster on an interior wall so you only run pipes once. Toggle wall visibility with Home / End if the cutaway view blocks a corner.
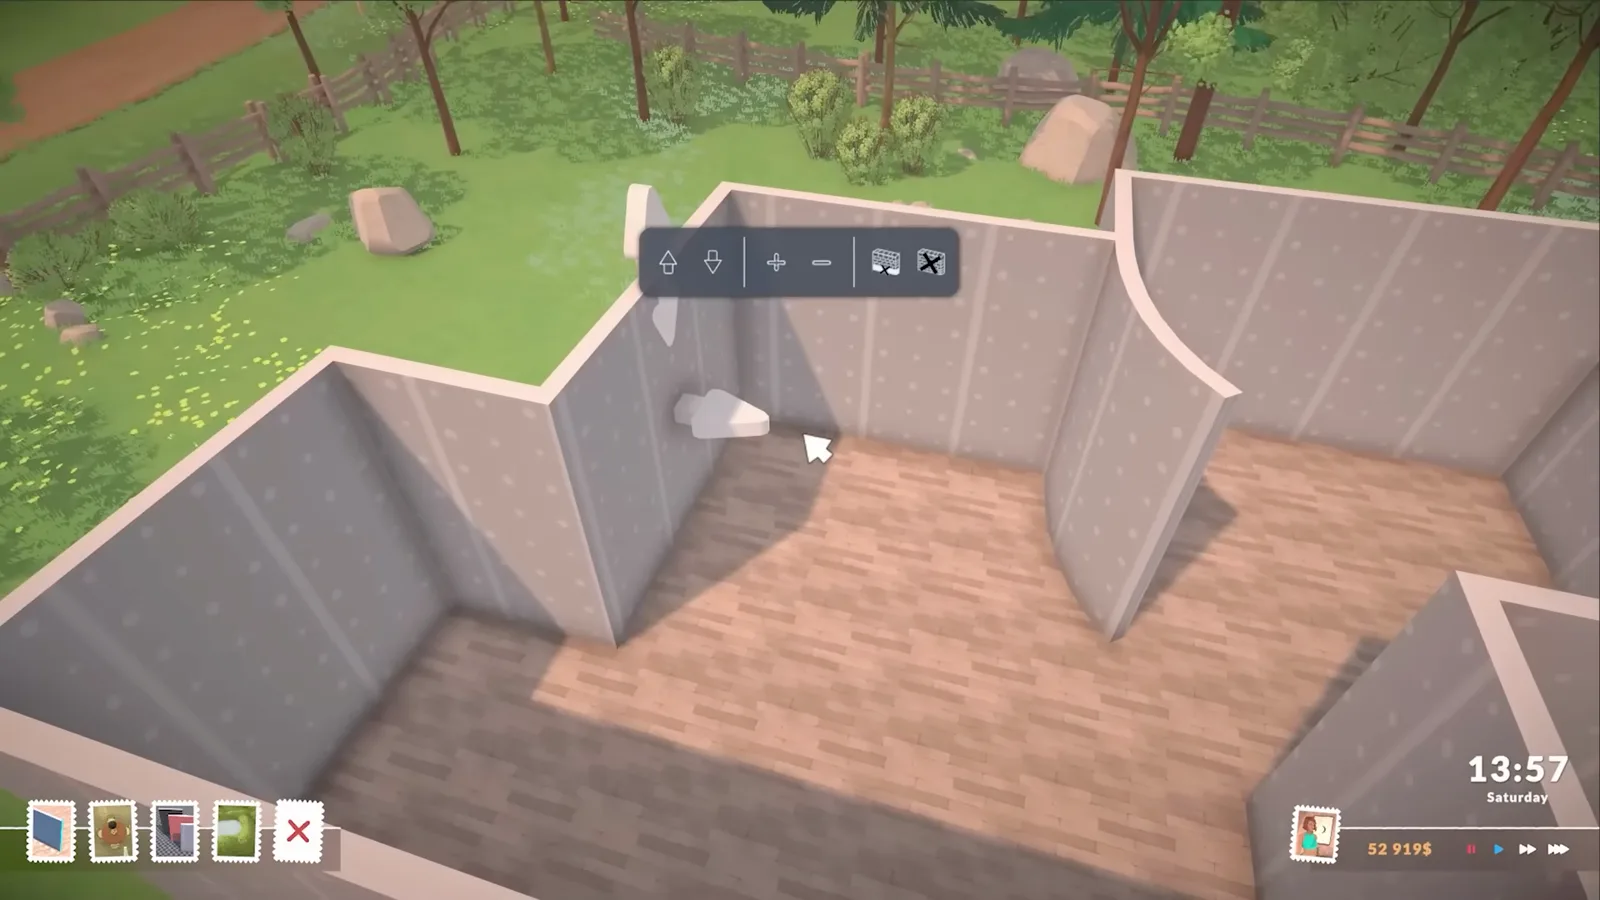
Three zones — living, bed, bath — from one interior wall run.Watch at 1:00
Step 4–5
Exterior and floors
Exterior siding and floor paint read as finished long before the furniture arrives. Split kitchen tile from living-room wood now — separators are only needed if you want different wall colours in the same open space.
- 4
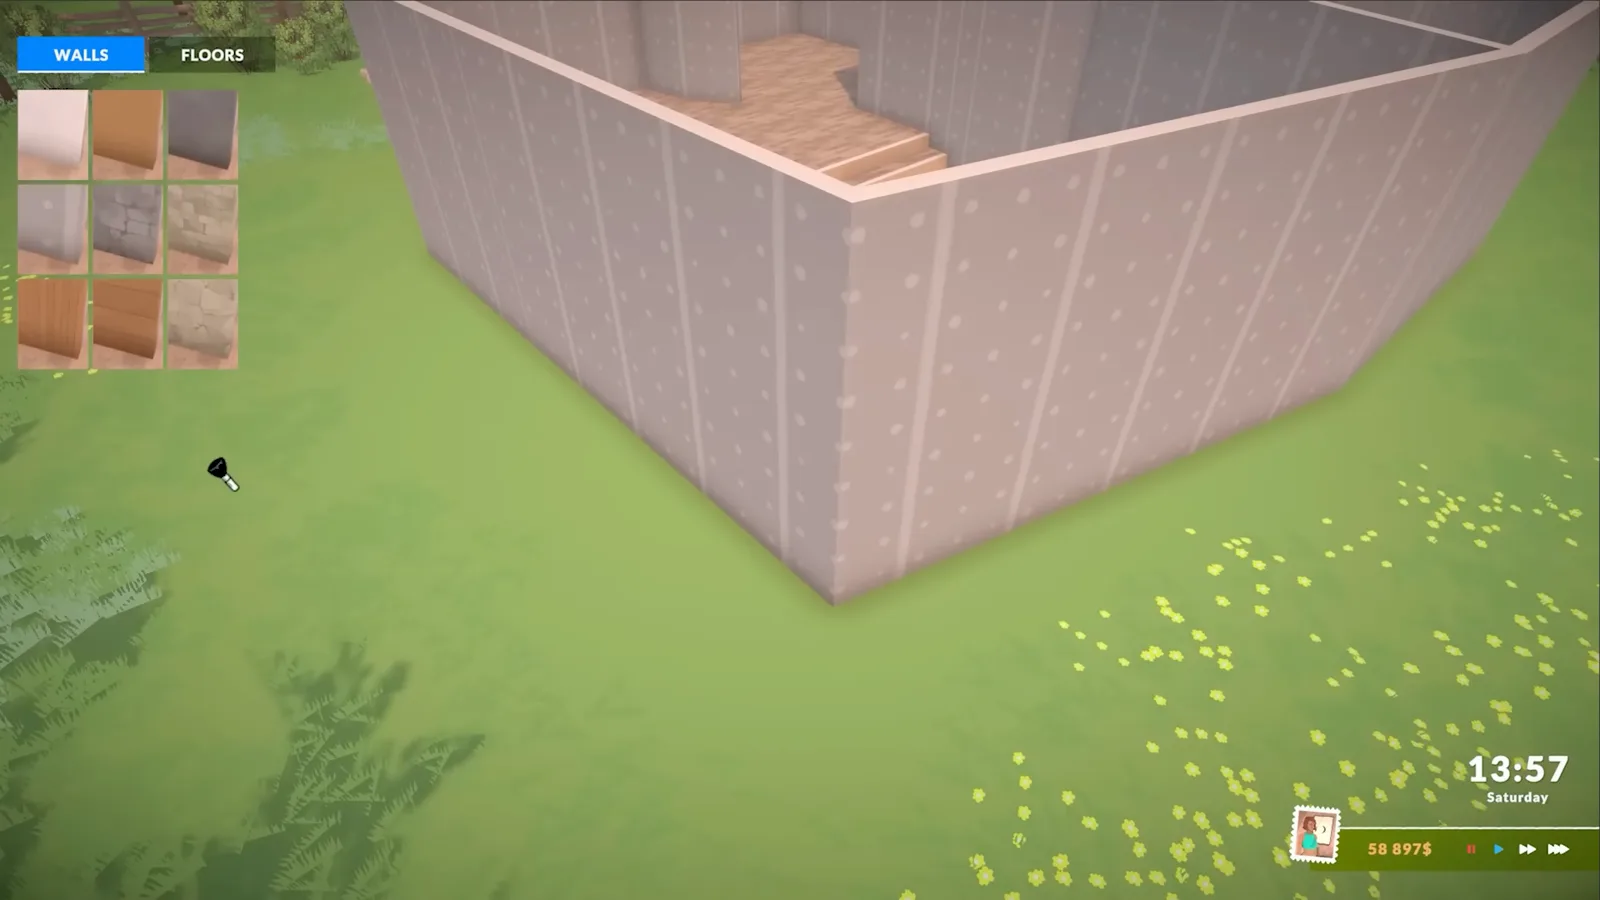
Exterior face only — save wallpaper for the inside.Watch at 1:40 - 5
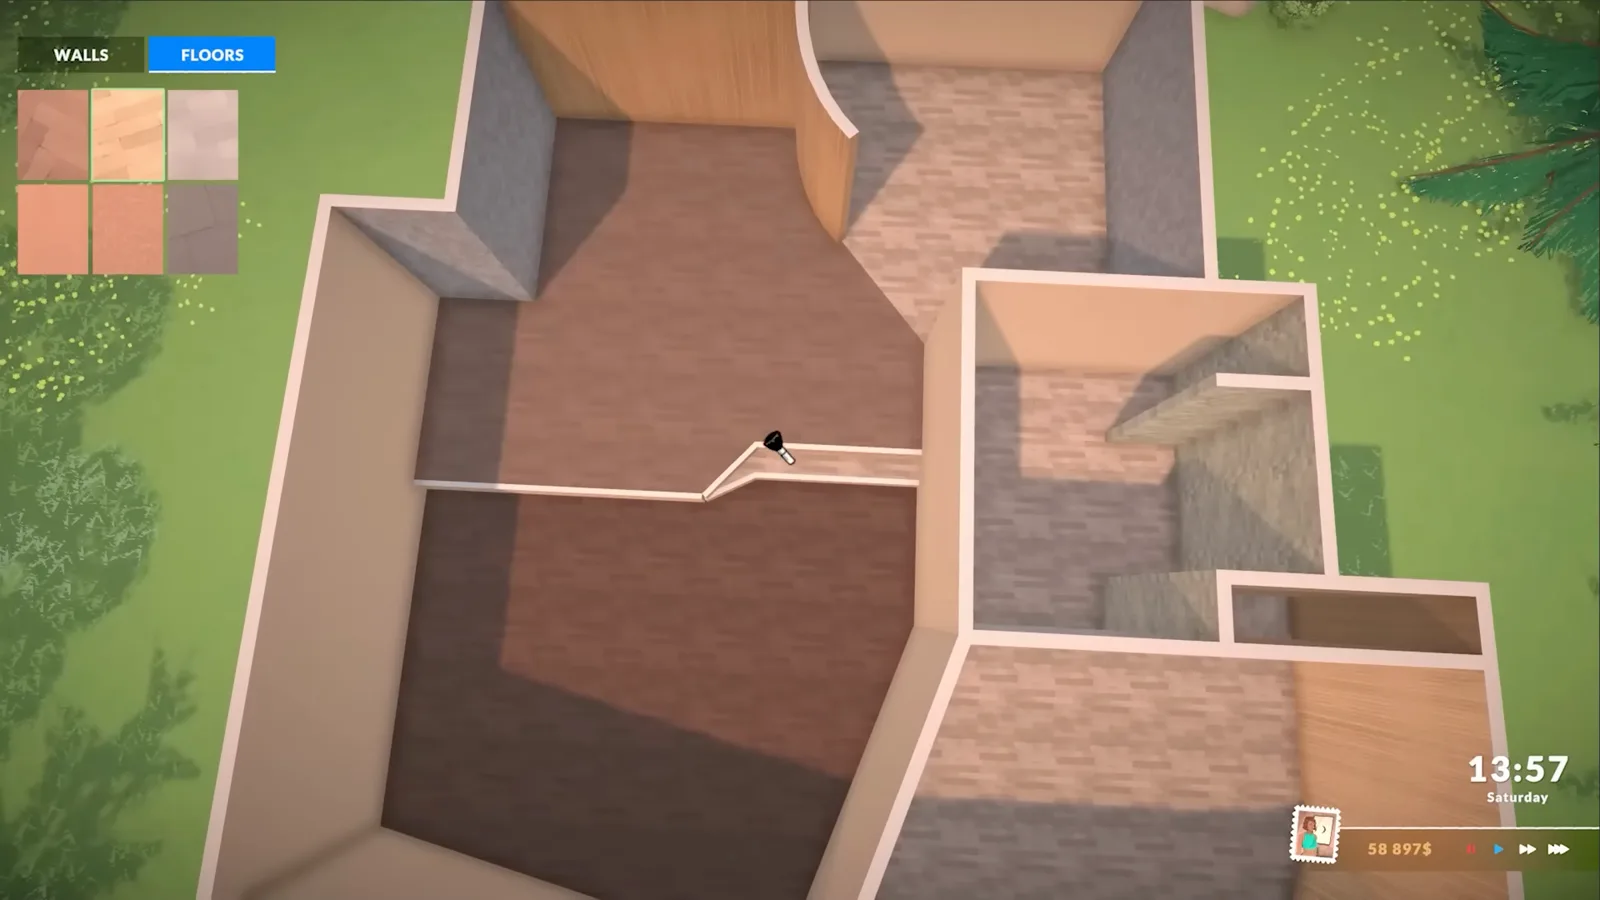
Tile where spills happen; wood where people sit.Watch at 2:00
Step 6
Doors and windows
Cut the openings before you spend on couches. Windows resize freely; doors need the inside/outside flip right so the lock faces the room.
- 6
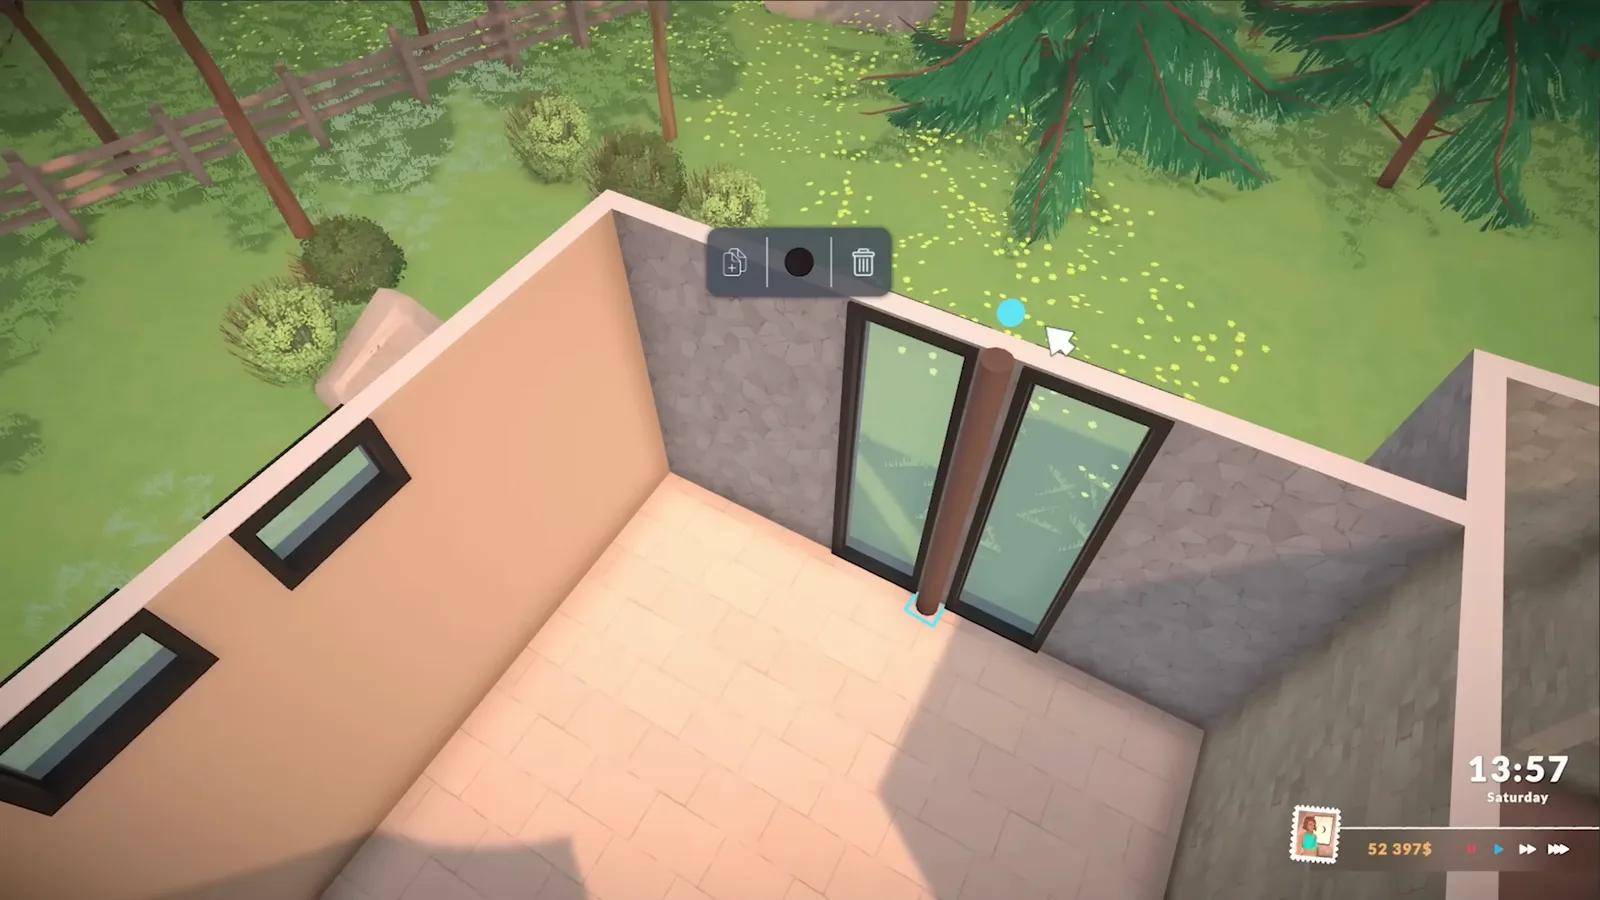
Switch side of item on wall — not flip — for interior doors.Watch at 3:32
Step 7
Roof the shell
Open the roof tab, drag a gabled piece across the footprint, then pull the edge handles out for a slight overhang — the default sits flush against the walls.
- 7
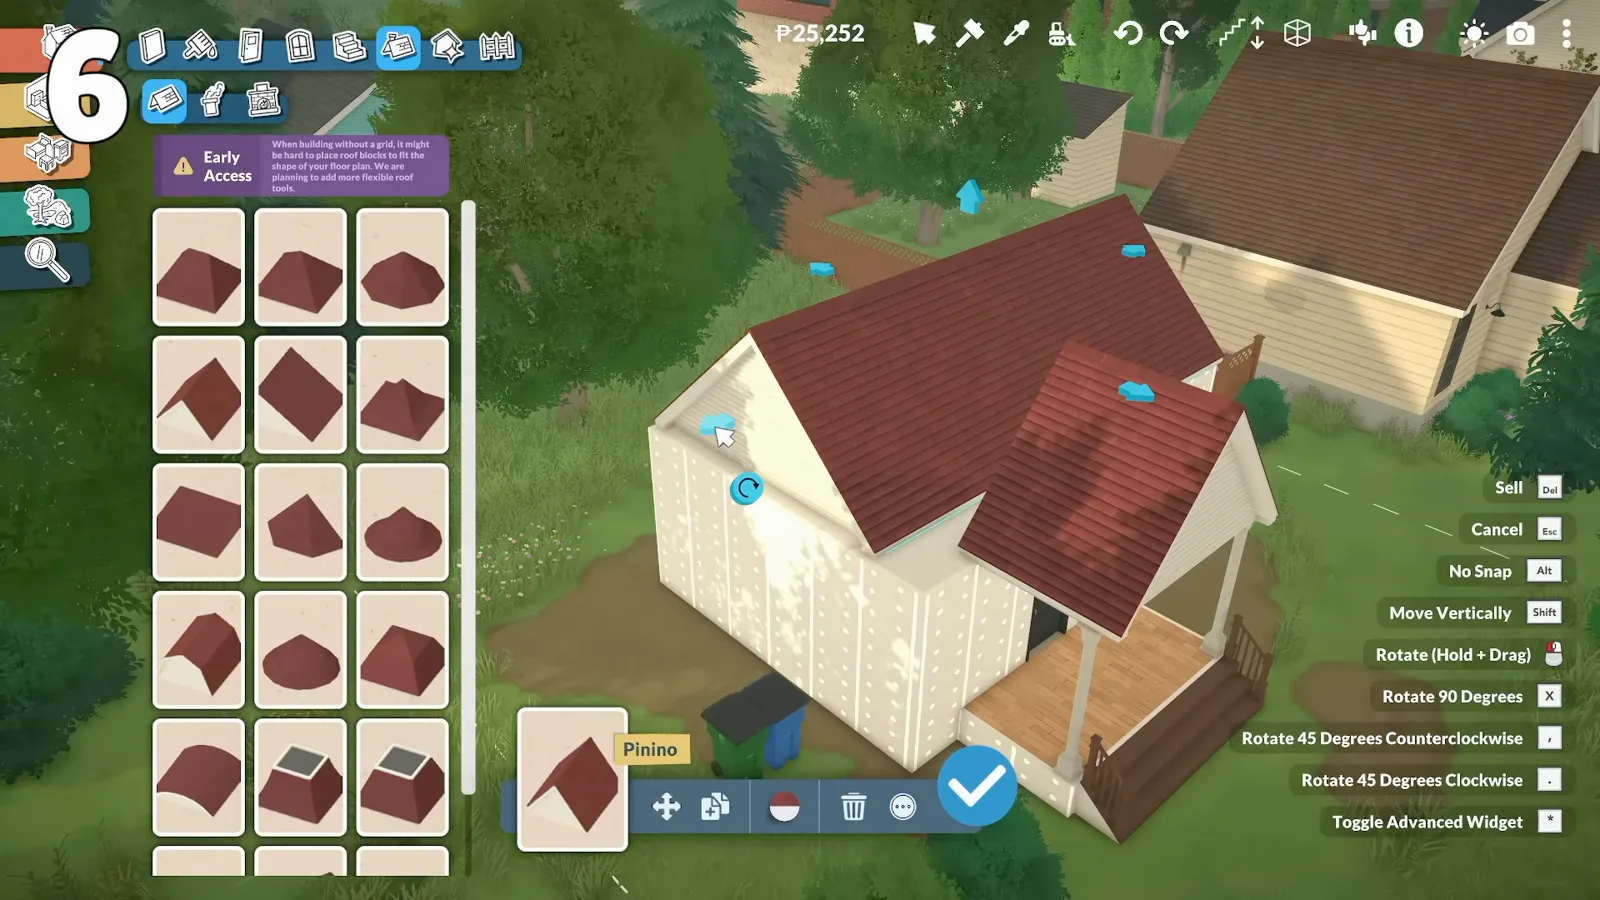
Drag the edges out — overhang is manual in Early Access.Watch at 4:46
Step 8
Kitchen essentials
Hunger and cooking need three objects minimum: fridge, stove and counter space. Place them before you worry about decor — Paras will walk past a bare bedroom to reach a missing fridge.
- 8
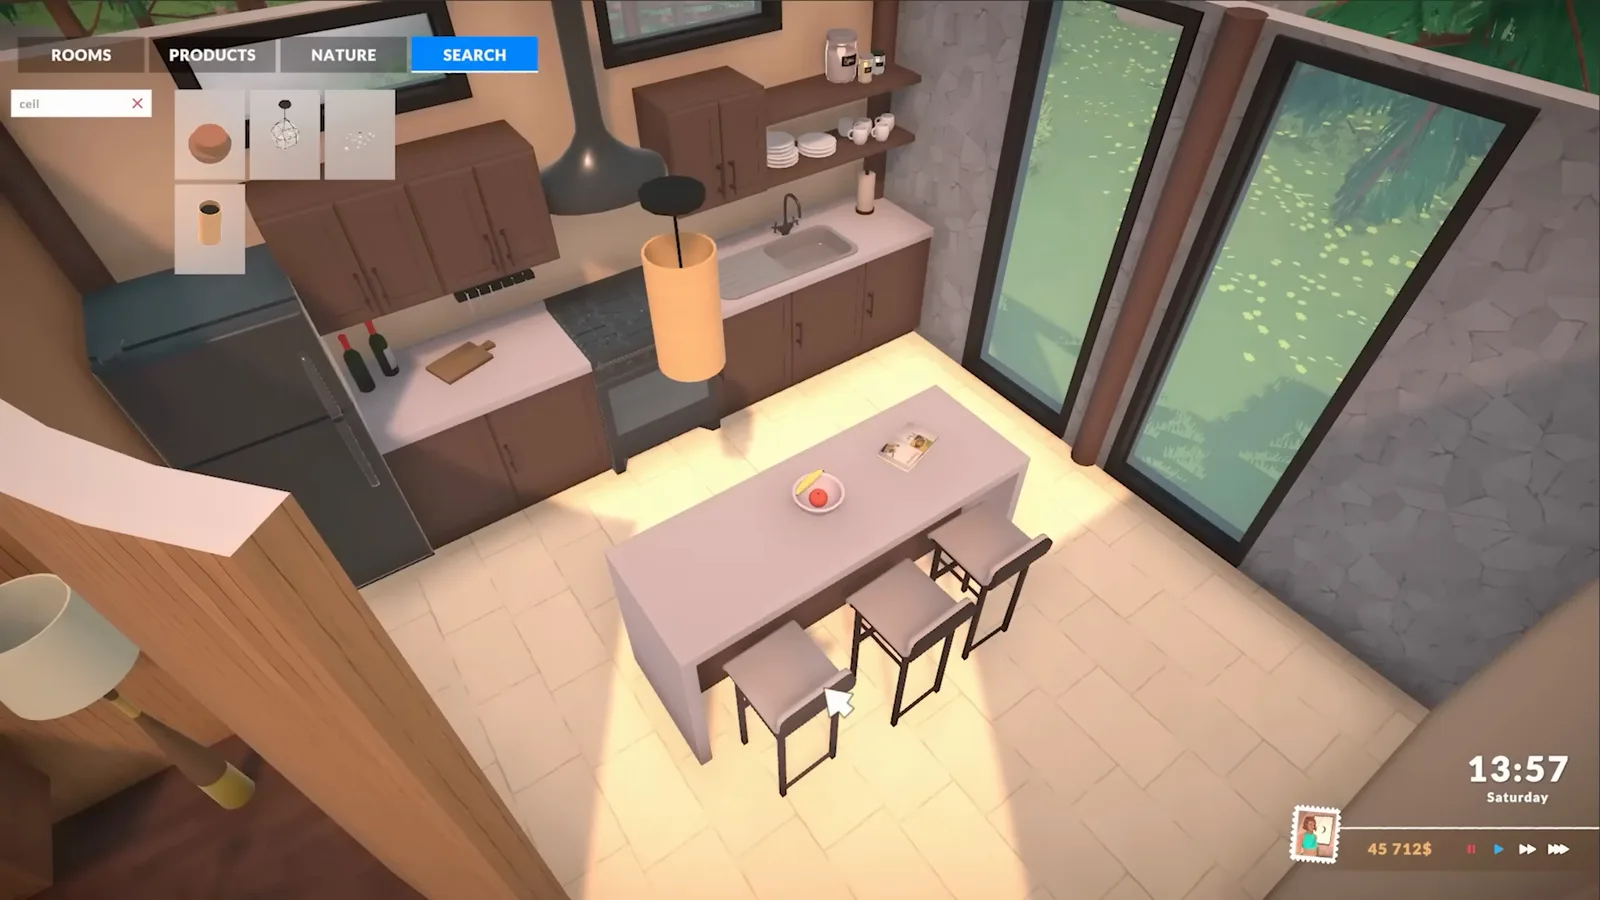
Fridge, stove, counter — the hunger trio.Watch at 7:28
Step 9–11
Beds, dining and move-in
One bed per Para, a table with chairs, and a quick top-down check that every room has a light. Then save and switch to live mode — or run the needs checklist one last time if you are unsure.
- 9
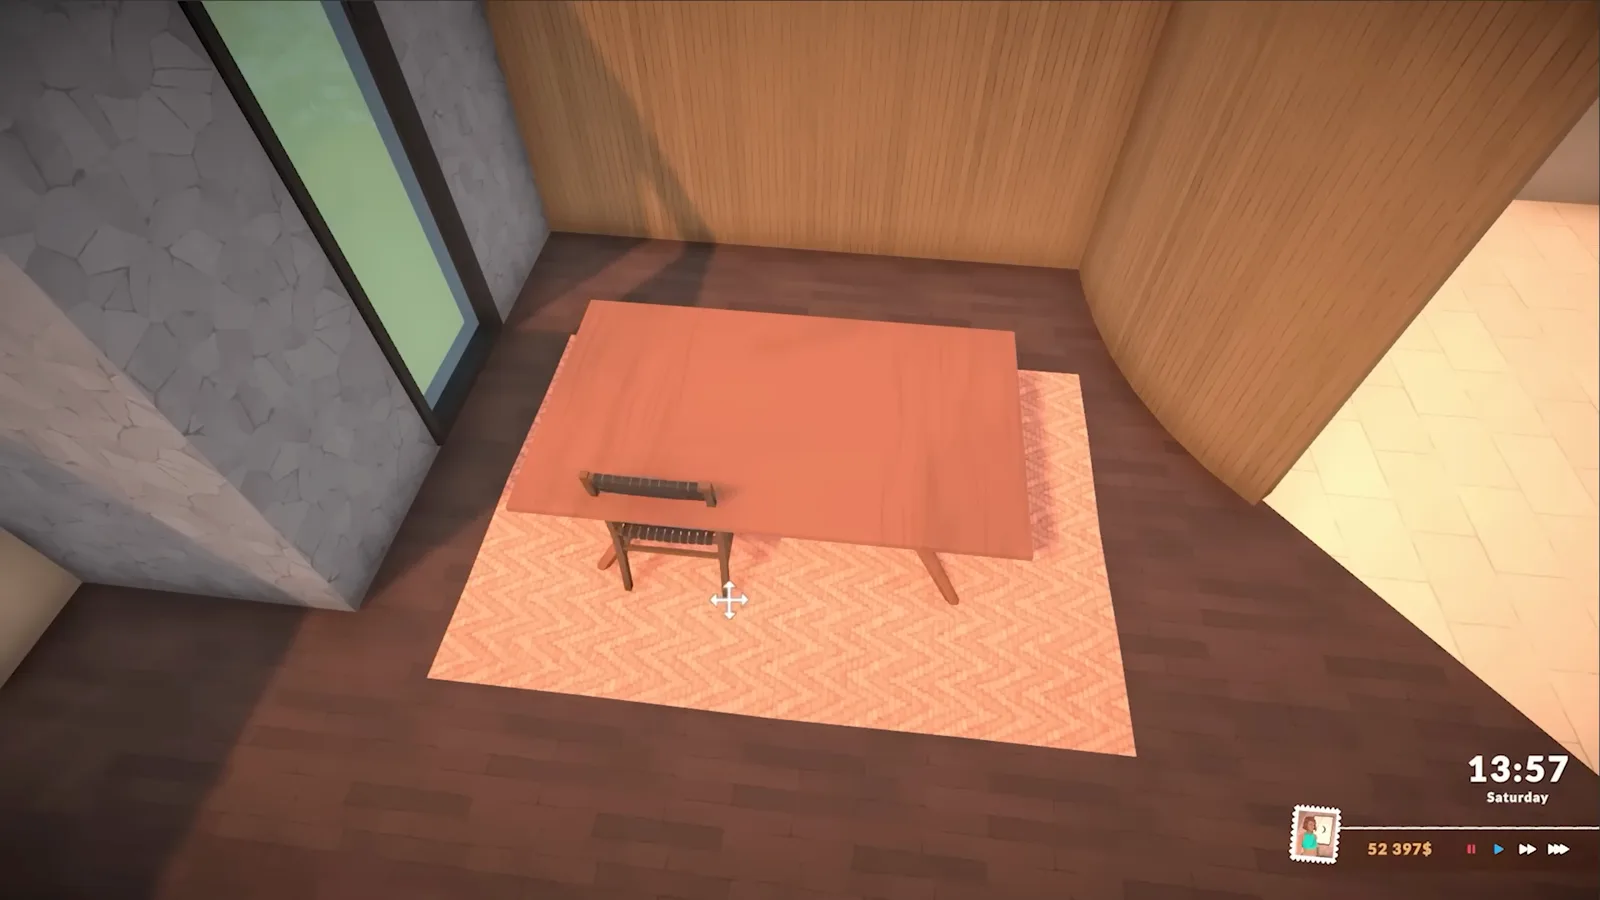
One chair per Para at the table.Watch at 4:28 - 10
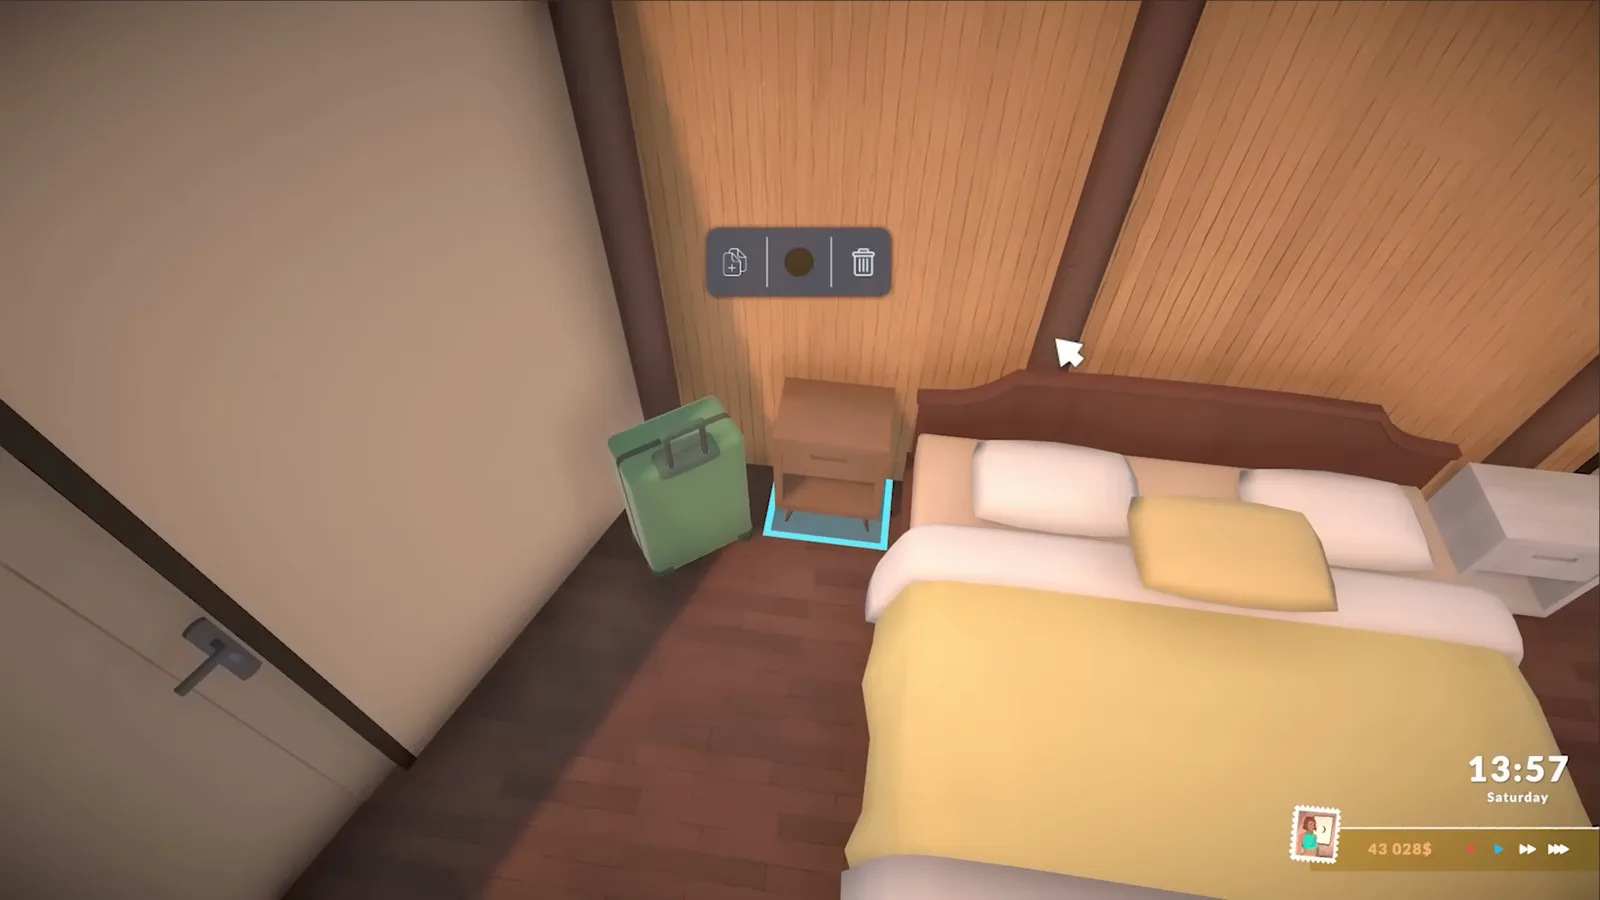
One bed each — energy need will not wait for decor.Watch at 8:40 - 11
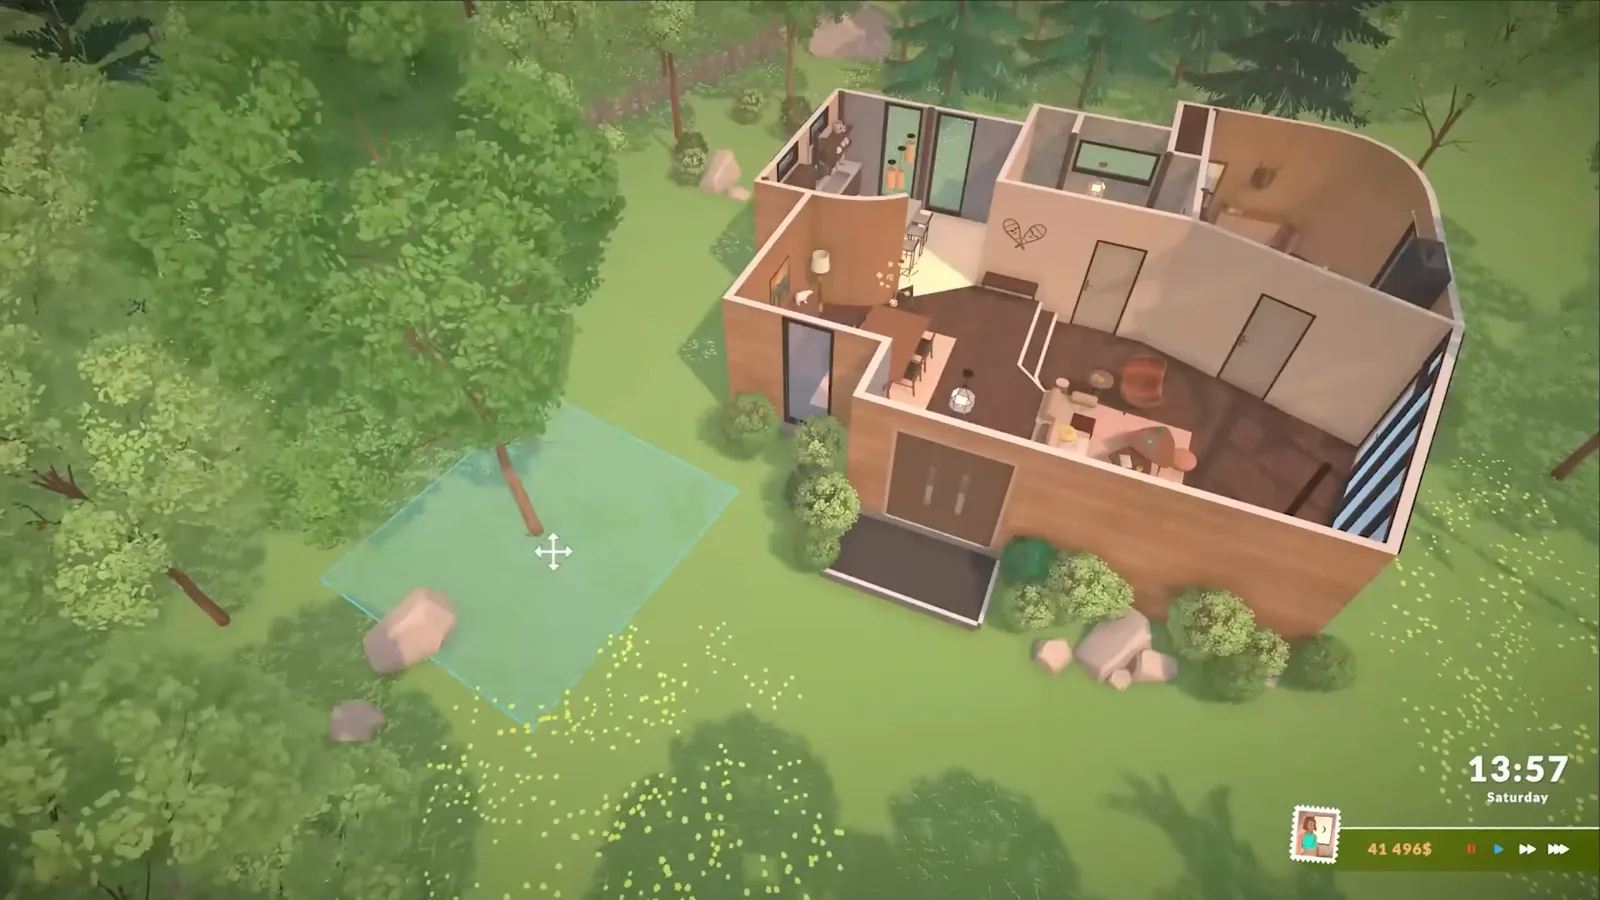
Top-down pass catches missing doors and dark rooms.Watch at 10:00
Starter home questions
- How much does a starter home cost in Paralives?
- There is no fixed price — it depends on size and finish. A basic two-bedroom starter with modest furniture typically lands around 20,000–40,000 Paradimes. Use the build budget calculator to estimate your layout before you place walls, and copy SETMONEY if you are practising on an empty lot.
- What does a Paralives house need before live mode?
- At minimum: one bed per Para, a fridge, a stove or oven, a counter, a toilet, a shower or tub, a sink, a dining table with chairs, and lights in every room. The house-needs checklist on the build budget page lists nice-to-haves like a TV or skill object.
- Should I build on simple empty terrain or a real lot?
- Simple empty terrain is best for learning — no household money deducted and no Paras to worry about. When you are ready to play, buy a vacant lot in Melino and rebuild the same floor plan, or save the lot to your library and place it on an owned empty lot.
- How is this different from the full build mode tutorial?
- The tutorial covers every tool — autosave, separators, terrain sculpt, the lot library. This page skips straight to a playable floor plan: footprint, roof, openings and the furniture Paras need on day one. Read the tutorial first if build mode still feels unfamiliar.
- Do I need a foundation for a starter home?
- Not for a flat single-story box on level ground. Foundations matter once you want a raised porch or split level — see the foundations and rooms guides for the separator workaround.
Keep building
Full build mode tutorial
Seventeen steps through every tool — settings, separators, terrain and saving lots.
Rooms explained
Why there is no foundation button and how separators split zones for paint.
Roofs guide
When roof pieces fight each other and how to patch a missing ceiling.
Build budget calculator
Paradimes estimate plus the house-needs checklist and SETMONEY cheat copy.
15 build mode tips
Same-height cloning, colour codes and the tricks that save a rebuild.
All build guides
Stairs, porches, curved walls and the rest of the build cluster.