
How to read this page
These six layouts are editorial suggestions, not game mechanics — Paralives has no room requirements or budgets to satisfy. Each breakdown names the rooms, the circulation and the reasoning, and every screenshot is a real in-game frame already on this site, described exactly as it shows. We skip budget figures because there is no verified cost data to quote.
Build idea 01 — small and smart
The starter home: one storey, room to grow
Start with the cheapest usable plan: a single rectangle with one strategic notch. The notch is the whole trick — it gives the entrance a windbreak and the bathroom its own wall, while keeping the roof a simple gable. Build order: shell first, then one bathroom, one combined living-kitchen, and a bedroom nook at the quiet end.
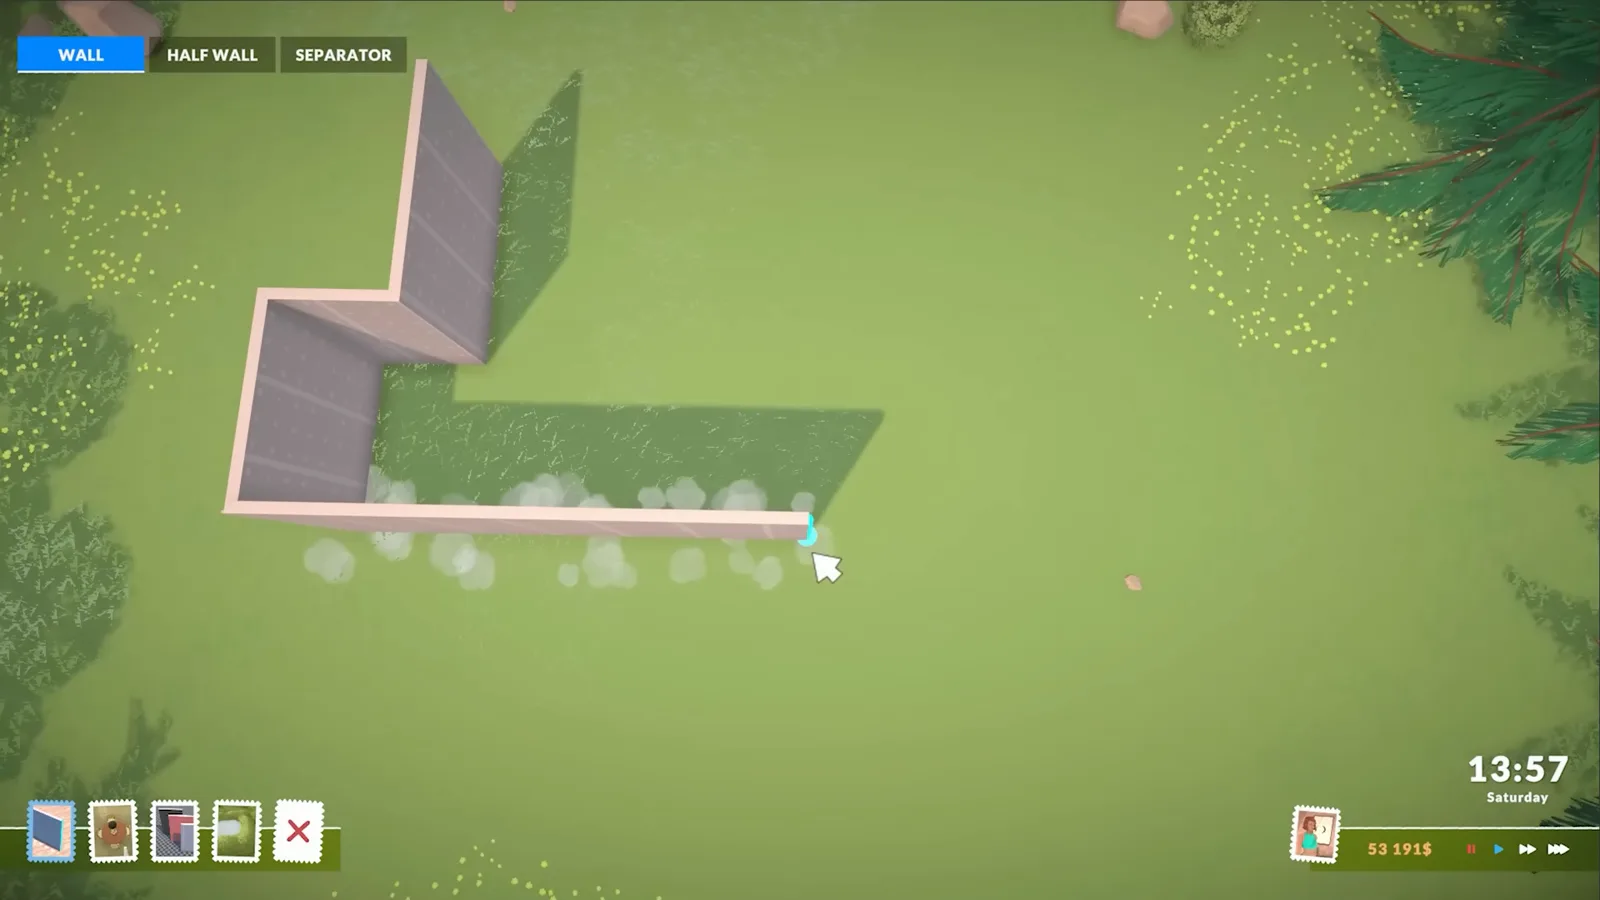
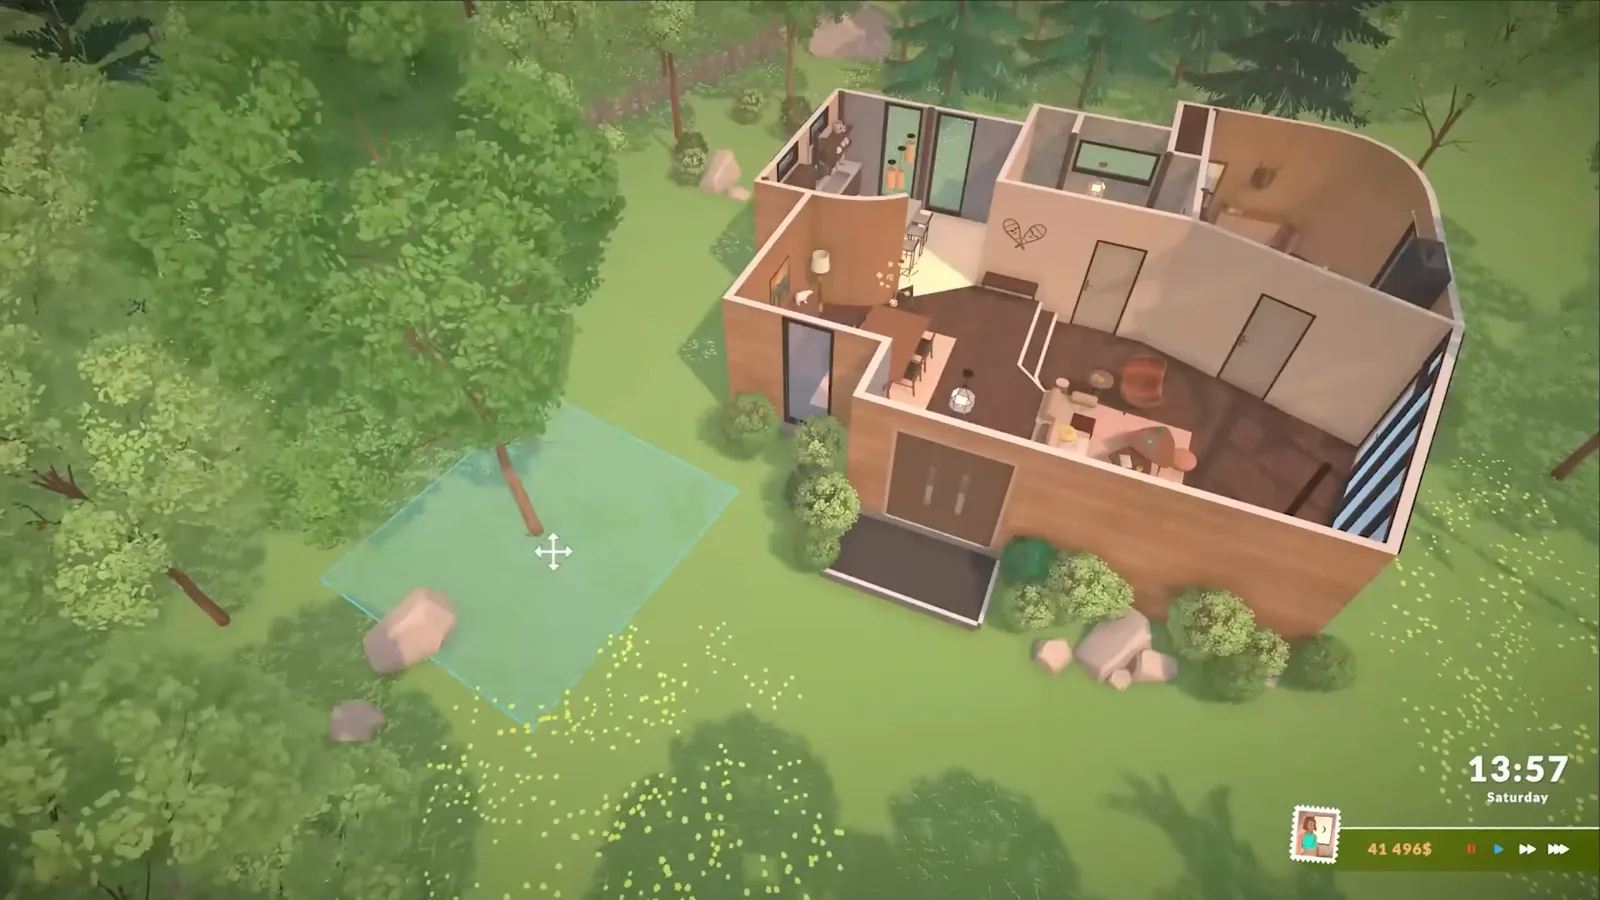
Why it works: Paras path door-to-destination, so a shallow rectangle never wastes steps. Keep the bedroom door off the living room and put the kitchen on the entrance wall — groceries and guests both stop at the edge of the plan instead of crossing it. When money flows later, the notch side takes the extension without touching the roofline.
Room list
- Combined kitchen and living room on the entrance wall
- Bedroom nook at the far end, door off the living space
- Bathroom tucked into the entry notch
- No hallway — the rectangle is the hallway
- Porch step at the notch for arrival space
Build idea 02 — open plan
The family home: an L-kitchen that runs the plan
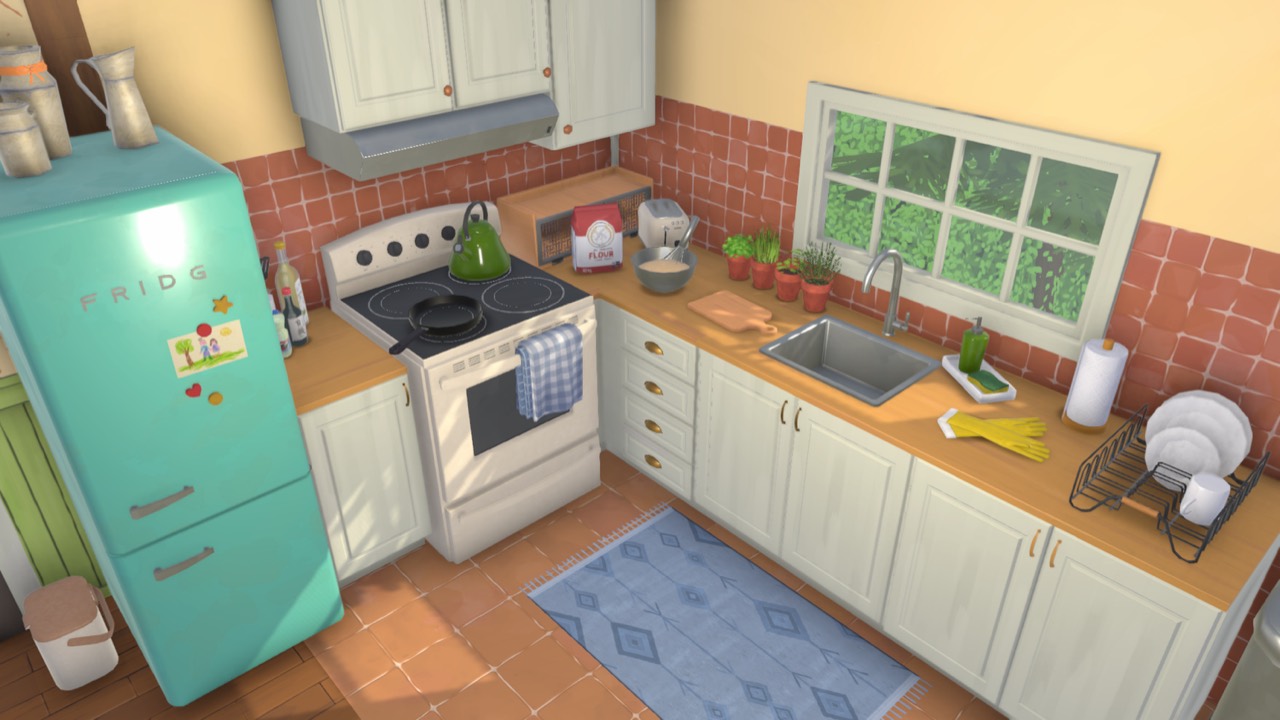
Put the kitchen where the whole floor can see it. An L-shaped counter along two walls — fridge at one end, stove and sink on the window leg — leaves the middle of the plan free for a dining table that doubles as homework central. The living room then wraps around the far side of a half wall or wide opening, so sightlines stay open while the zones stay separate.

Why it works: the cook never faces a wall, the table sits between kitchen and living room as the natural meeting point, and the back of the plan absorbs bedrooms and a bathroom without corridors. Give the fridge the corner nearest the door and nobody crosses the cooking triangle with muddy shoes.
Room list
- L-kitchen: fridge, stove and sink on two walls
- Dining table within two steps of the stove leg
- Living room beyond a half wall or open doorway
- Bedrooms along the back of the plan
- Bathroom off a short hallway stub
Build idea 03 — cozy core
The cottage: living room in the middle, everything orbits it
Flip the usual plan: make the living room the center of gravity instead of the kitchen. Fireplace wall on one side, reading chair by the window, and the staircase rising straight out of the living volume — so the second floor costs no hallway at all. Kitchen and dining share the back half in one long band.
Why it works: stairs eat floor area, but only when they need walls around them. A stair that opens directly into the living room steals nothing, and the room it serves becomes the reason the plan hangs together. Keep the ceiling generous over the stairwell and the cottage stays small without ever feeling cramped.
Room list
- Central living room with a fireplace wall
- Staircase opening directly into the living volume
- Kitchen and dining band across the back
- Bedrooms upstairs, reached without a hallway
- Coat hooks by the entry door
Build idea 04 — one big room
The chalet retreat: a great room does everything
Vacation builds live or die by the great room. Make it double height, push the seating toward the view wall, and let the dining corner share the same light. Paralives' modular seating is the cheat code here — the lounge re-forms around the fireplace, the TV or the board game without moving a single wall.

Why it works: a retreat is about gathering, so give gathering the best room and shrink everything else to bunks and a bathroom. A sleep loft over the great room keeps the footprint tiny, and the saved budget goes into windows — the only luxury a view actually needs.
Room list
- Double-height great room toward the view wall
- Modular sectional that re-forms around the fireplace
- Dining corner sharing the same light
- Sleep loft over the great room
- Bunk room plus one bathroom
Build idea 05 — house on a hill
The split-level family house: two half storeys beat one
On sloped lots, stop fighting the grade. Sink half the plan half a level and let a short flight connect the lower entry and family room to the raised kitchen-dining level above. Bedrooms take the true second floor. Each stair run is so short it melts into the floor plate.
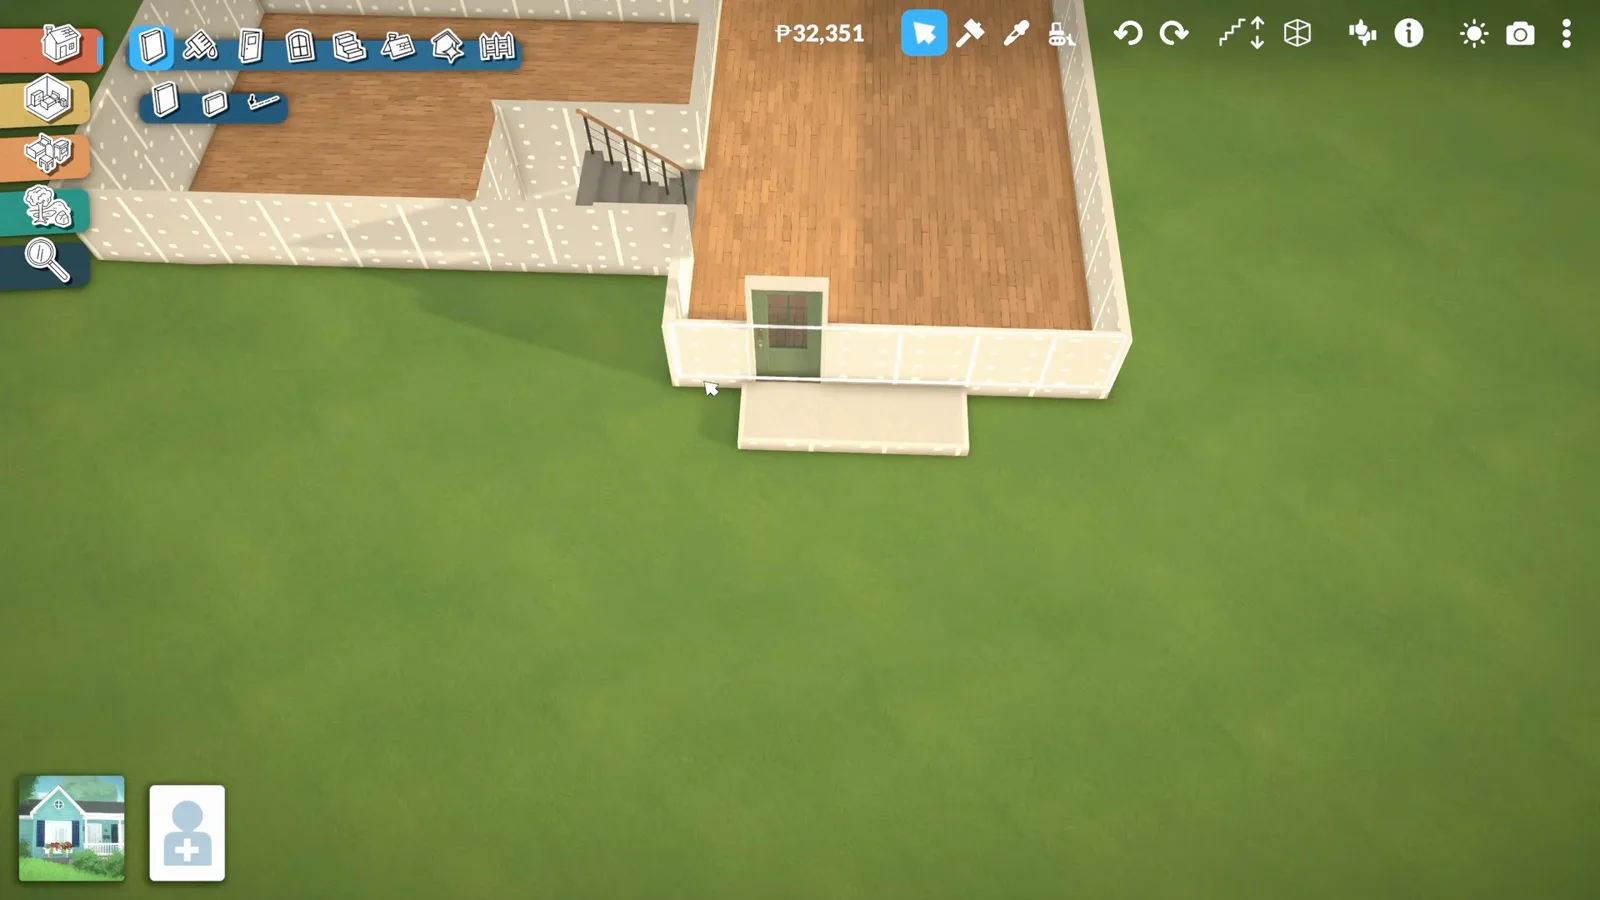
Why it works: the house reads as one storey from the street yet gains a bonus level inside, and the lower floor opens onto the garden like a walk-out basement — the closest Paralives gets to one until basement tools ship. Our split-level tutorial builds the whole thing; here, steal the plan logic: loud zone low, quiet zone high, kitchen in the middle.
Room list
- Lower level: entry, family room, walk-out to the garden
- Half flight up: kitchen and dining at garden grade
- Full second floor: bedrooms
- Short stair runs instead of corridors
- Terrace on the lower roof, if you dare
Build idea 06 — plan first
The blueprint-first tiny home: trace, then tweak
The only build that starts on paper. Drop a real floor-plan image onto the lot as the Workshop's customizable carpet, scale it with the arrows, and trace walls over it. A one-bed plan — bath, kitchen, living — finishes in an afternoon because every dimension decision was already made for you.
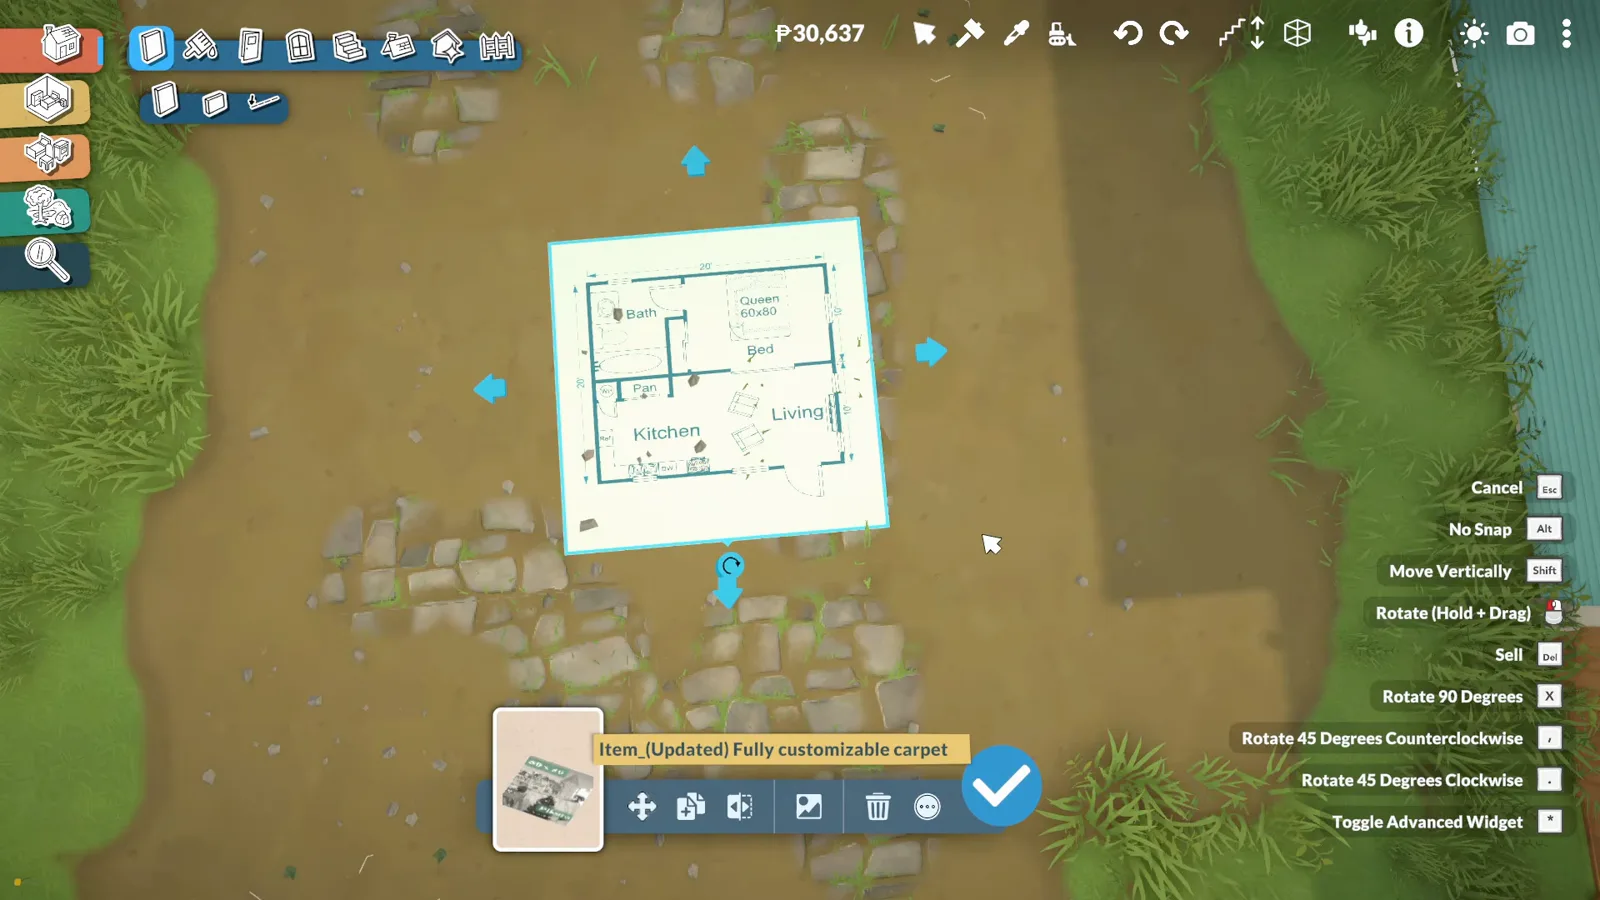
Why it works: tiny homes fail on circulation, not size, and real floor plans are circulation-solved by professionals. Trace faithfully first, then make it Paralives: bump the ceiling, curve one wall, go wild on the color wheel. Our blueprints guide covers the carpet trick step by step.
Room list
- One combined living and sleeping zone
- Kitchen band on the entrance wall
- Bathroom off the living zone, not the kitchen
- Porch for the overflow
- Ceiling bump and one curved wall for character
Paralives house design, room ideas and decor ideas
Three searches, one craft — so here is the map. Every breakdown above is a house design: a written plan with a room list you can copy wall for wall. Room ideas go one level deeper, one room type at a time, and decor ideas live in the room-by-room decorating guide.
Kitchen ideas
Layouts, appliance placement and a kitchen that actually cooks.
Bathroom ideas
Fixture plans that fit real floor plans, not just mood boards.
Bedroom ideas
From bare walls to cozy, with the storage worked out.
Living room ideas
Seating, sightlines and the room built from the sofa out.
How to decorate
Decor ideas walked through a whole house, room by room.
Preset rooms
Drop-in room bundles for furnishing any shell fast.
Tools for your own ideas
Blueprints guide
The full carpet trick: find plans, scale them, trace walls.
Preset rooms
Drop-in room bundles to furnish any of these shells fast.
Starter home, step by step
The full walkthrough build for idea 01, frame by frame.
Split-level tutorial
Idea 05 in full — every platform and stair explained.
Modern house tutorial
Idea in full — a compact modern build from the terrain up.
Japanese house tutorial
A Japanese family home, from hip roof to genkan entry.
Victorian house tutorial
A Victorian family home with bay windows and veranda.
Gothic house tutorial
A renovated church build in full — pointed glass, dark stone and a spire, frame by frame.
Witch house tutorial
A witch cottage and potion shop, from timber shell to secret cauldron room.
Hobbit house tutorial
A hillside hobbit hole with a round door, step by step.
Mansion build tutorial
A walkout-basement estate — terrain-flattened grounds, curved garden walls and a fake pool, frame by frame.
Beach house build tutorial
A coastal house on a cliff lot — flat roofs, a timber slat screen and a Mediterranean tiled kitchen, step by step.
Treehouse build tutorial
Building around a living tree — curved walls hugging the trunk, a staircase turned library ladder, a bush-canopy roof.
Castle build tutorial
A fortress in sixteen steps — round tower drums, crenellated battlements, conical turret roofs and a terrain-painted moat.
Greenhouse build tutorial
All glass with no mod — window pieces as walls, window rows over both roof pitches and a glazed sunroom wing.
Suburban family house
An eighteen-step suburban build with porch, raised foundation and a brick-and-siding facade.
Townhouse build tutorial
A terraced home on a narrow lot — footprint-first shell, stacked floors, a moulded bay window and a mansard roof.
Loft house build tutorial
A raised half-floor that doubles the floor plan — platform sections, stairs, a studio and bedroom up top, storage and nooks underneath.
Farmhouse build tutorial
A cream country house with a wraparound porch, picket fences, painted field rows and a full family interior.