
The short version
Ceilings in Paralives are not placed by hand: a ceiling generates over any space that is fully enclosed by walls or separators. If yours is missing, something is open — or it was deleted with the separator tool.
- A missing ceiling almost always means an open side: fences don't count as walls, and a gap stops the ceiling from generating.
- To close a ceiling back up, trace the room with the separator tool — the floor and ceiling fill in instantly.
- To delete a ceiling on purpose, select the generated ceiling with the separator tool and remove it — that's how skylight holes start.
- Skylights have no dedicated piece in Early Access: builders fake them with roof pieces and a tilted window.
- Painting ceilings is real: the wall painter's swatches apply to the ceiling too, via the Ceiling Finishes category.
- If a finished house looks roofless from inside, check the Ceilings cast shadows setting before rebuilding anything.
Symptom fix
Your ceiling went missing — here's why
The most common Paralives ceiling problem isn't a bug: the game only generates a ceiling over fully enclosed space, so one open edge is enough to leave a storey roofless. Here's the diagnosis and the thirty-second cure.
- 1
Recognise the symptom: a ceiling that never closed
This beach house's second floor was fenced, not walled — and Paralives only generates a ceiling over space that is fully enclosed. From above the whole storey is open: no floor covering, no ceiling, just the rooms below. If your build looks like this, nothing is broken; the game is waiting for a closed space.
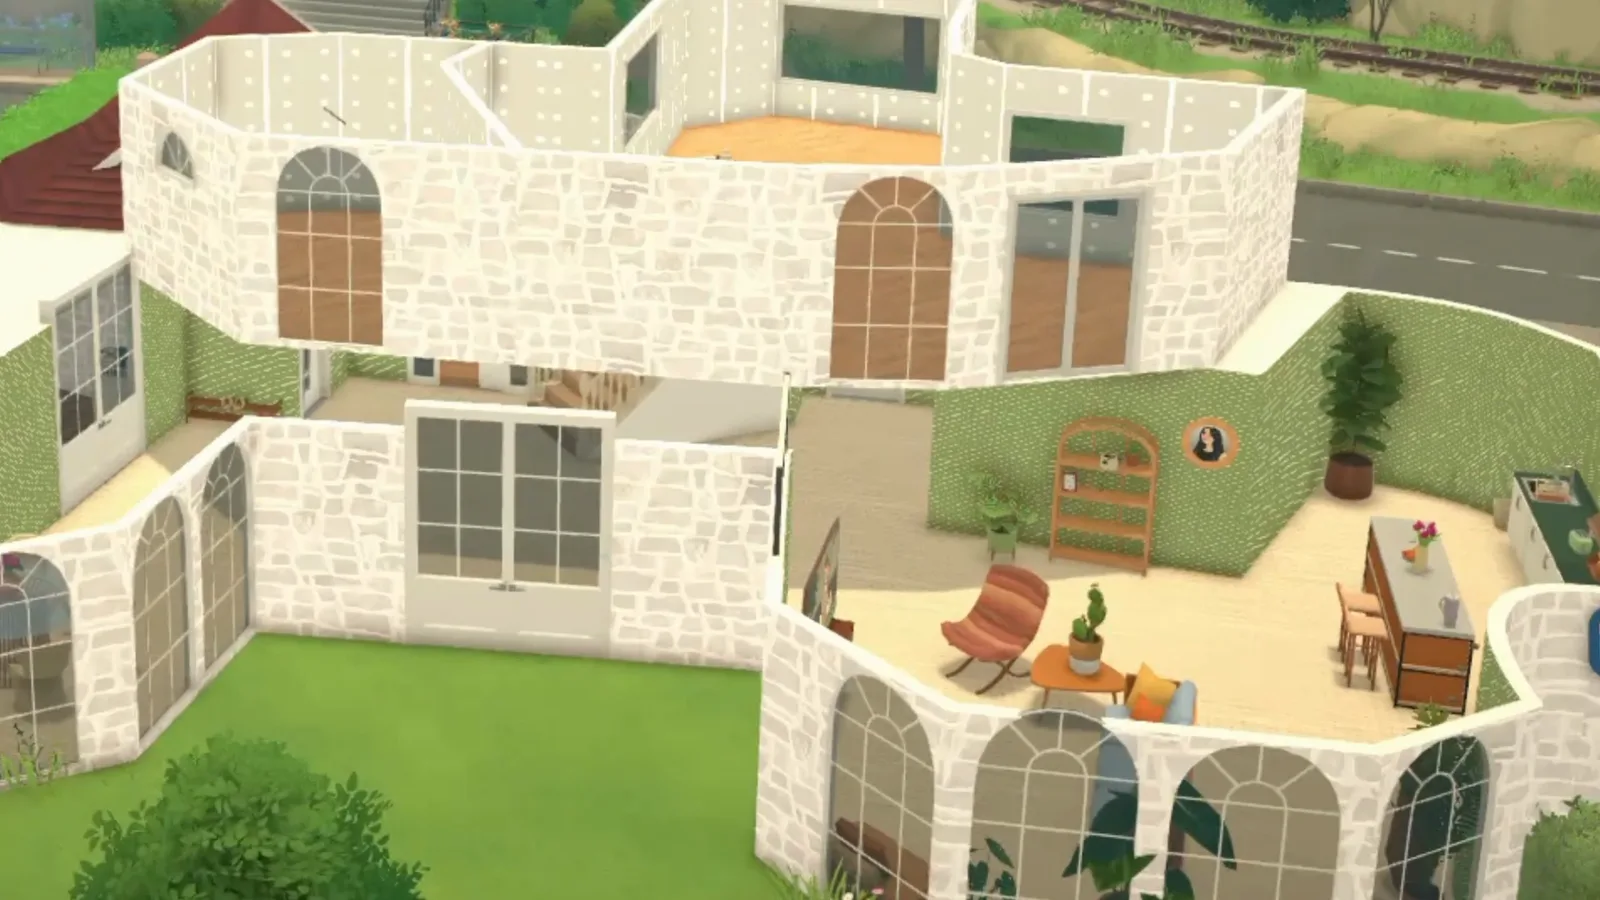
Fences don't enclose a space — so no ceiling ever generated above this floor.Watch at 0:18 - 2
Trace the room with the separator tool
Pick the separator tool (the same one used for invisible room dividers) and draw along the floor where walls would go, closing the space in. The separator itself stays invisible — the game only needs the enclosed area to know where to generate structure.
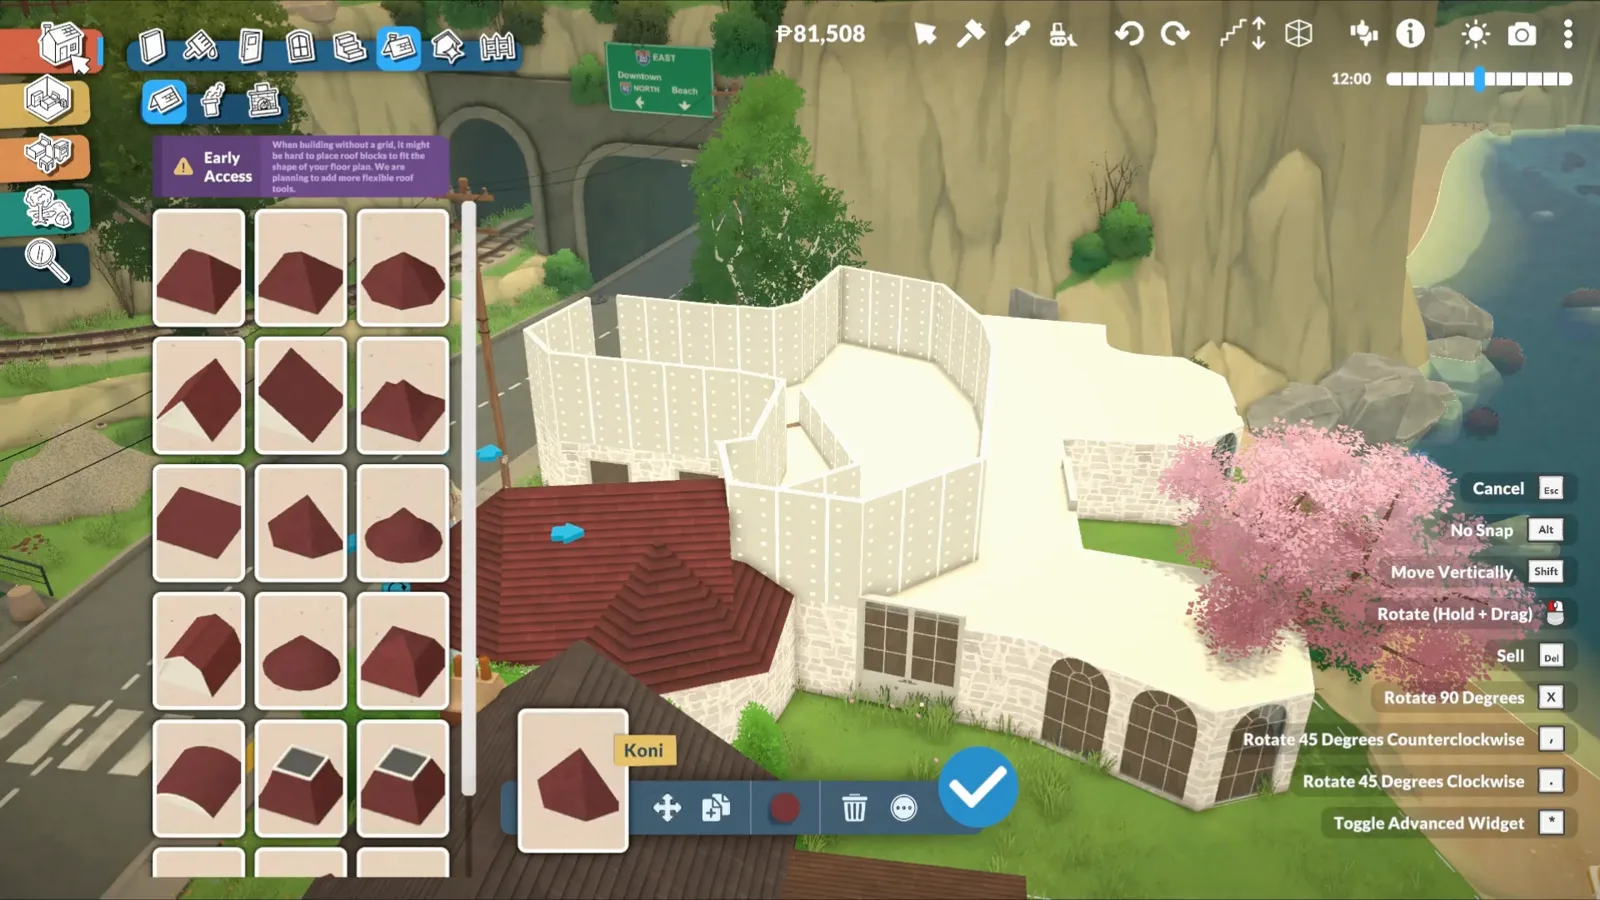
Drawing the separator counts as enclosing — placement mode shows the line before you confirm.Watch at 0:52 - 3
Watch floor and ceiling fill in
The moment the loop is closed, Paralives generates the floor covering and the ceiling above it. No build step, no catalog item — enclosure is the whole trick. Now you can paint the ceiling and place ceiling lights like on any finished storey.
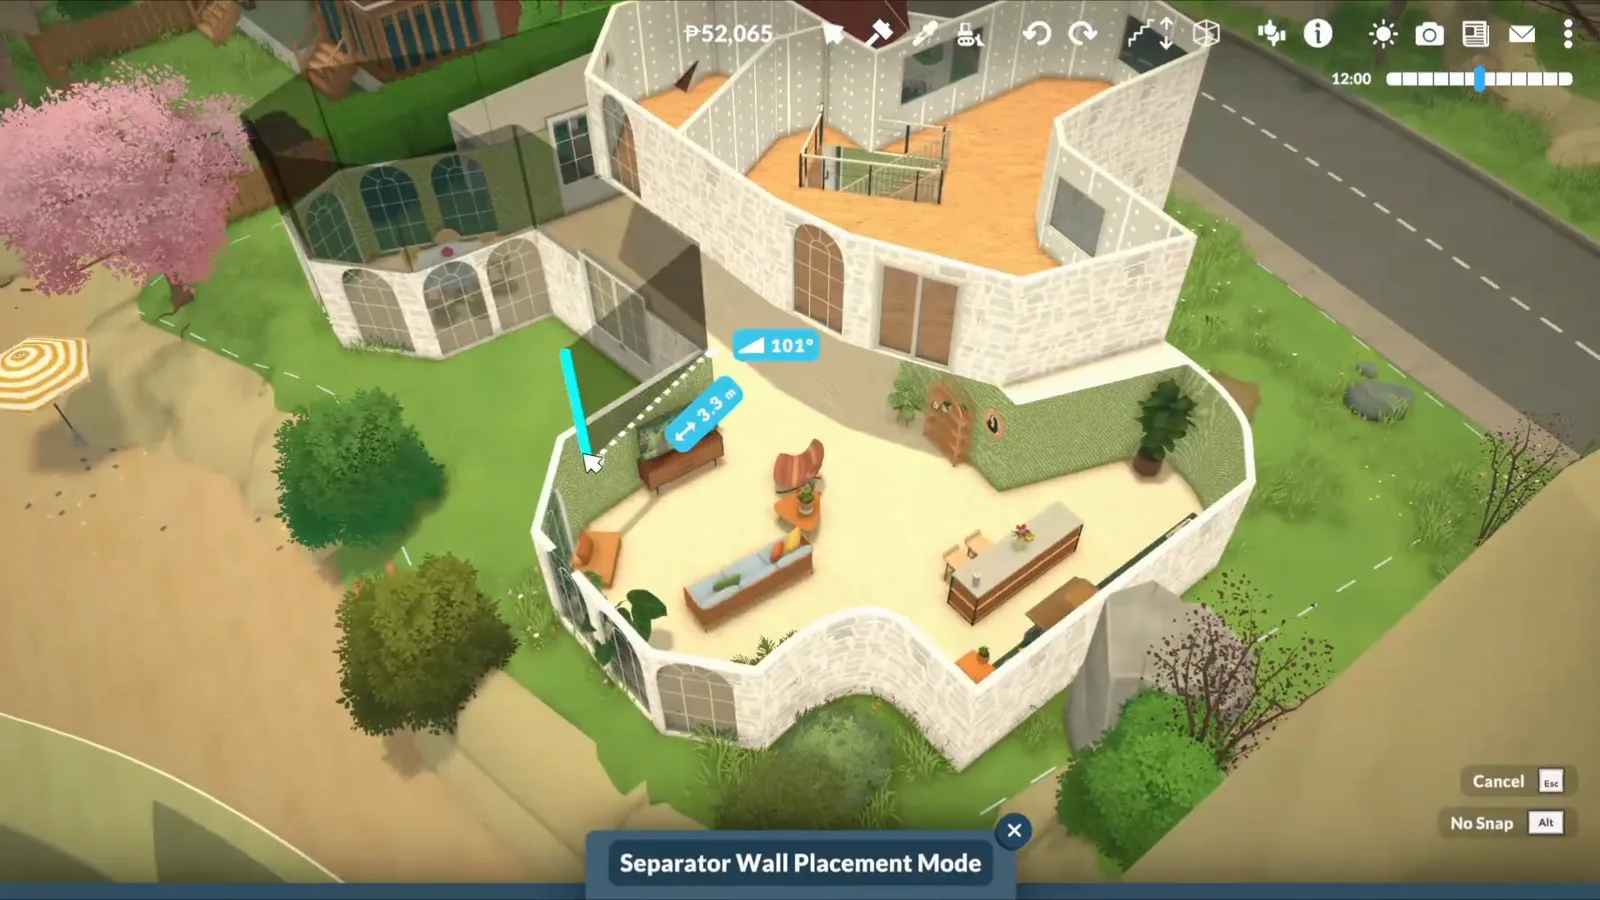
Floor and ceiling generate instantly once the separator closes the loop.Watch at 2:06 - 4
Leave terraces open on purpose
Want the outdoor feel back? Fences are the tool: they mark an edge without enclosing, so the terrace stays open to the sky while the rooms beside it keep their ceilings. Open-air sections and indoor ceilings coexist on the same storey — you choose per edge.
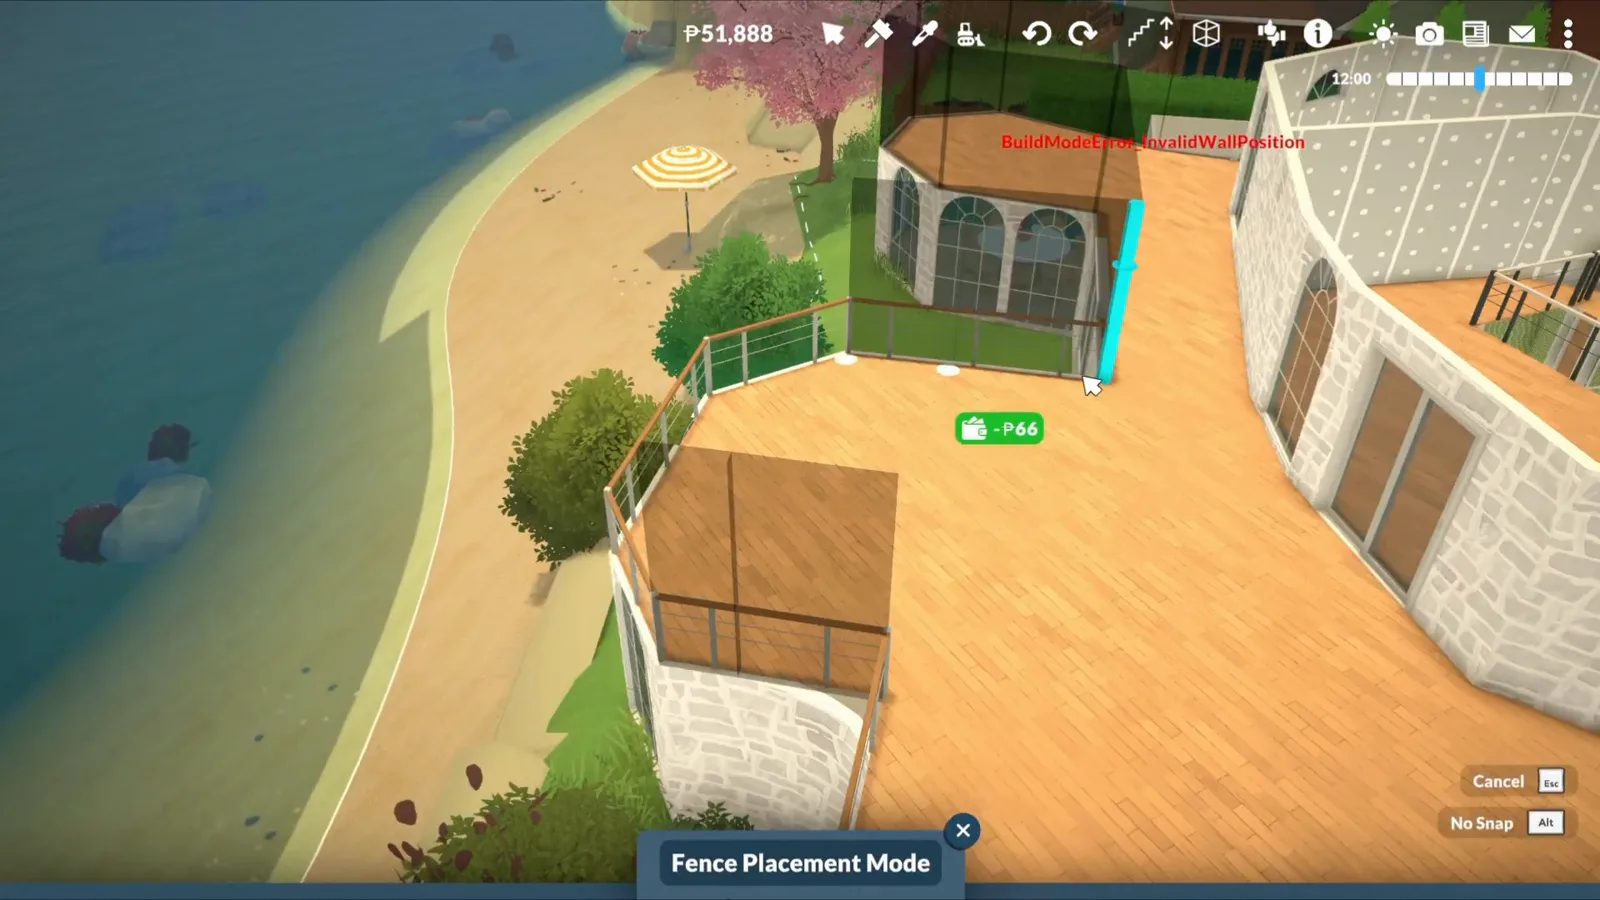
The fenced terrace keeps its open sky while the enclosed rooms hold their ceilings.Watch at 2:58
On purpose
Open a hole in the ceiling the clean way
Every skylight starts as a deliberate deletion. The separator tool that fixes missing ceilings is the same tool that removes them neatly — no sledgehammer, no collapsed walls.
- 5
Draw the opening you want with the separator tool
Time to open a ceiling on purpose. Build a small room, then use the separator tool to trace a 3×3 patch against one wall — this patch is going to become your skylight shaft. Any size works; squares are easiest to roof around.
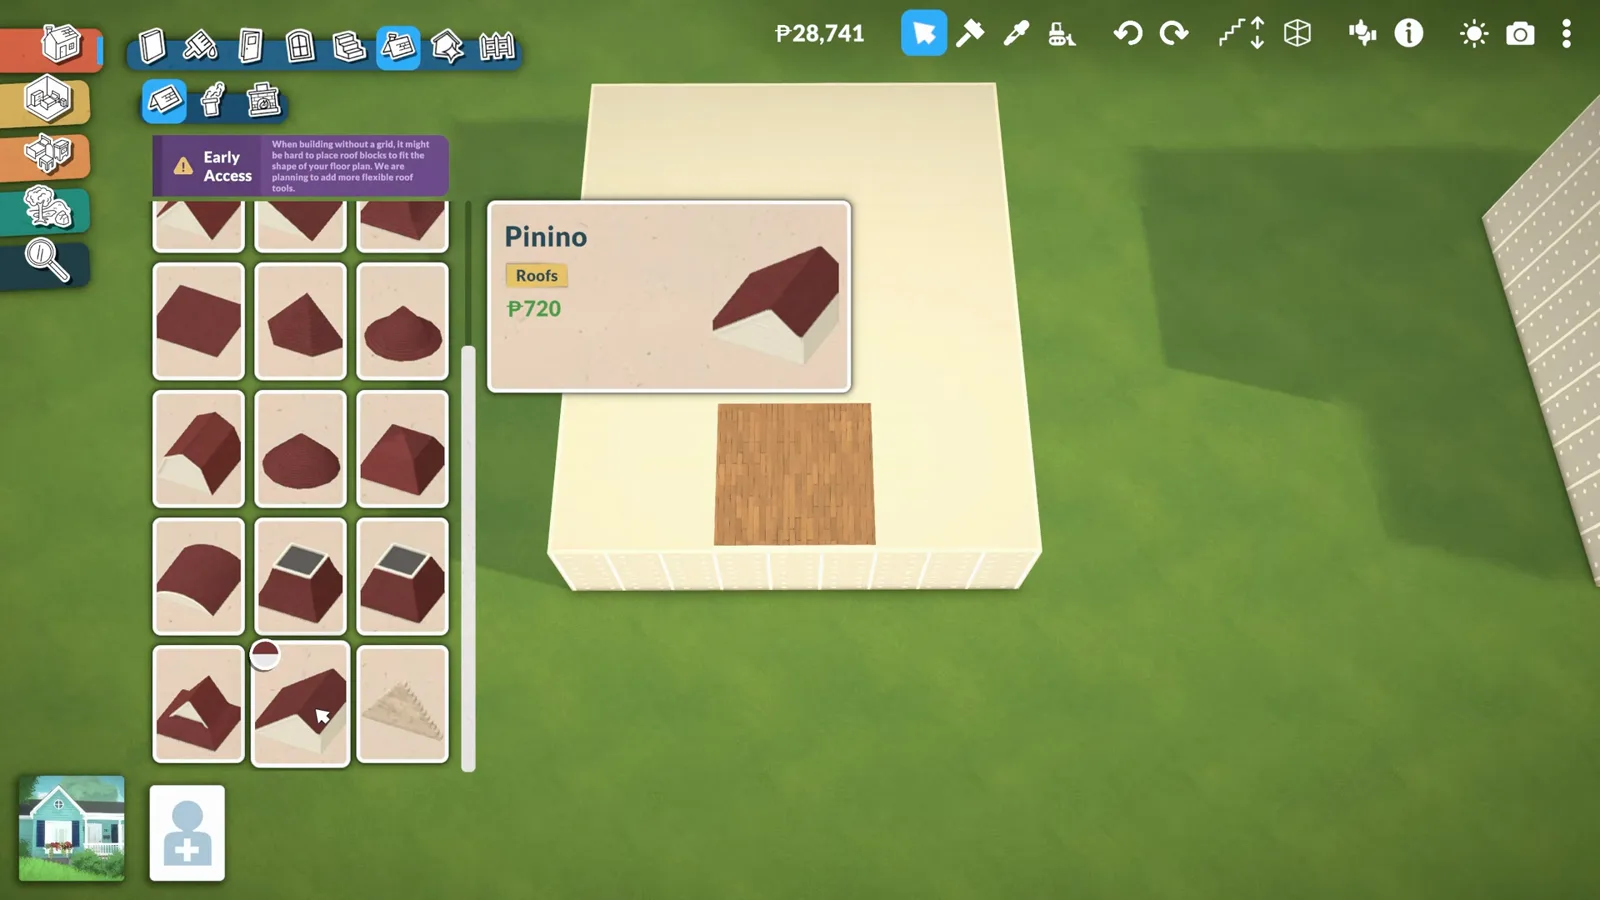
The 3×3 separator patch that defines the skylight opening.Watch at 0:50 - 6
Go up a level and delete the ceiling over the patch
Switch one storey up so you can see the roof, select the generated ceiling inside the separator square, and delete it. That opens a clean hole from the room to the sky — the starting point for every skylight in this guide.
The deleted ceiling patch leaves a clean opening for the skylight.Watch at 1:03
Skylight style 1
A skylight framed with roof pieces
intothesimulation's method frames the hole with half-gable roof pieces and tilts a window into it with the advanced transform gizmo. It works on flat-roofed sections and reads surprisingly realistic.
- 7
Frame the hole with half-gable roof pieces
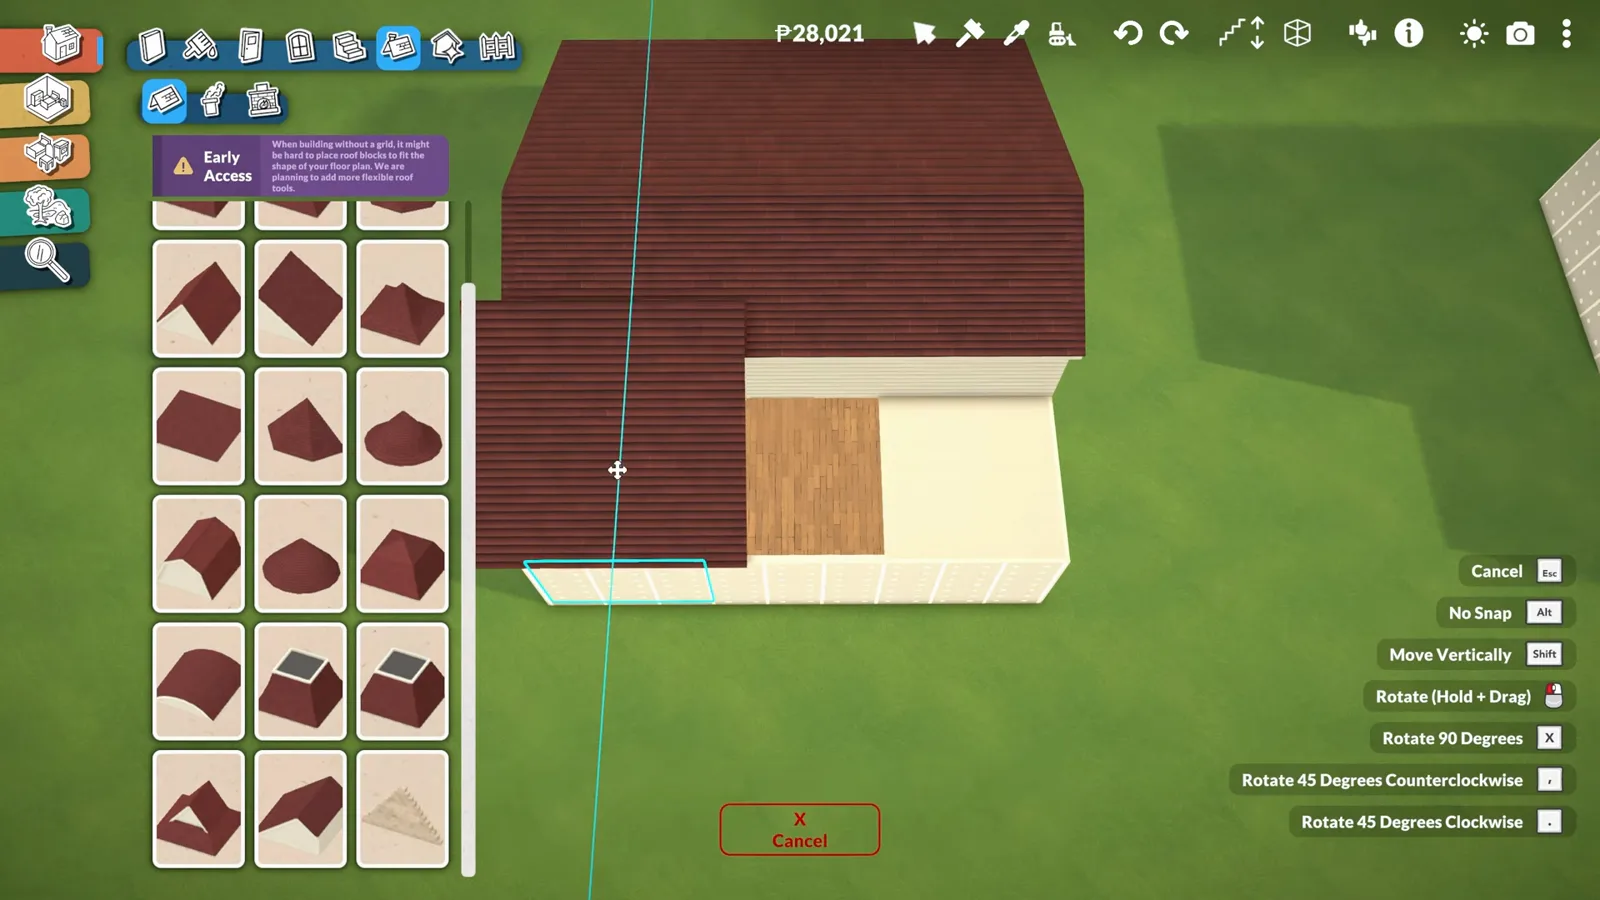
From the roof catalogue take a gable with one flat side and a half-gable, and place them so their raised edges run along the hole. Resize each piece with the arrows until the edges meet the opening; it's fine if the pieces overlap each other for now.
Roof pieces overlap during framing — you'll bring them flush later.Watch at 1:52 - 8
Park a window on the wall, then tilt it with the advanced gizmo
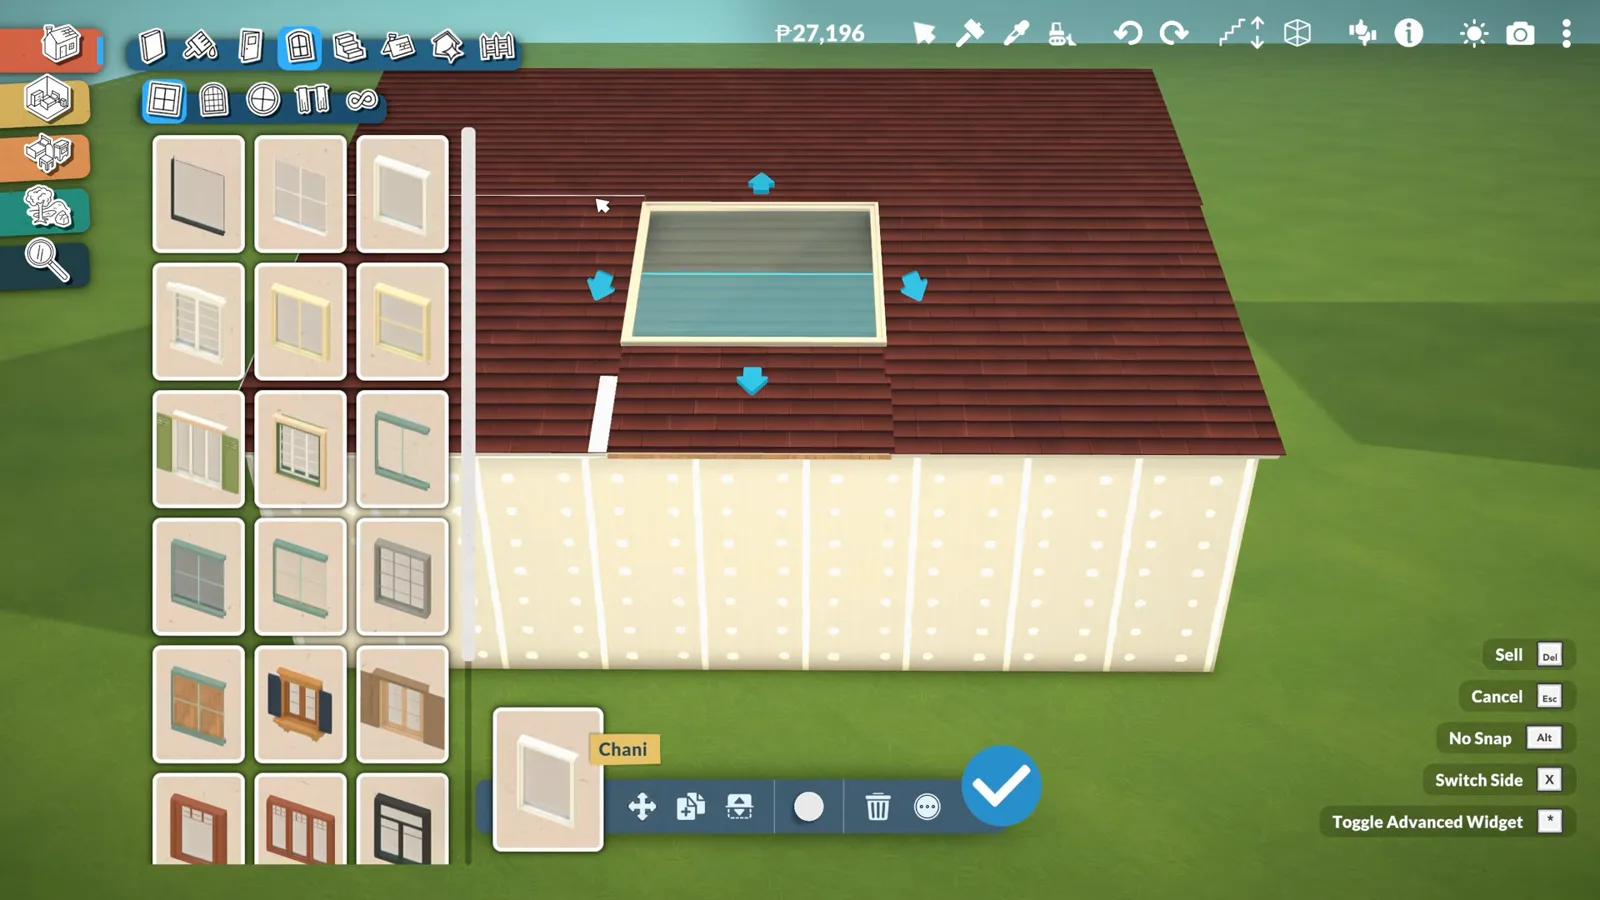
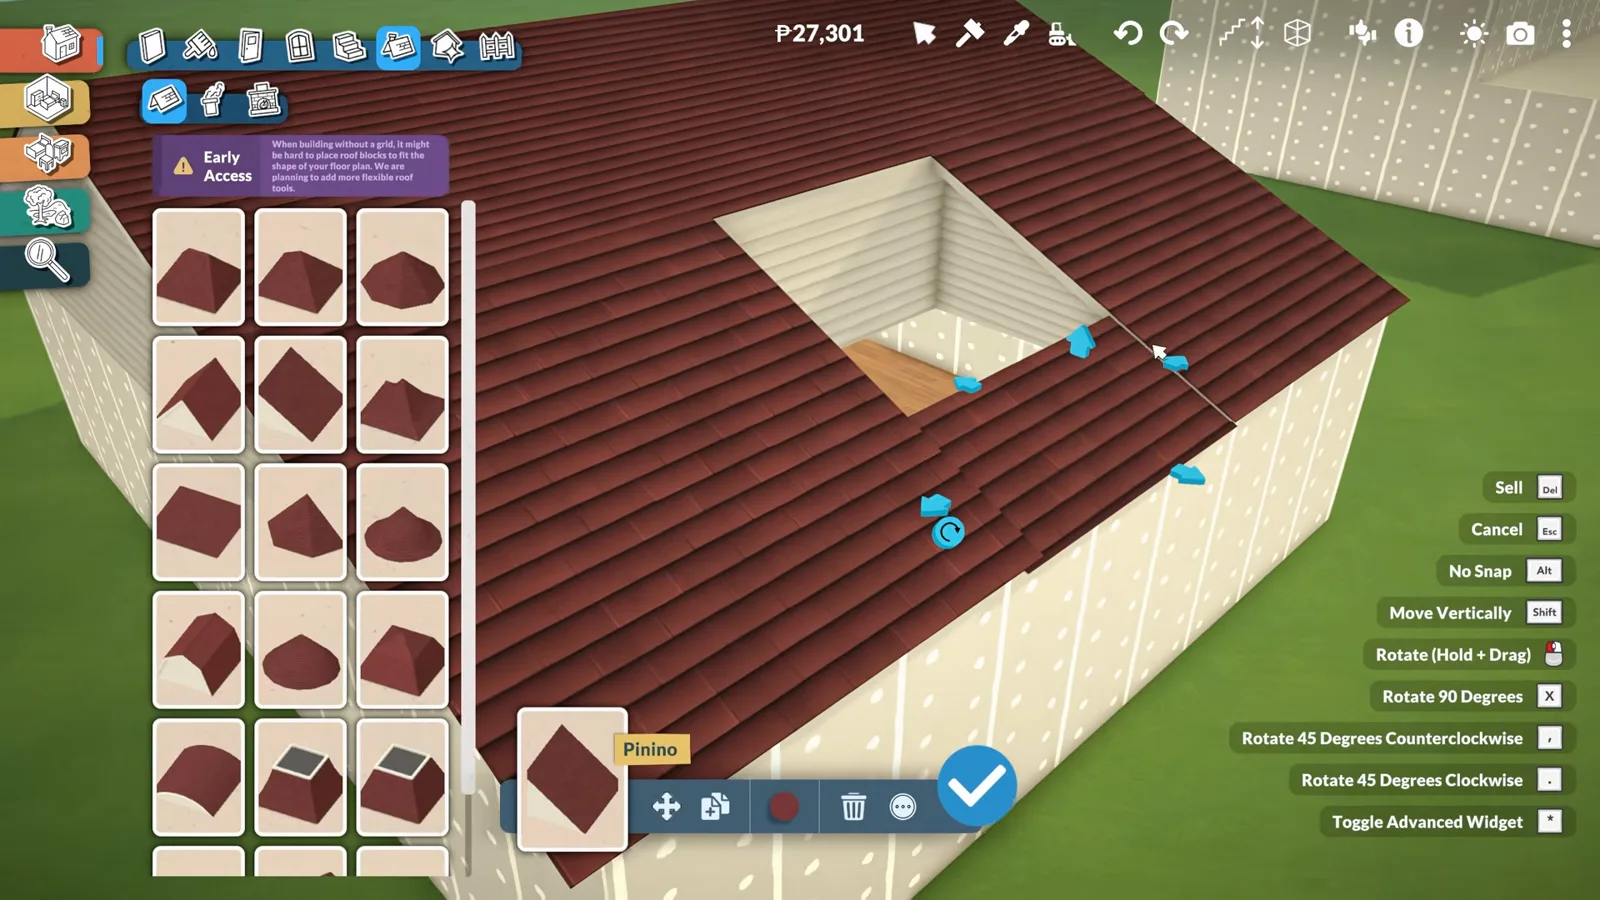
Place any window on the wall below the opening, as high as it goes. Open the three-dots menu and toggle the advanced transform tool: the red ring rotates the window to match the roof pitch, and the arrows slide it into position over the hole.
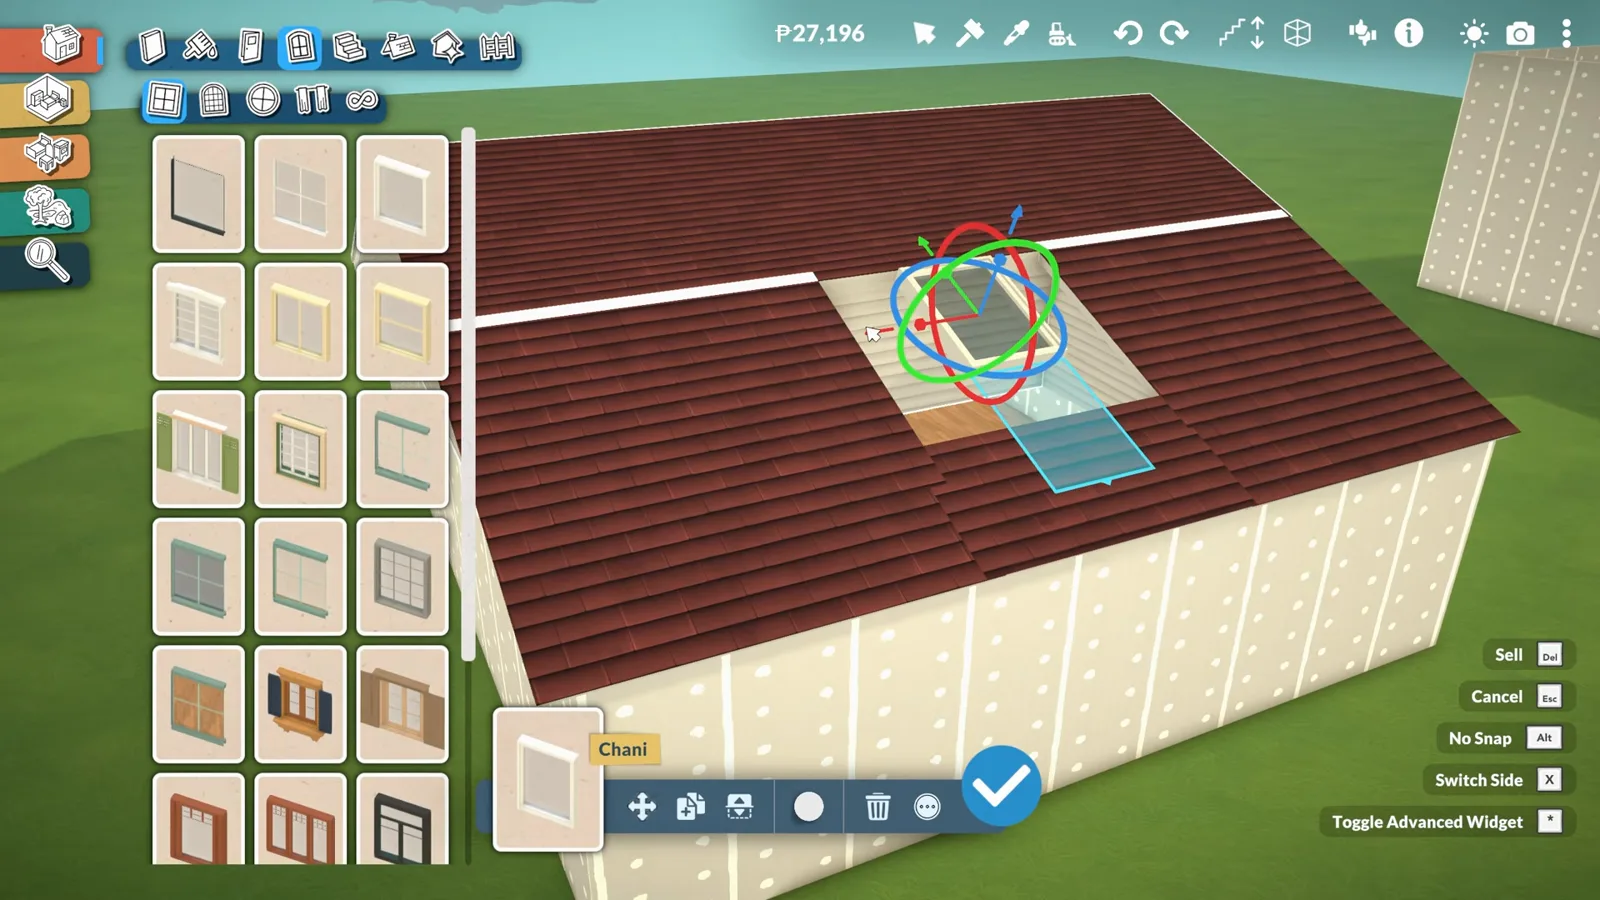
Red ring tilts, arrows slide — the advanced widget does the skylight work.Watch at 2:30 - 9
Resize the window to fill the opening
Turn the advanced widget off again and drag the window's resize arrows until the glass fills the hole edge to edge. The result reads as a real skylight: light falls into the room and the roofline stays unbroken. Recolor the frame to match the roof and it disappears into the build.
Flush with the roof, light in the room — the roof-built skylight is done.Watch at 3:07
Skylight style 2
A glass room built into the roof slope
Pixela's variant and the community's attic technique go bigger: mirror two roof planes to leave a strip, then glass the whole opening with stacked windows slanted to match the roof.
- 10
Or go bigger: build a room into the roof
On a two-storey house you can push the idea further: instead of a single window, raise a small roof section and turn the space under it into a usable room with glass walls. The ceiling you deleted becomes the floor of that room — this is the attic-style build the community keeps refining.
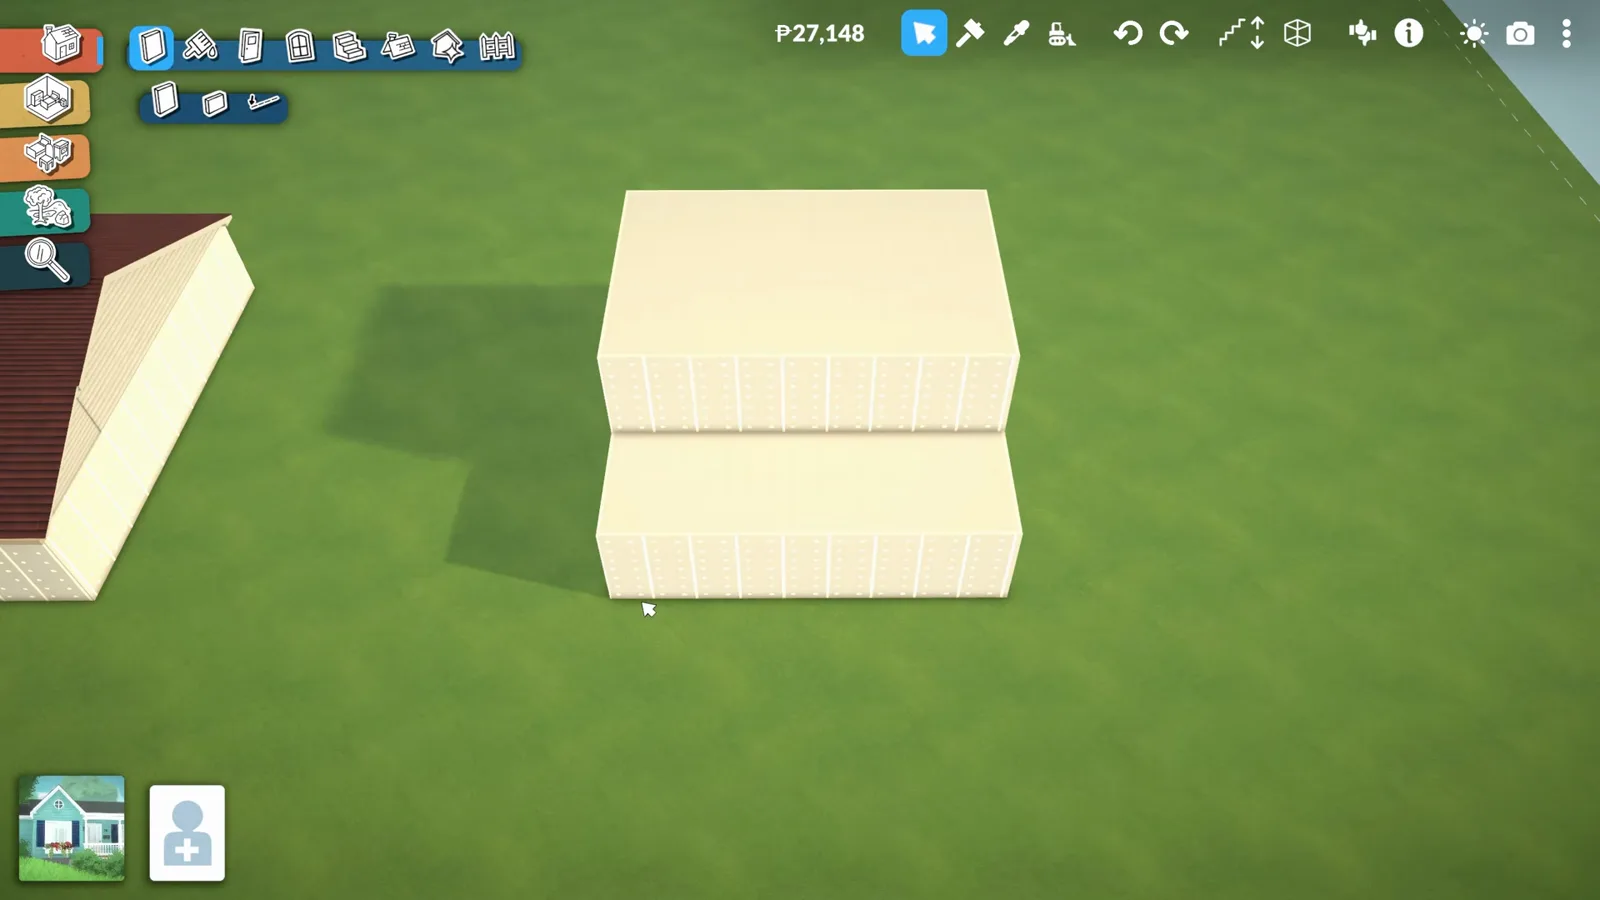
The deleted ceiling becomes an attic floor — the community's attic technique.Watch at 4:10 - 11
Match a second roof to the main slope
Pixela's variant starts from the roof, not the room: add a second slanted roof that connects to the main roof at the top, and set its angle to exactly the main roof's so the planes read as one. Duplicate this roof and place it on the opposite side — the untouched middle becomes your opening.
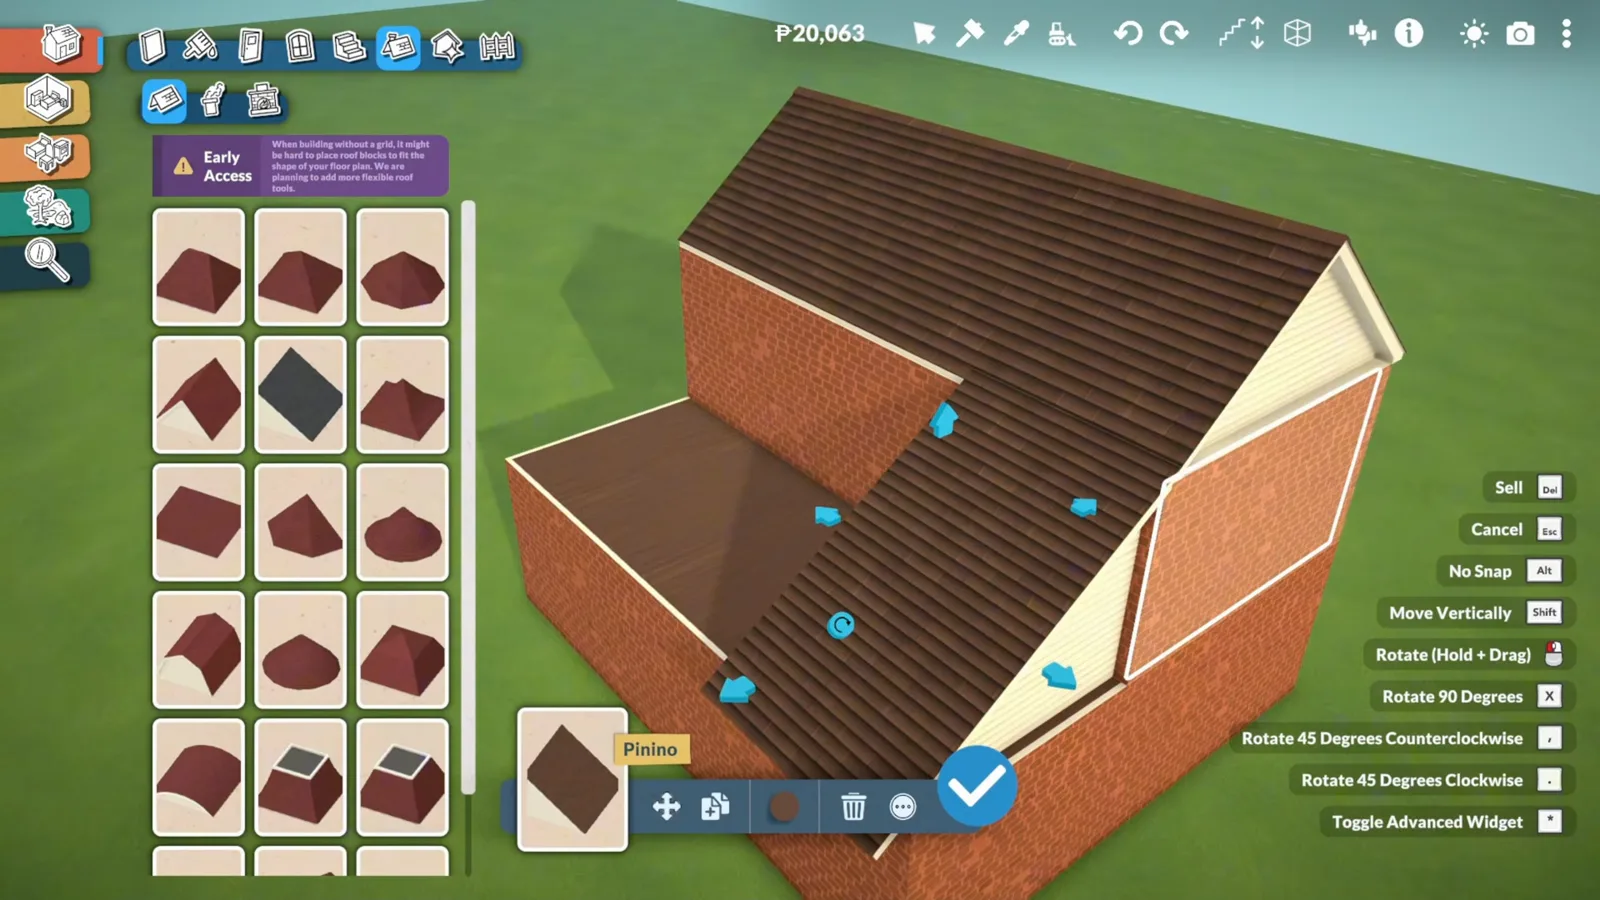
Same angle, duplicated to the far side — the gap between them is the skylight.Watch at 0:40 - 12
Leave the gap and glass it from the wall
With both roof pieces placed, the strip between them is your skylight. From the doors catalogue pick the seamless frameless opening and drag it across the wall below — a bare wall edge would otherwise leave a visible gap under the glass.
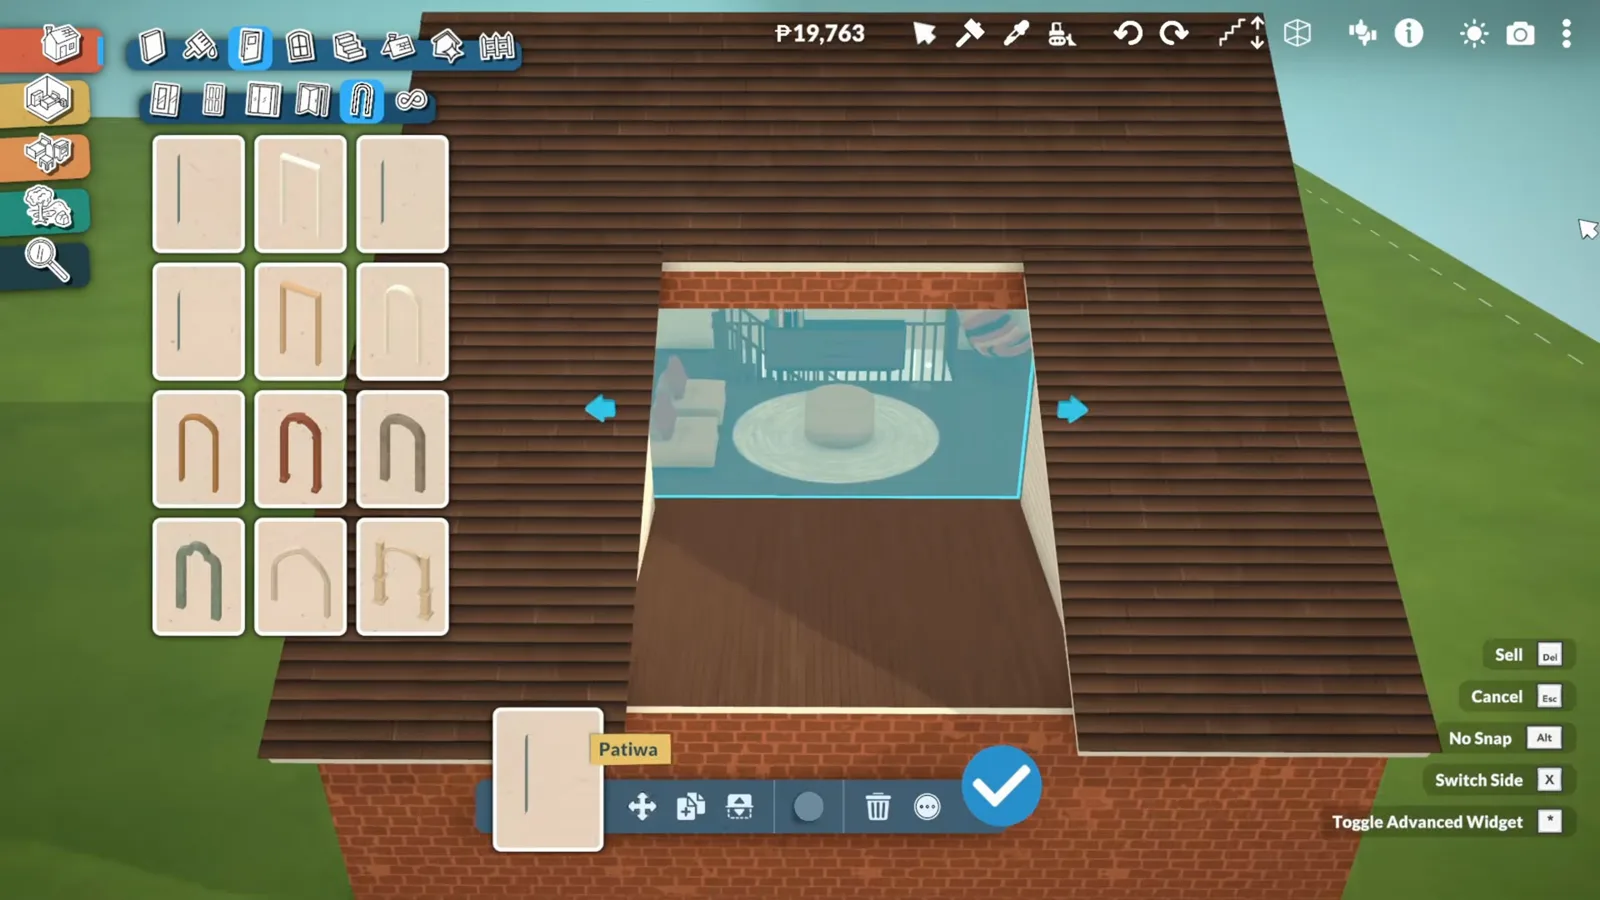
The unroofed strip between the mirrored pieces is the skylight aperture.Watch at 1:10 - 13
Stack windows to cover the tall opening
Place one large window on the wall, copy it, and slide the copy up so the two intersect as high as possible. Tall openings need the stack — a single window would leave roof visible above the glass.
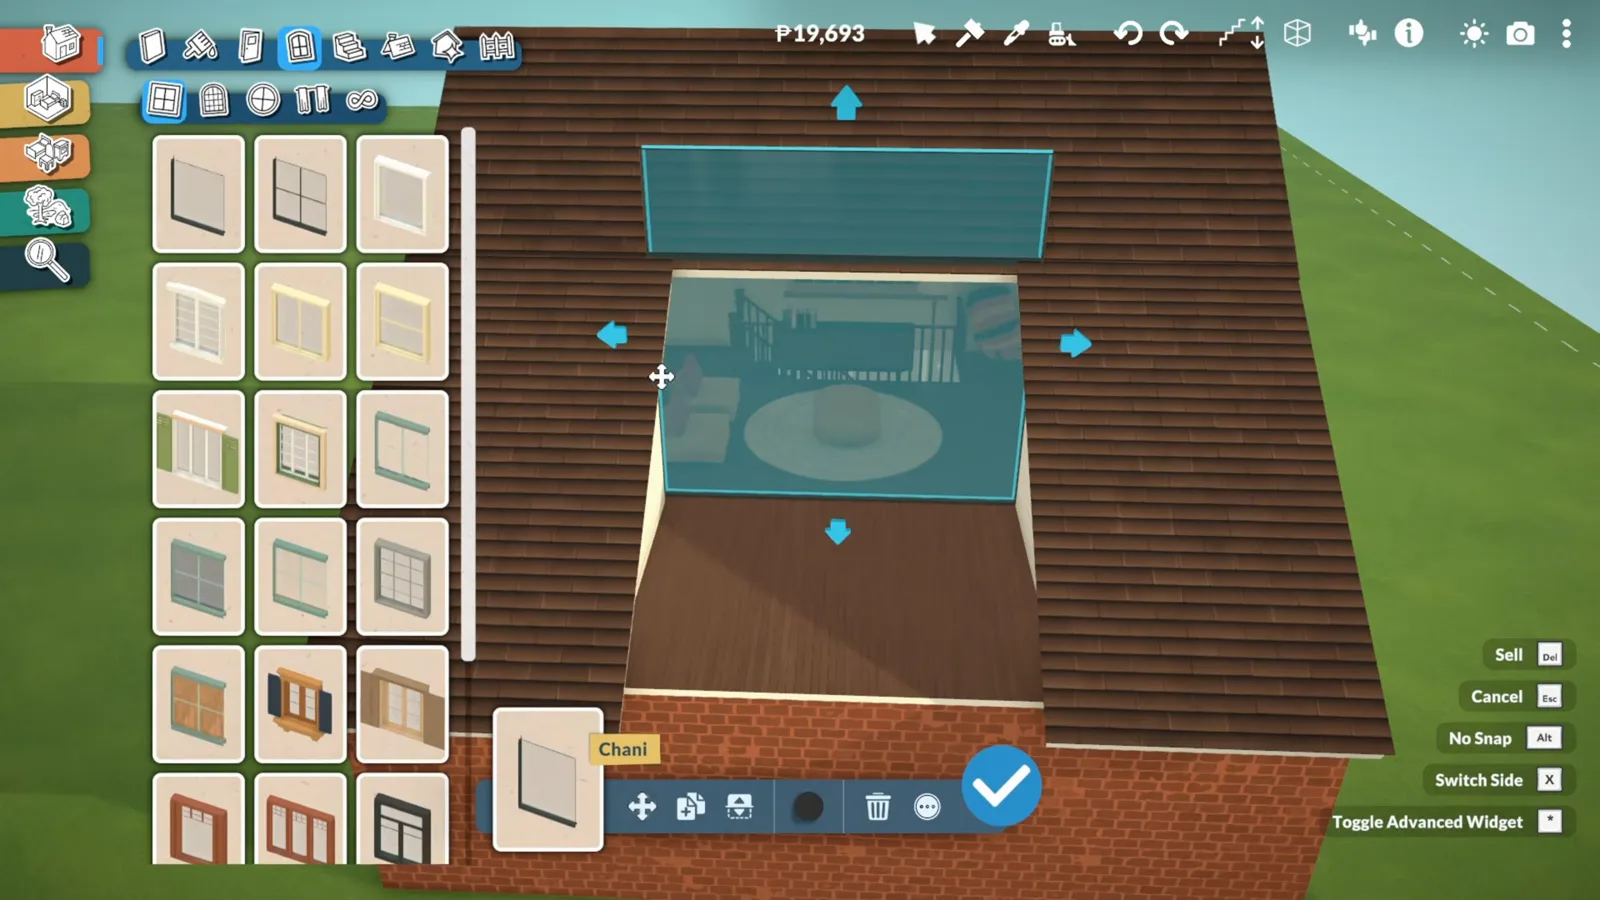
One window rarely covers a tall opening — stack two and intersect them.Watch at 1:28 - 14
Tilt the stack to match the roof plane
Open the advanced transform tool once more: the red circle slants the windows until they sit parallel to the roof plane, and the blue arrow drops them down so the glass merges with the roof. Fit, confirm, and the gap reads as one continuous glass strip — a skylight you can see the sky through from inside.
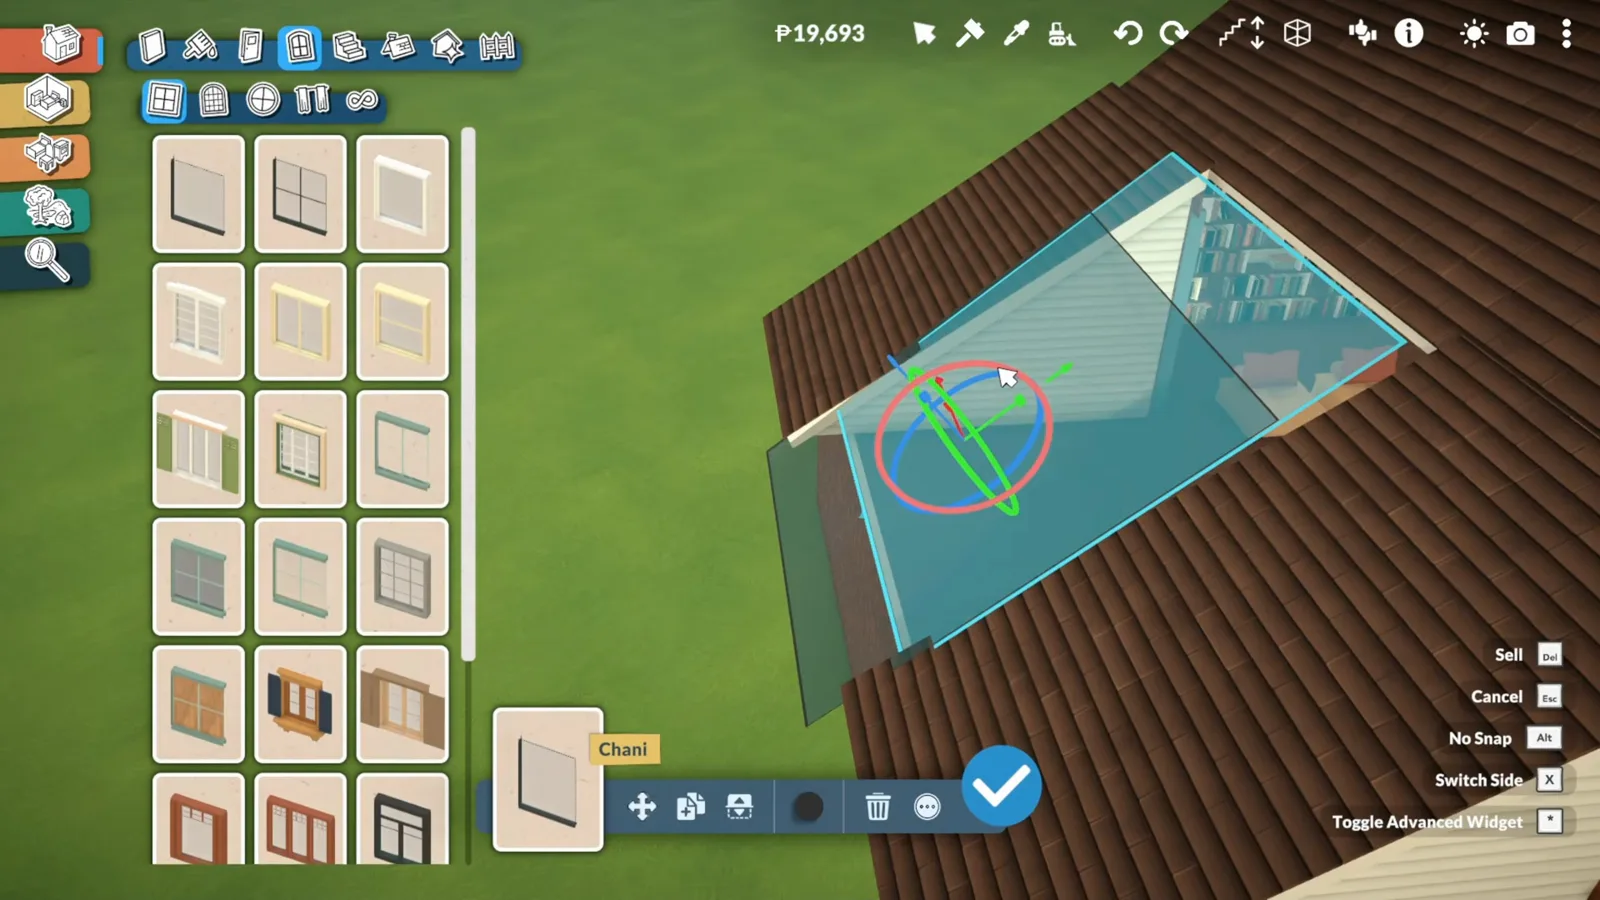
Tilt to the roof plane, drop until it merges — the slant-match skylight.Watch at 2:05
Paralives ceiling FAQ
- How do you add a ceiling in Paralives?
- You don't place one — ceilings generate automatically over any space that is fully enclosed by walls or separator lines. If a ceiling is missing, trace the room with the separator tool and the ceiling plus the floor covering appear immediately. Fences don't count as enclosure.
- Why did my ceiling disappear in Paralives?
- Almost always because the space is no longer enclosed: a wall was removed, a side was left open, or the ceiling was deleted with the separator tool. Close the room again with the separator tool and the ceiling regenerates. There is no separate ceiling tool in Early Access.
- Can you paint ceilings in Paralives?
- Yes. The wall painter's swatches and the color wheel apply to ceiling finishes as well — the Build menu has a dedicated Ceiling Finishes category for exactly this. Pick the painter, target the ceiling, and recolor it like any wall.
- How do you build a skylight in Paralives?
- Early Access has no dedicated skylight piece. The two working methods: delete a ceiling patch with the separator tool, frame the hole with roof pieces and tilt a window into it — or mirror two slanted roof pieces to leave a strip, stack frameless windows on the wall below and slant them into the roof. Both are in the steps above.
- Why does the inside of my Paralives house look like it has no ceiling?
- Check the settings before rebuilding: the Ceilings cast shadows toggle changes how strongly the ceiling reads from the interior camera. Builders have mistaken the look for a missing ceiling — turn the setting on and the room regains its roofed feel.
- Do ceiling lights need a ceiling?
- Yes — ceiling lights and ceiling fans hang from the generated ceiling, which is why a storey without enclosure also refuses ceiling lights. Fix the enclosure first and the Ceiling Lights catalogue works normally. Wall lamps and floor lamps are the workaround for open terraces.