
How floor plans work in Paralives
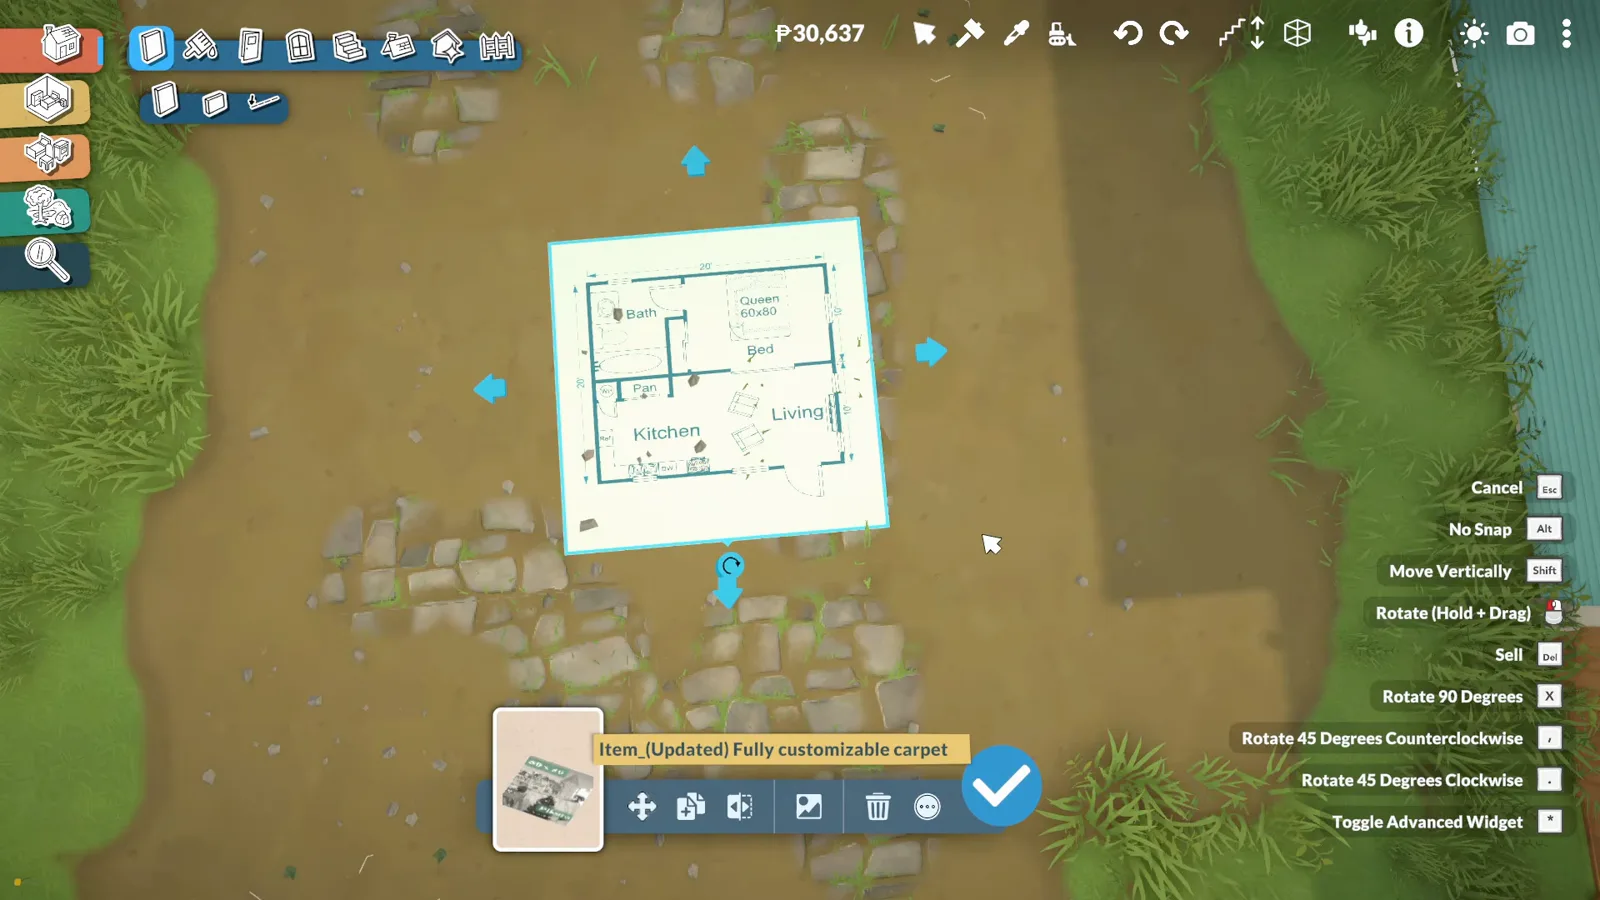
Subscribe to a Workshop rug that takes a custom image, place it on an empty lot, load your floor plan onto it, scale it until a doorway looks right, then trace the walls straight over the picture. Delete the rug at the end and you are left with an accurate shell.
- Paralives on Steam — Workshop mods are Steam-only
- The Fully customizable carpet mod by Earth Fish
- A floor plan image saved on your computer
- About thirty minutes for a small house
How to build from a blueprint in Paralives
Ten steps, from installing the mod to a decorated house that matches the plan.
- 1
Open the Workshop from inside the game
Click Mods on the main menu and choose to browse the Steam Workshop. You can do the same thing through the Steam client, but browsing in-game means a subscription appears in your mod list without restarting Paralives.
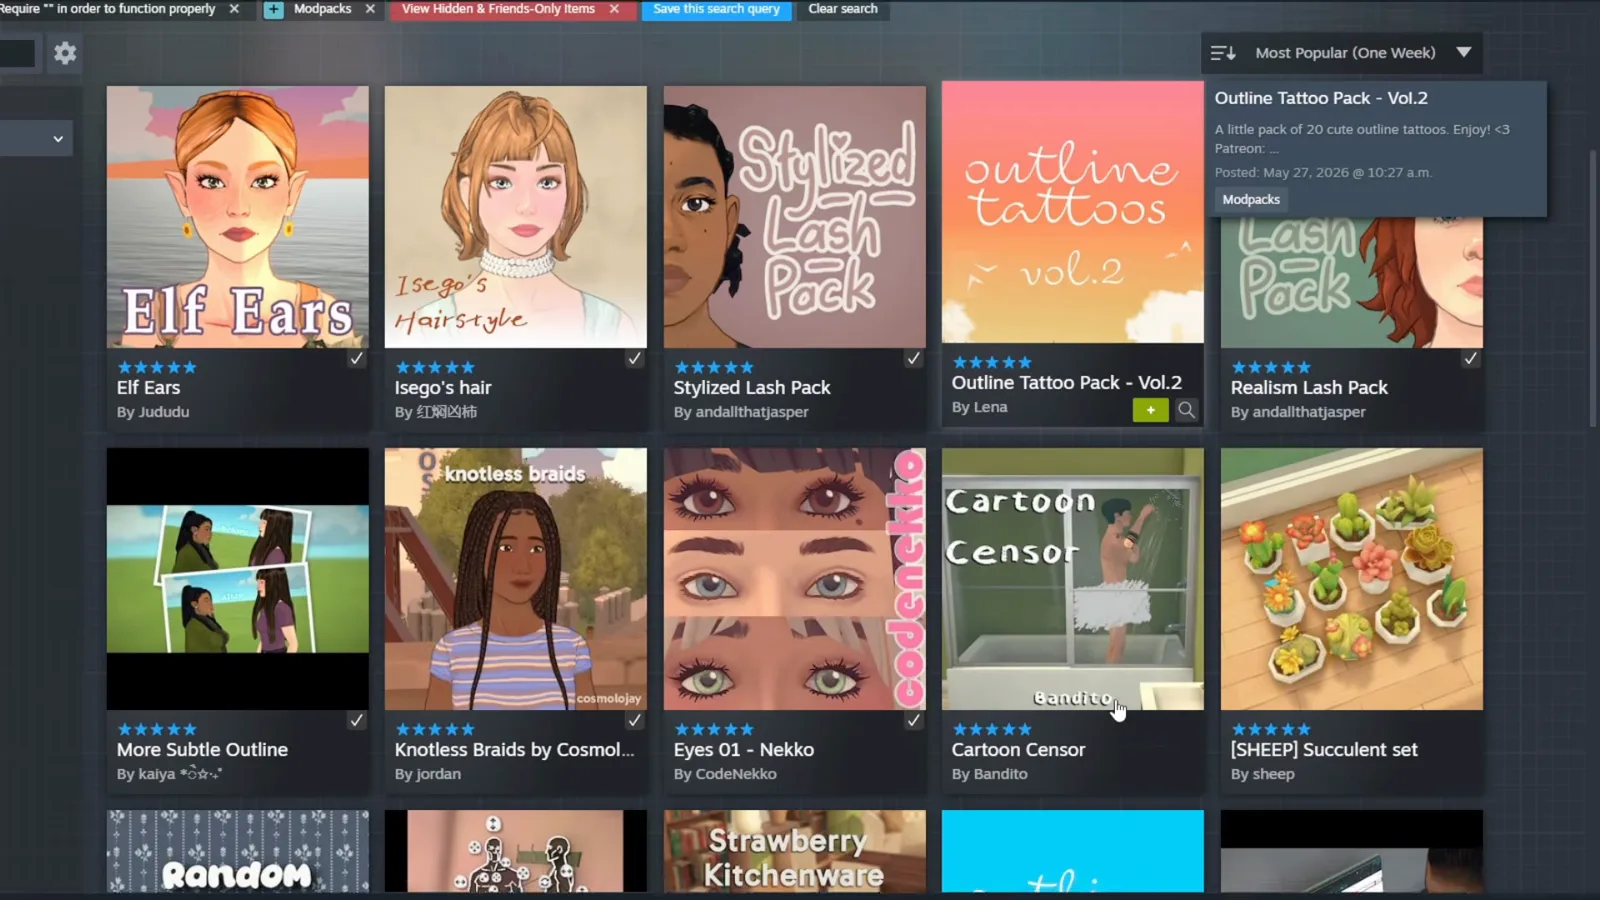
Mods → browse the Workshop, without leaving the game.Watch at 0:12 - 2
Subscribe to the customizable carpet
Search for rug and look for Fully customizable carpet by Earth Fish. It is an ordinary-looking rug with one important property: it accepts any image file as its texture. Hit subscribe and it lands in your mod list straight away.
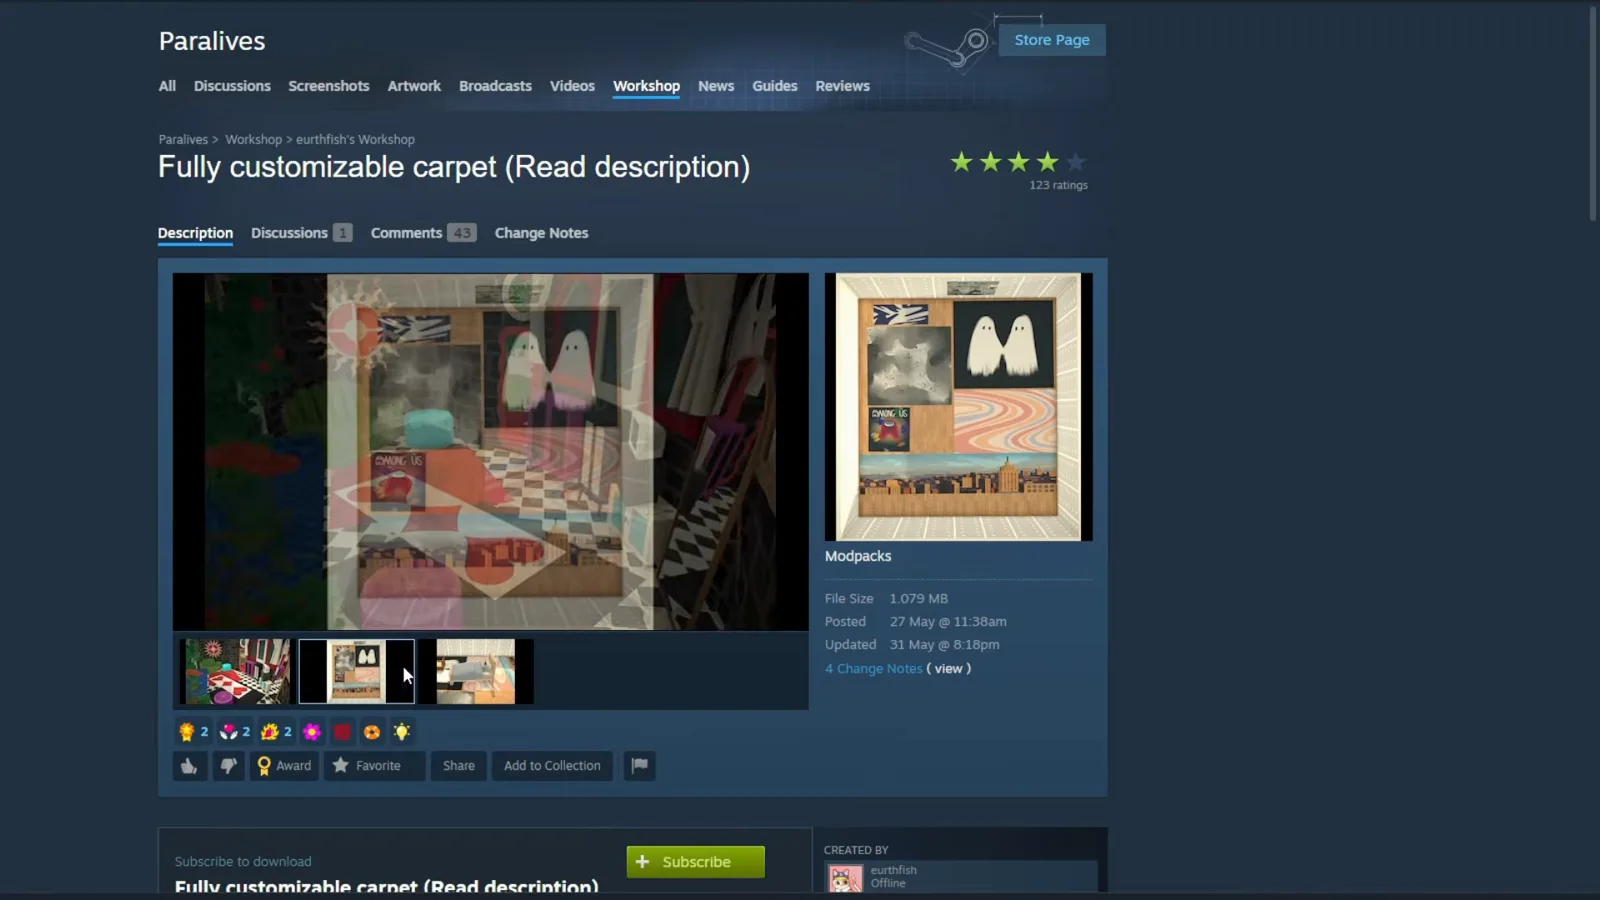
The mod is a rug that will display any image you give it.Watch at 0:36 - 3
Find the modded rug in build mode
Load into the lot, enter build mode and bulldoze it if you want a clean start. Search rug in the build catalogue: the modded one carries a small cloud-with-arrow badge marking it as a Workshop item. Place it on the ground.
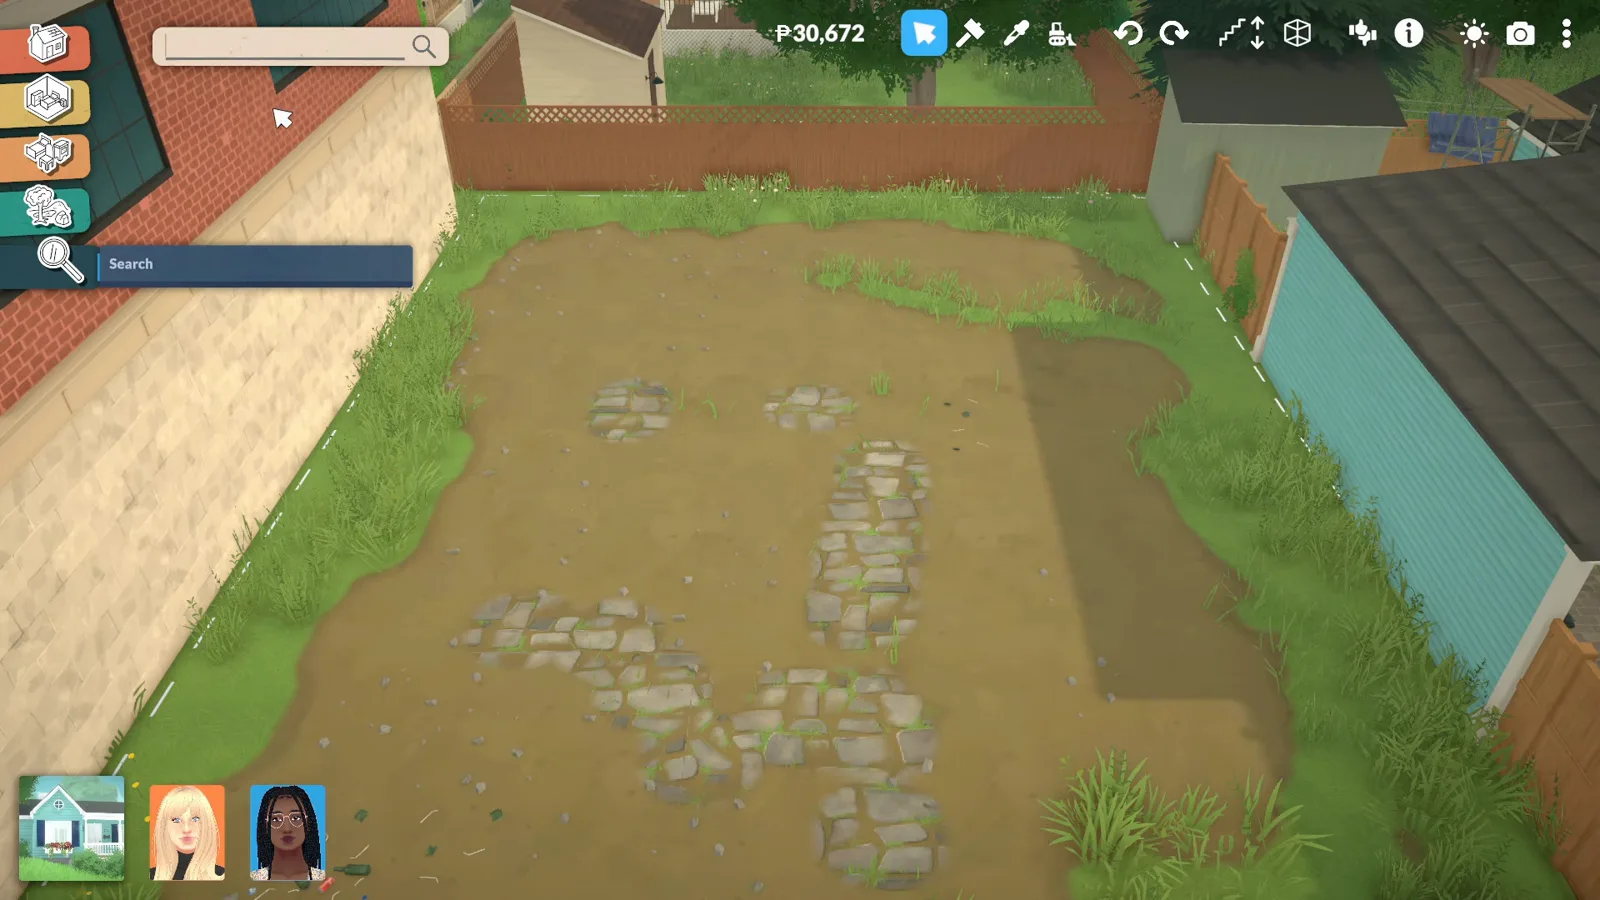
The cloud badge is how you spot a Workshop item in the catalogue.Watch at 1:12 - 4
Load your floor plan onto the rug
Select the rug, open its image option and click the plus to browse your computer. Any picture works — a plan you saved from a search, an architect's drawing, or a sketch you made. Confirm and the image appears on the rug immediately.
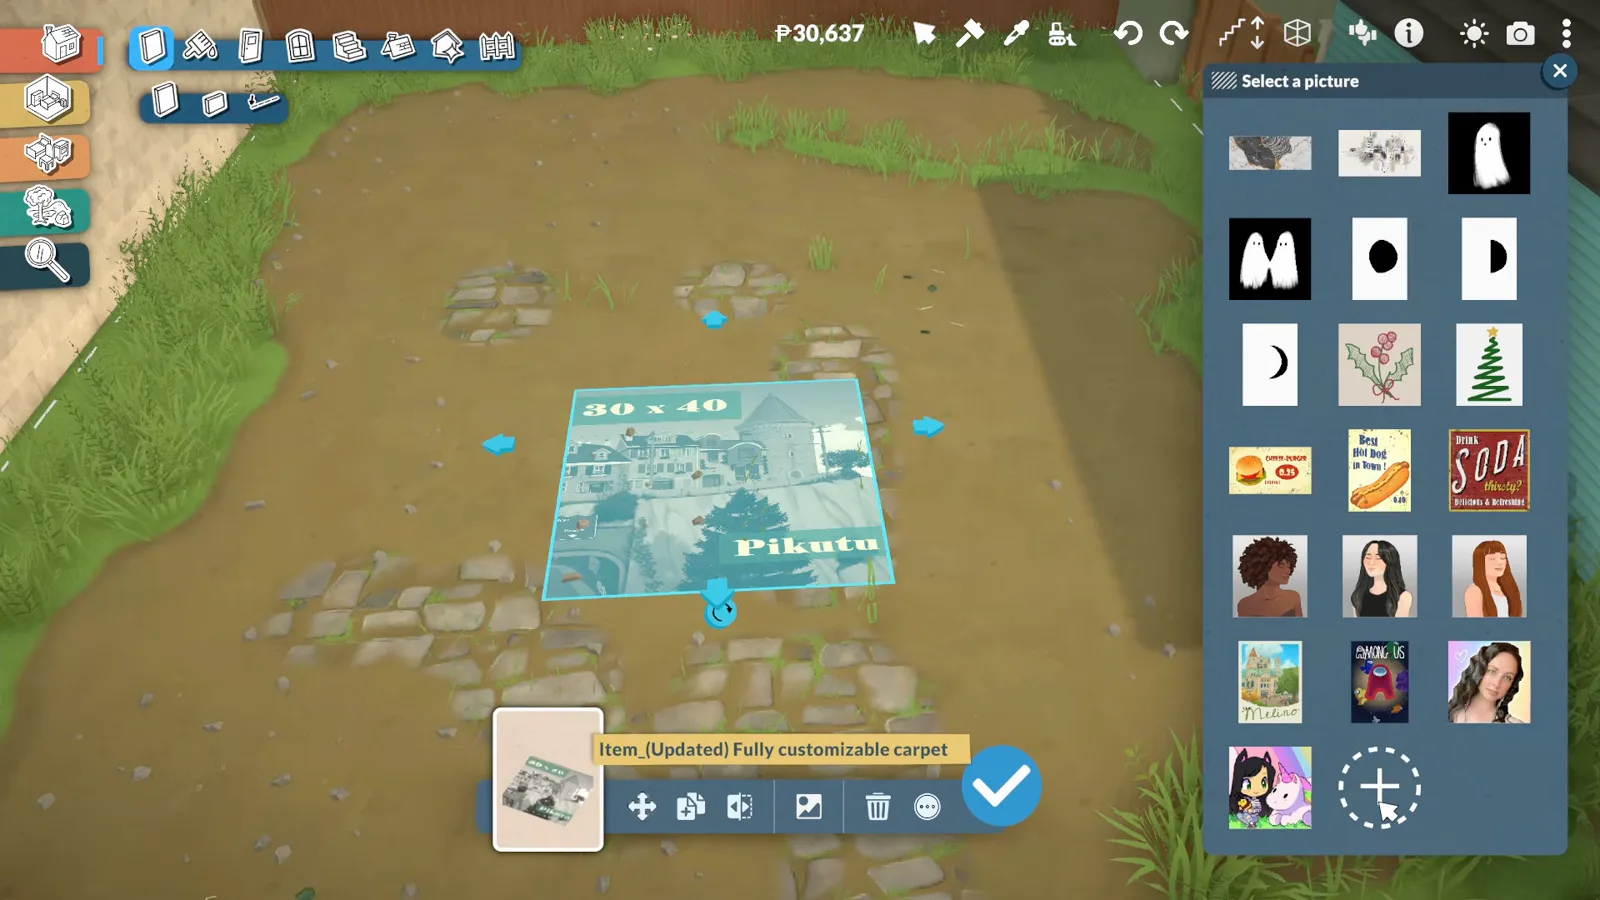
Any image file on your PC can go onto the rug.Watch at 1:48 - 5
Scale the plan to build size
Stretch the rug until the rooms look plausible at Paralives scale. There is no measurement overlay, so use a doorway as your yardstick: a door is roughly one grid tile wide, and if the plan's doors are much narrower or wider than that, the whole thing is out of scale. Getting this right now saves re-tracing later.
Use a doorway as the yardstick — about one grid tile.Watch at 2:12 - 6
Trace the walls over the plan
Switch to the wall tool and draw straight along the lines in the image. Work room by room, closing each shape before you start the next. Interior walls, closets and pantries all come across; ignore anything on the plan too thin to matter, because Paralives walls have a fixed minimum thickness.
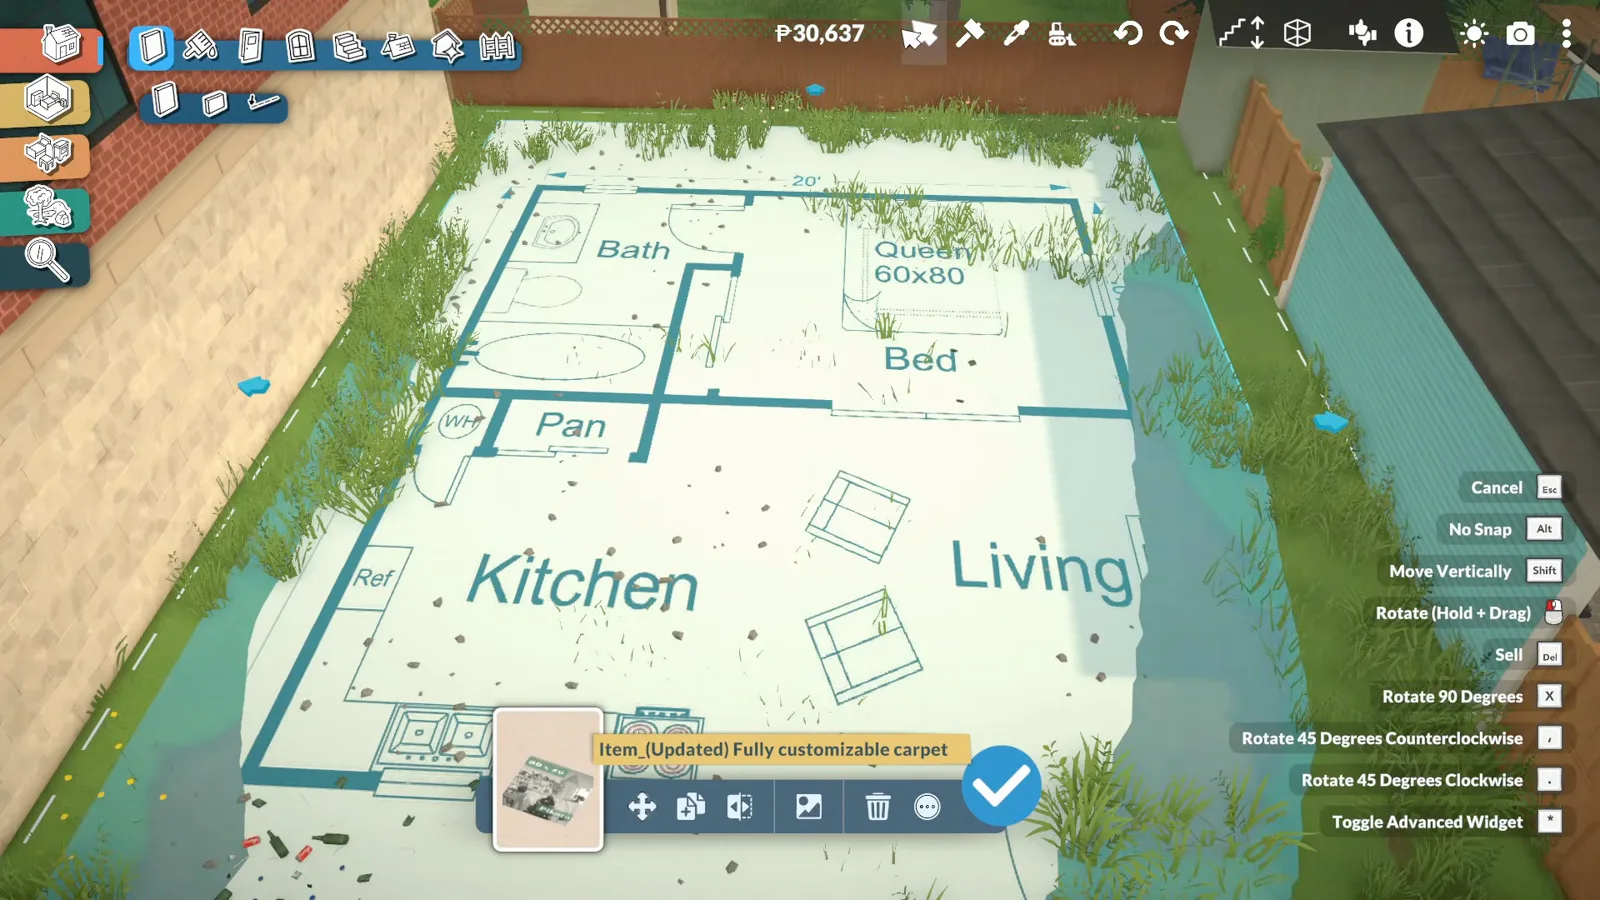
Room by room, closing each shape as you go.Watch at 2:36 - 7
Copy the window positions
The plan marks where the windows go, which is the part that is genuinely hard to eyeball otherwise. Place each one over its mark and resize it to match the opening on the drawing. Watch the alignment highlight so windows on the same wall sit at a consistent height.
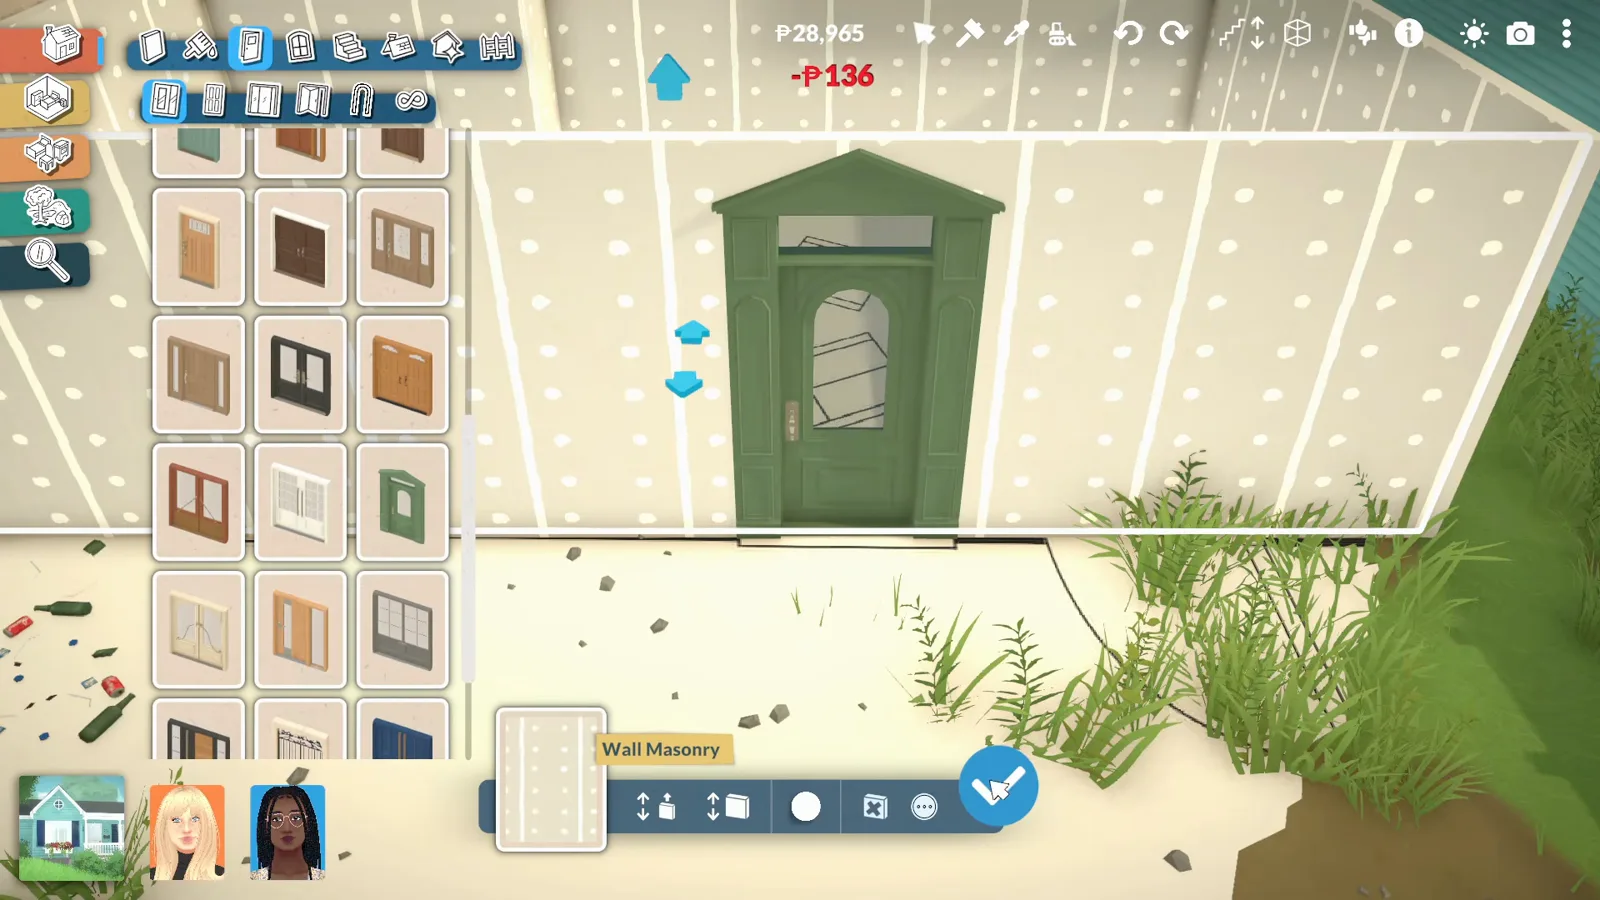
Window placement is where a real plan earns its keep.Watch at 3:48 - 8
Add the doors, including the awkward ones
Doors are next, and plans usually show the swing arc so you know which way each one faces. Wider openings on the drawing are normally sliding or double doors. This is also where you discover the quirks of the plan — a bathroom reachable only through the bedroom, or a walk-in pantry you had read as a closet.
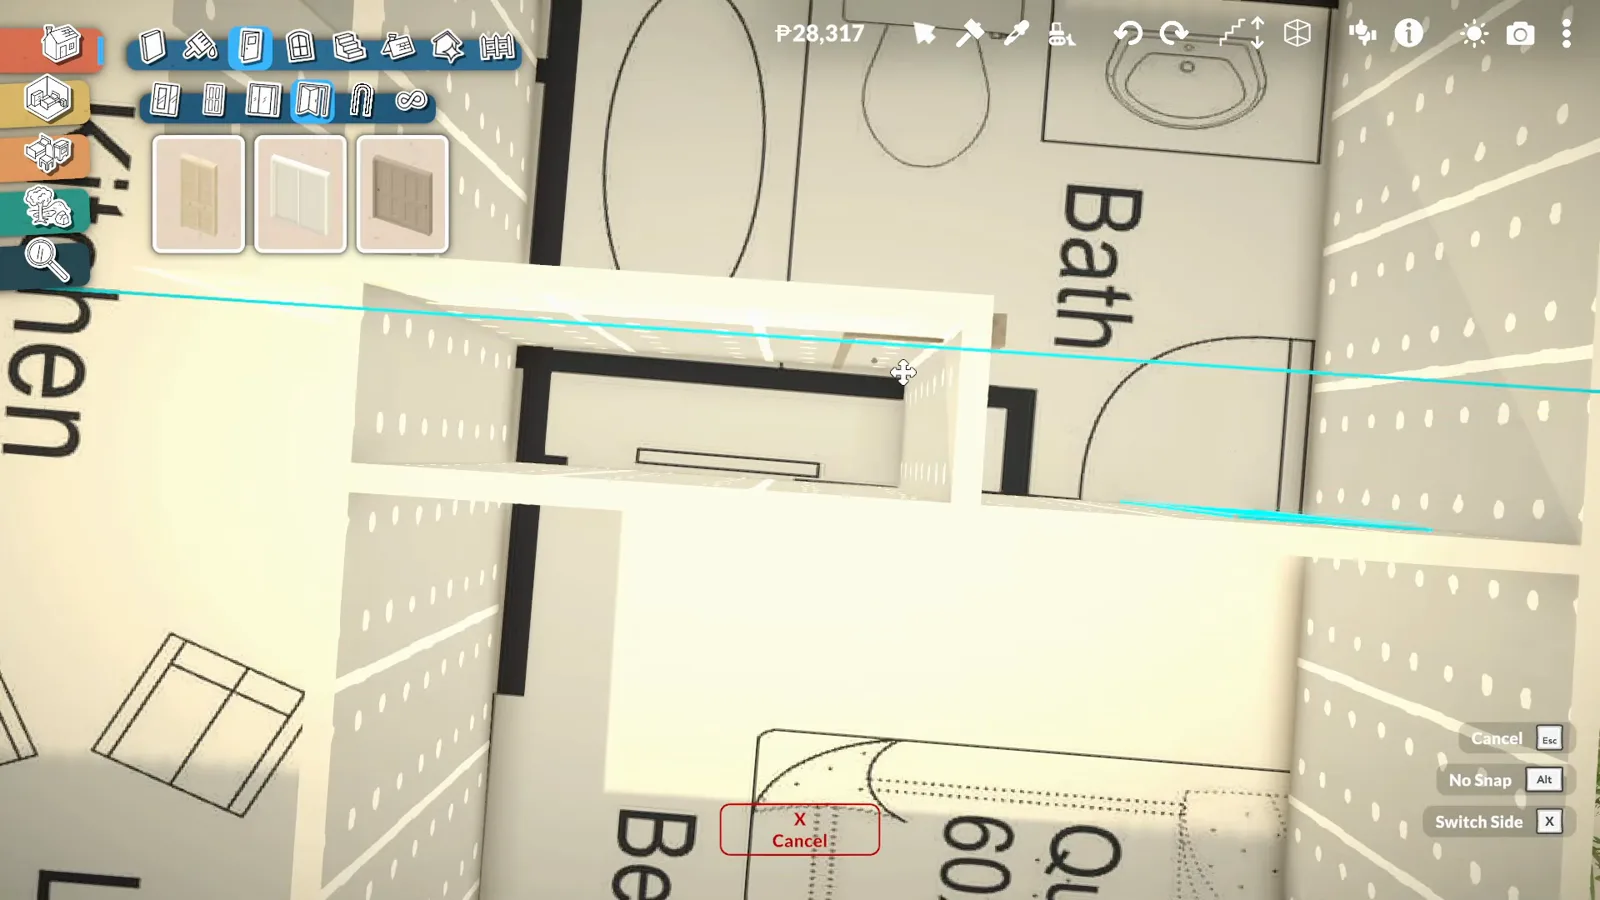
Door swings on the plan tell you which way to face each one.Watch at 5:00 - 9
Delete the rug
Once walls, windows and doors are in, sell or delete the rug. The shell that remains is an accurate copy of the plan, ready for flooring and paint. Now is a good moment to save the lot to your library, before decorating changes anything.
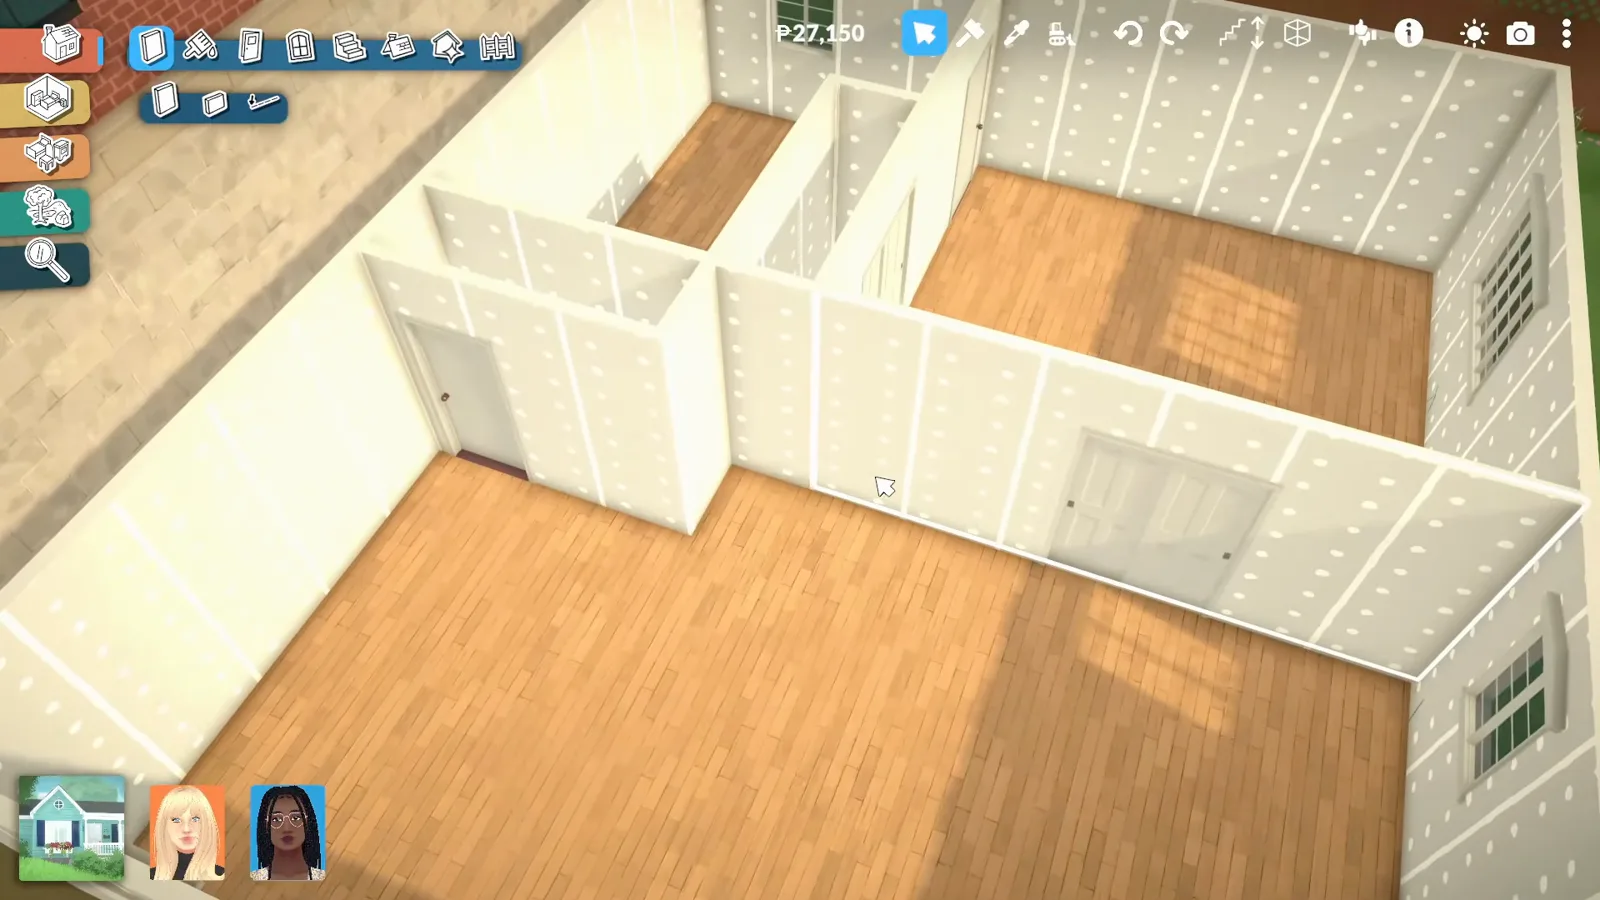
The rug goes; the accurate shell stays.Watch at 6:12 - 10
Decorate inside the plan
Furnish room by room using the plan's own layout — the sink, stove and fridge where the drawing puts them, the bed against the wall it indicates. Following someone else's layout is a genuinely good exercise if you always build the same shapes, and you can loosen anything that turns out to feel cramped in-game.
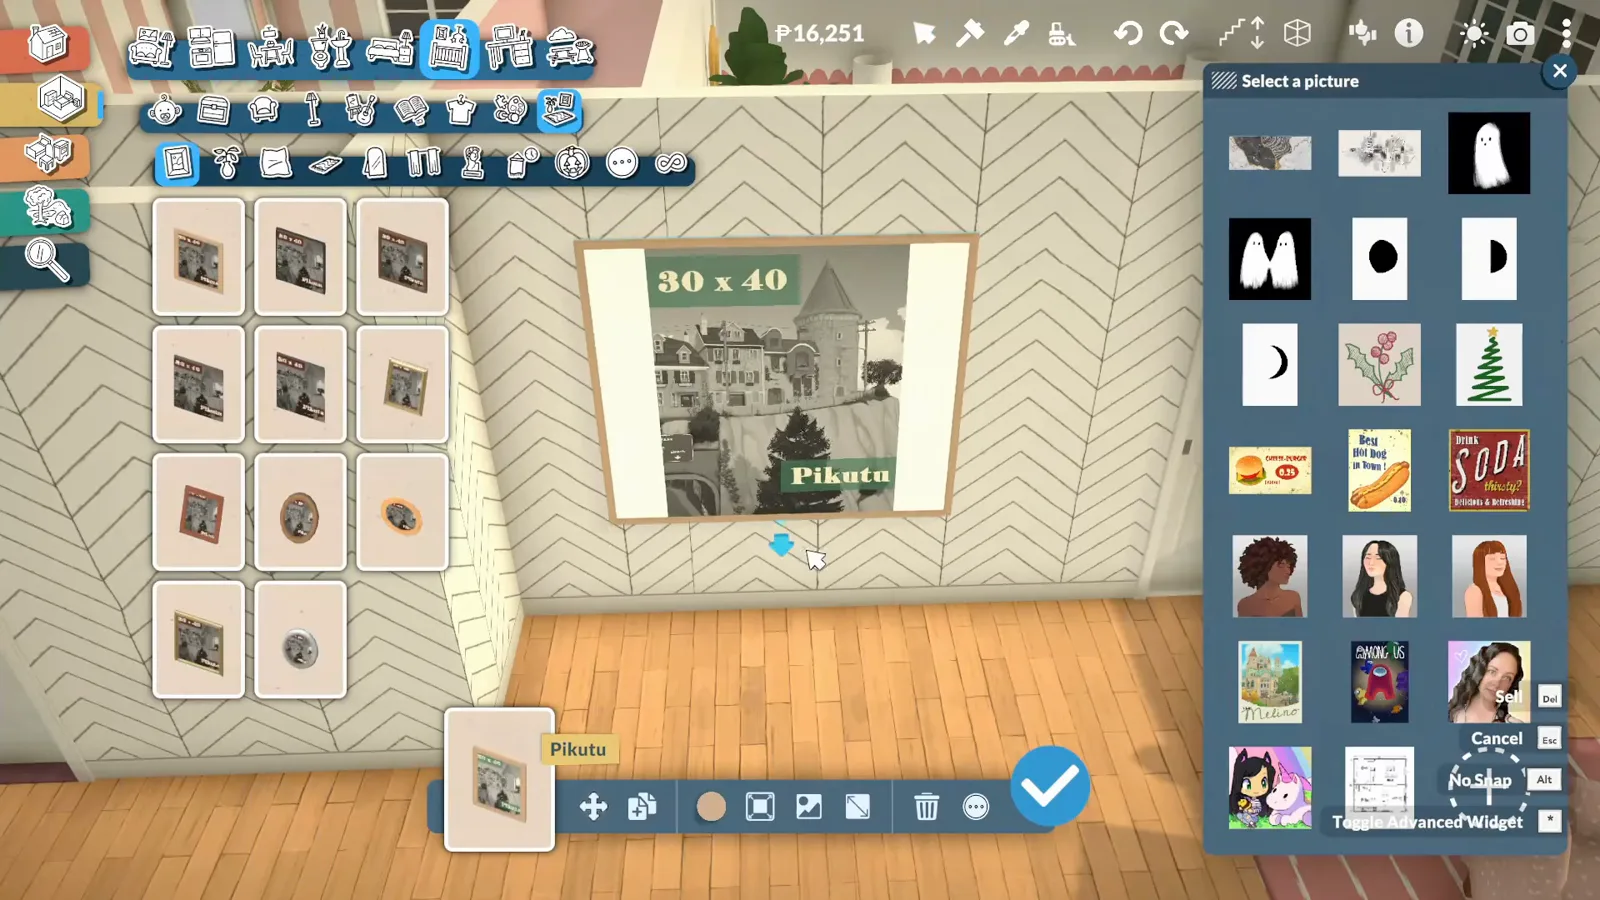
Furnishing to the plan is a good habit-breaking exercise.Watch at 7:00
Before you start
- Scale is judged by eye — Paralives has no ruler, so check doorway widths early rather than after tracing.
- Real floor plans include structural detail the game does not model; ignore anything thinner than a Paralives wall.
- The rug is a mod. Delete it before uploading your lot, or players without the mod see a missing object.
- Mods can break after a patch — check the Workshop page again after each Paralives update.
Can Paralives import floor plans?
Partly, and the gap is what the rest of this page is for. Nothing in Build Mode reads a plan file, generates walls from a drawing, or aligns to a reference image — there is no blueprint import. What the game does have is custom image slots: patch 0.1.5 widened them to mugs, rugs, skateboards, curtains, cushions and flags, and its own wording (“More Custom Image Assets”) means some slots predate it — which ones is undocumented. Any asset with an image slot displays a picture from your own computer, and rugs are on that list. Patch 0.1.6 added the same on Mac. A floor plan is just a picture, so it goes flat onto a rug on the ground and you trace the walls straight over it.
So the constraint is not the image, it is the surface. To trace floor plans you want something that lies flat and stretches across a whole lot, which is why the walkthrough uses the Workshop carpet rather than a stock rug. The same route works in reverse: a screenshot of a house you like, saved as an image, becomes a plan you can trace — and any build you finish goes back out to the Workshop as a house someone else can place.
Not verified: how far a base-game rug scales while staying flat on the ground — nobody has published a measurement, so the steps above use the resizable Workshop carpet. And no source, official or community, documents a planned blueprint or floor plan import; the wiki's list of planned features has no entry for one.
Floor plan mods, Reddit plans and templates
The floor plan mod question has a one-item answer: the Fully customizable carpet by Earth Fish, the Workshop rug this walkthrough uses. The image slot itself is vanilla — since patch 0.1.5, rugs, curtains, cushions and flags all display your own pictures — so the mod's real job is scaling a plan across a whole lot.
Reddit plan threads trade images, not game files: there is no floor plan file Paralives can open. Finished houses are the part the game does share — through the Steam Workshop — so a Reddit thread with a plan you like ends the same way every time: save the image, trace it with the method above.
Templates are the one thing that does not exist: Paralives ships no official plan templates, and no source documents one planned. The closest stand-ins are Workshop houses you place and remodel room by room, and the written layouts on our house ideas page.
Floor plans: trace one, or download the finished house
The method above turns any image into a house. This section covers where those images come from — the fastest routes to a layout you will enjoy living in — and the one place a house is ready to download instead of build: the Steam Workshop.
Where floor plans come from
Every build starts with a layout idea. Four sources, cheapest first:
- A real floor plan — search floor plans for a house in the size you want, save the image and trace it with the carpet method above. Estate-agent listings and architect drawings both work.
- A screenshot of a house you like — from a video, a community post or a listing site. Any image the rug can display works.
- A sketch on grid paper — one square per tile lands surprisingly close, and it is the fastest way to test an idea.
- An existing Workshop house — subscribe, place it, and remodel room by room. The fastest route to a house that already works.
Download a finished house from the Workshop
Builds — whole houses and individual rooms — upload to the Steam Workshop with one click, and downloading is free. Subscribe from the Workshop or browse it from the in-game Mods screen, and the house lands in your library ready to place on an empty lot. You can browse rooms before committing to a whole house, and the creator's colour picks ship with the build.
The carpet and the Workshop are two routes to the same houses: when the house only exists as an image — a plan or a screenshot — trace it with the rug; when someone already built it, subscribe instead. If a downloaded build kept a modded item such as the carpet rug, subscribe to that mod too, or the object shows up missing.
Open the Workshop hubHouse ideas to try
Layout ideas that only use tools Paralives already has. Pick one, then swap windows, walls and rooflines until it stops being a template.
- Single-storey ranch — kitchen on the back wall, living room in the middle, bedrooms down one side. The easiest first house.
- Two storeys with the stairs in the middle — bedrooms upstairs, a single entrance below. The classic divide.
- Split-level on a sloping lot — the terrain and split-level tools make a hillside plan an afternoon project.
- An L- or U-shaped house around a courtyard — more exterior wall for windows, plus a private outdoor room.
- A small starter home first — finish, furnish and learn the budget before taking on a big floor plan.
Not verified: Paralives has not published official plan templates, and none of the ideas above comes from the game itself — they are starting points, and the finished house is yours either way.
Floor plan and blueprint questions
- Does Paralives have a blueprint tool?
- No — not in Early Access 0.1.9b. There is no blueprint tool, no floor plan overlay, and nothing that turns a drawing into walls. But since patch 0.1.5 the base game puts your own image on a rug, which is why the workaround needs no texture mod: the plan is a picture, and a rug displays it.
- Can I build a real house floor plan in Paralives?
- Yes. Save the plan as an image, display it on the customizable carpet mod, scale it against a doorway and trace the walls. Room shapes and window positions copy across accurately; exact real-world measurements do not.
- Do I need a mod to build from floor plans?
- Not to see the plan. Custom images on rugs, curtains, cushions and flags are a vanilla feature since patch 0.1.5, and on Mac since 0.1.6. The walkthrough still uses the Workshop carpet because it resizes to cover a lot — how far a stock rug goes is not verified. Workshop mods need the Steam version; with no mod at all, the fallback is the plan open on a second monitor and a lot of estimating.
- Will other players need the mod to use my lot?
- Only if you leave the rug in. Delete it before uploading and the lot works for everyone, because nothing else in the build depends on the mod.
- Can you download floor plans for Paralives?
- Not as plans — as houses. The Workshop shares finished builds, whole houses and single rooms, free with one click to subscribe, but there is no floor plan file the game can open. So either download the building and walk it, or screenshot any build you like and trace that image with the rug method above. Plans themselves come from outside the game: save any house floor plan image and trace it.
- Can you download houses in Paralives?
- Yes — through the Steam Workshop, free of charge. Whole houses and individual rooms upload and download with one click, subscribed builds appear in your game library, and you place them on an empty lot straight from build mode. It is the only official channel for player builds; the Workshop hub explains how it works.
- Are there houses for sale in Paralives?
- Not in the real-estate sense — there is no player market where you list a house or buy another player's build with in-game money. Buying happens at the lot level: when you move household, you buy a lot from the town map in Melino, occupied or empty. Finished houses from other players arrive through the free Steam Workshop instead.
Related guides
Full build mode tutorial
Every tool in order, from settings to saving the finished lot.
15 build mode tips
The tricks that save a rebuild, with a screenshot for each.
Custom content
What counts as CC in Paralives and where the good sets are.
Install mods
Subscribing, load order and what breaks after a patch.
Build budget planner
Price the build before your household runs out of money.