
The short version
Photo mode freezes the game and hands you a directing toolkit: any time of day, any animation frozen at any frame, built-in poses, depth of field and a full list of filters. You can even reposition Paras and furniture for the shot — everything returns to normal when you leave.
- Open photo mode from the camera icon at the top of the screen — the game freezes and the panel appears on the right
- Time of Day relights the whole scene independently of your save's clock
- Drag Animation Time to freeze a motion at the exact frame, or search the list for named poses like Pose Casual or Pose Shy
- Depth of Field adds true aperture blur; filters run from Black and White to Cinematic Mexico, each with an intensity slider
- Paras and home-lot objects can be dragged anywhere for the shot and walk back to their real spots afterwards
- TAKE PICTURE saves the image — the photo mode panel never appears in the saved shot
Open photo mode
Get into photo mode
Photo mode lives one click away in normal live mode. Everything below happens inside a frozen moment — Paras stop mid-action, needs stop draining, and the world holds still while you compose.
- 1
Open photo mode
Click the camera icon in the top bar while playing. The game freezes instantly and the PHOTO MODE panel opens on the right side of the screen. Everything else in this guide happens inside that frozen moment — and if you want the capture shortcuts and save paths around photo mode, the dedicated photo mode guide covers them.
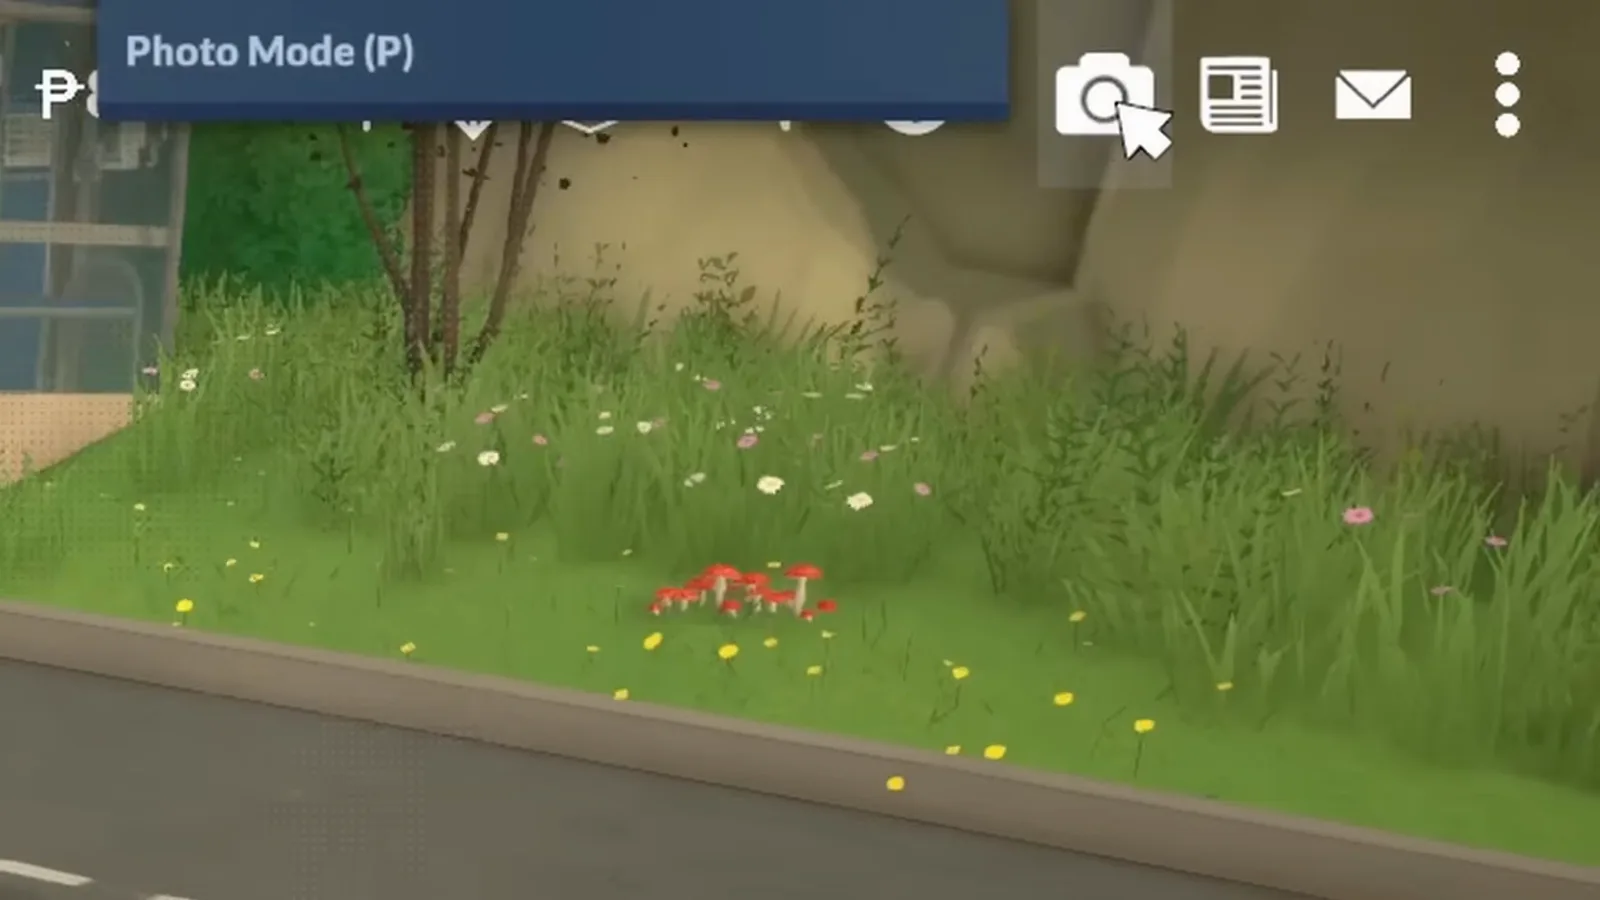
One click on the camera icon freezes the game.Watch at 0:18 - 2
Read the panel once, top to bottom
The PHOTO MODE panel is two stacked sections. Situation holds Time of Day, Animation, Animation Time and Para Censoring — everything about the scene's moment. Image Effects holds Depth of Field, Filter and Filter Intensity — everything about how the frame renders. The TAKE PICTURE button sits underneath both.
Situation sets the moment; Image Effects set the look.Watch at 0:55
Light & lens
Set the light, then fake the lens
The two controls that change a screenshot most are not poses or filters — they are the sun and the aperture. Set the light first, then decide how much of the background should melt away.
- 3
Drag Time of Day to relight the scene
The Time of Day slider relights the whole world while you drag it — noon, golden hour or full night — and it has nothing to do with the clock in your save. Watch your Para while you pull the handle: the same scene reads completely different under morning light and a street lamp.
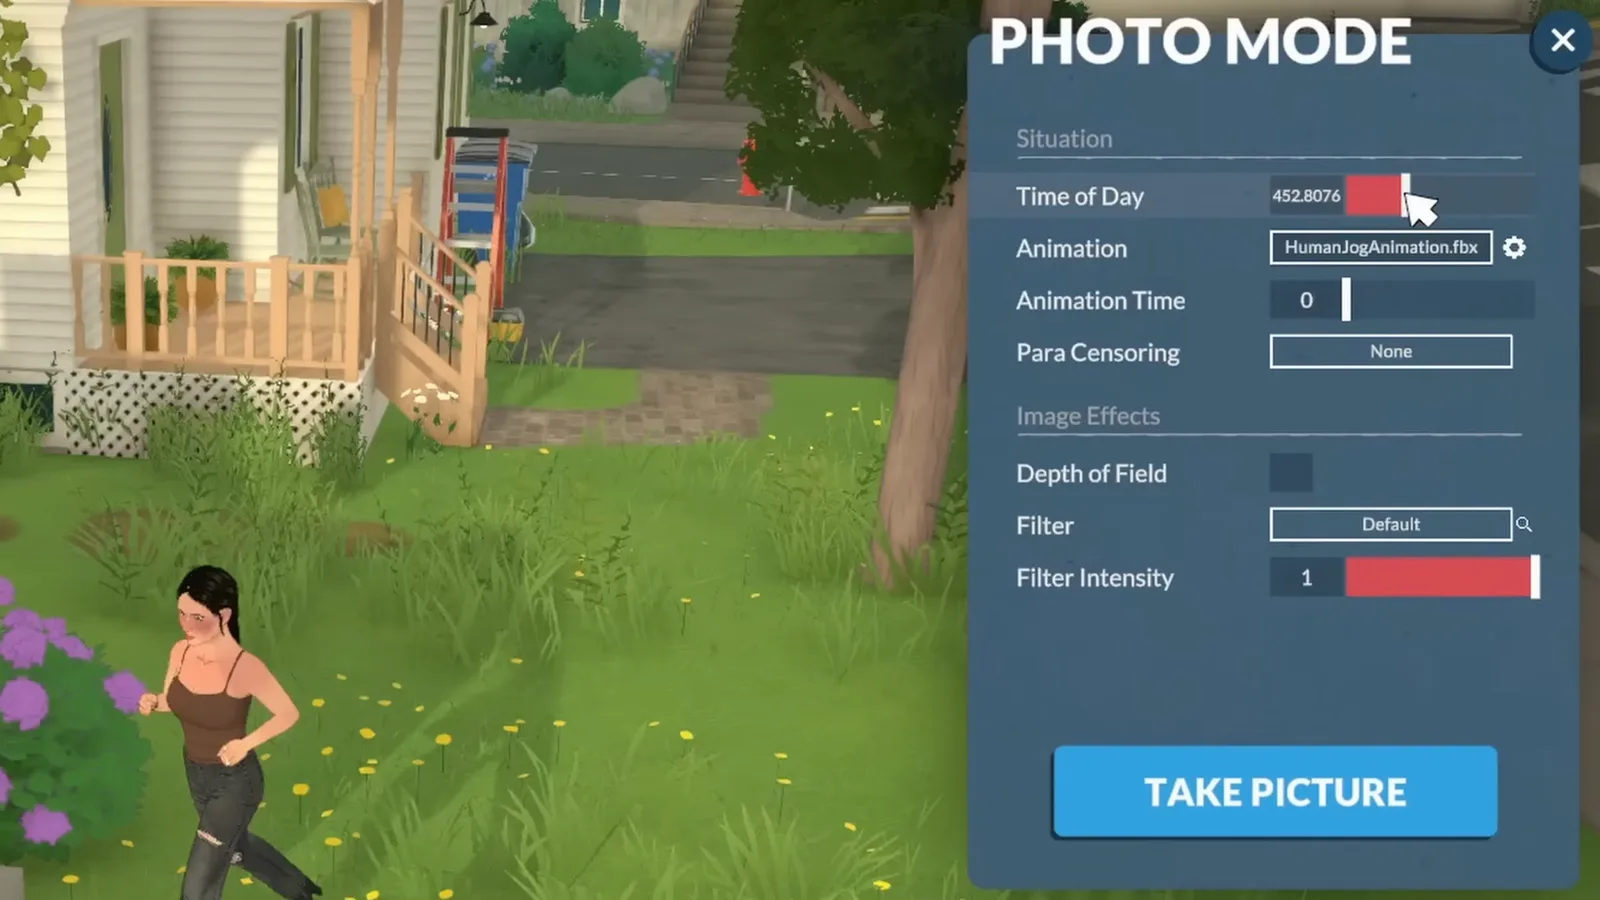
Any hour you want — your save's clock doesn't matter.Watch at 0:34 - 4
Add Depth of Field for a real lens
Tick Depth of Field under Image Effects and three photography controls appear: Focus Distance, Focal Length and Aperture. Raise the Focal Length for a tighter, more compressed look, set the Focus Distance to where your Para stands, then open the Aperture until the background melts into blur.
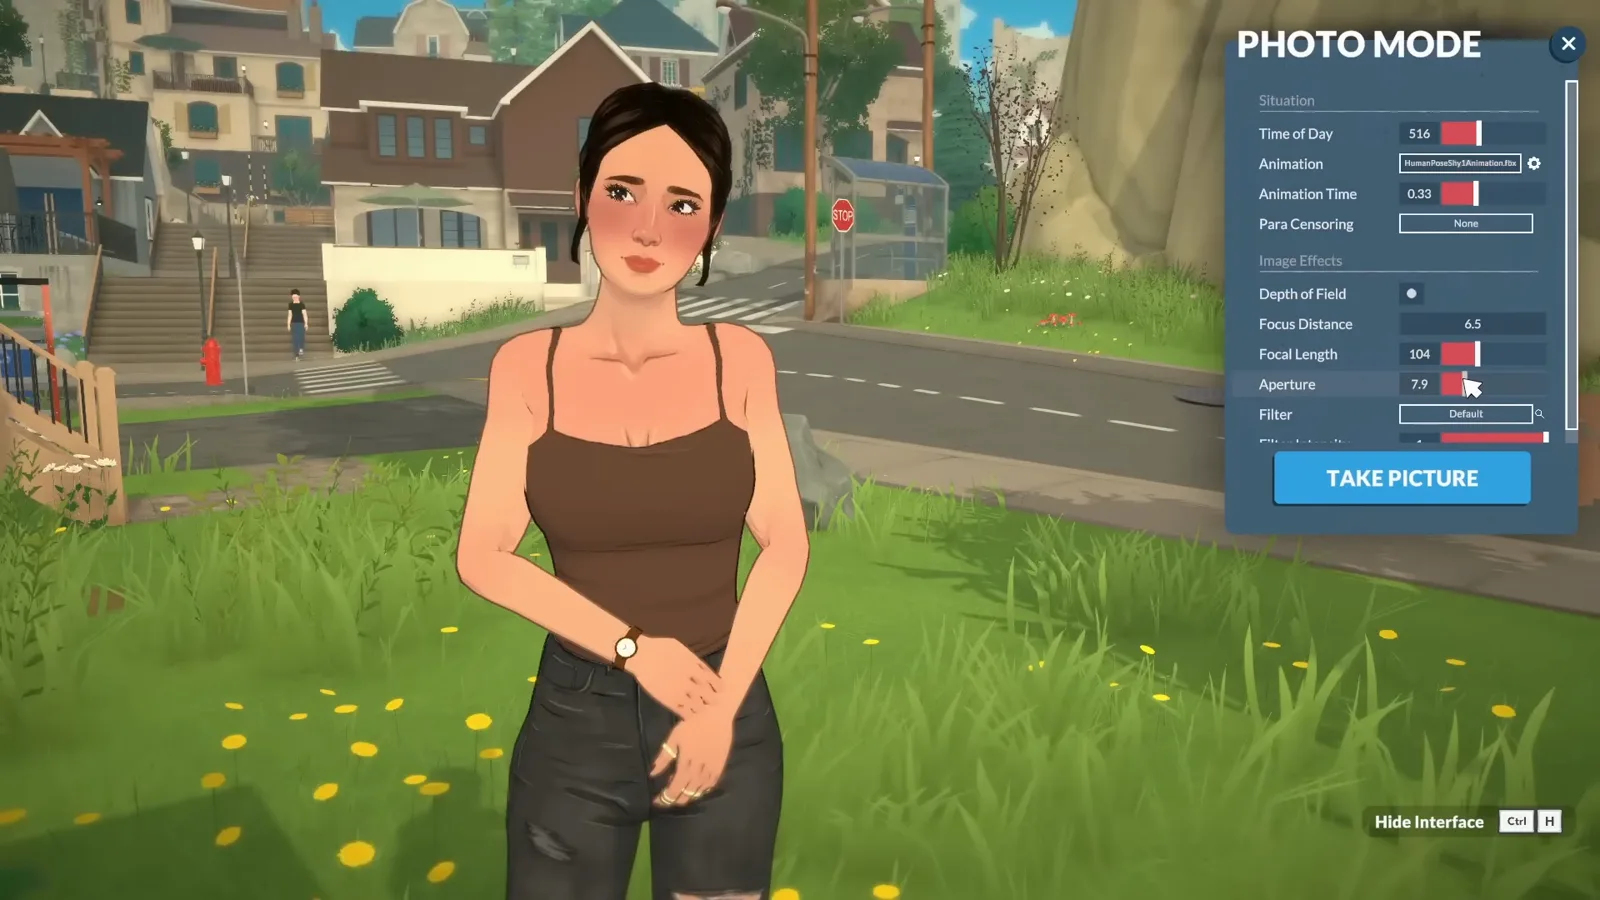
Focus on the Para, let the world fall out of focus.Watch at 2:47
Poses & animation
Direct the Para: animations, frozen frames and poses
This is the part most games never let you touch. Whatever your Para was doing when photo mode opened becomes a timeline you can scrub, swap, or replace with a still pose.
- 5
Start from the animation your Para was doing
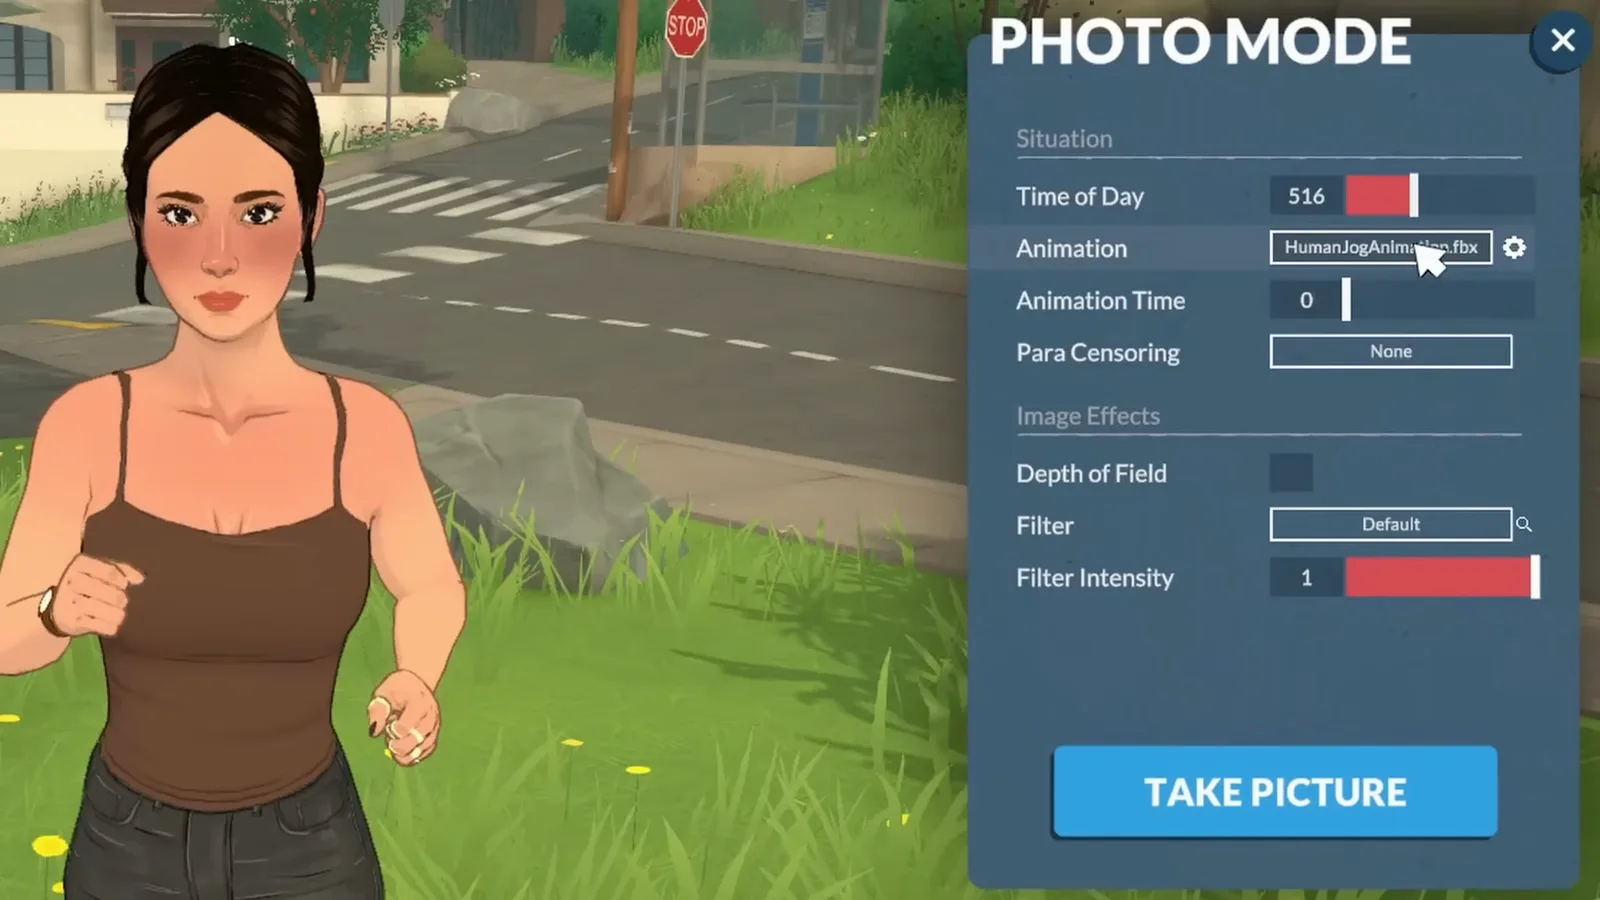
When photo mode opens, the Animation field shows whatever your Para was mid-doing — here a jog, HumanJogAnimation.fbx. That motion is now yours to direct, which means you don't have to stage anything: send your Para somewhere photogenic, open photo mode, and the action is already in the can.
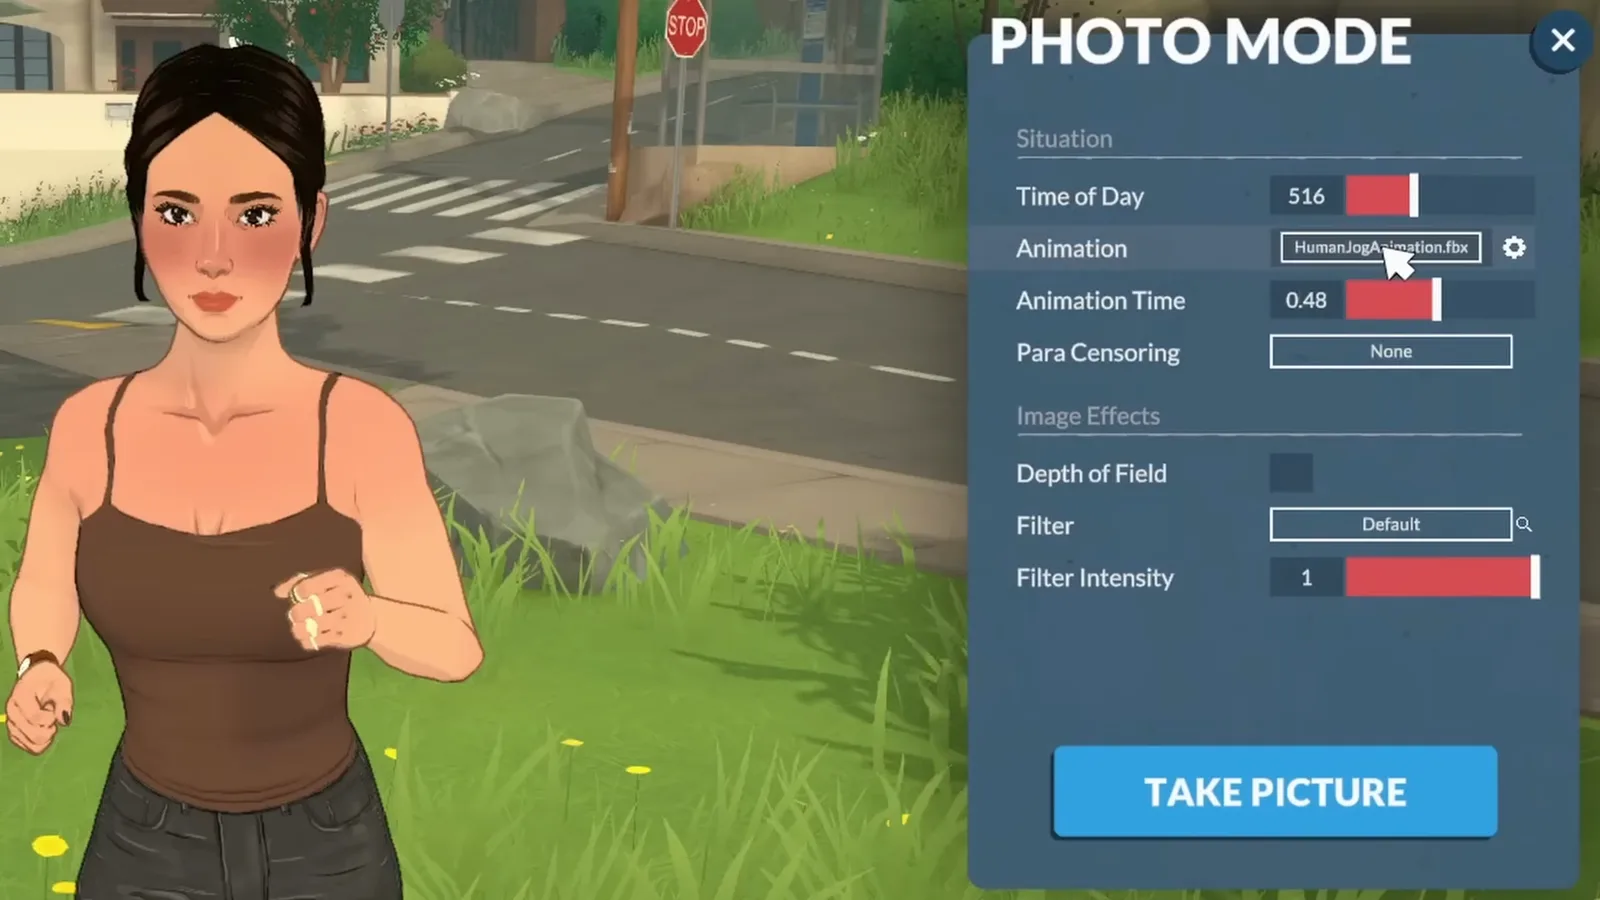
The jog your Para was already doing becomes your timeline.Watch at 1:19 - 6
Freeze the exact frame with Animation Time
The Animation Time slider under the animation name scrubs through that motion. Drag it and the Para steps through the jog frame by frame — leave it where the stride looks best and the game holds that exact pose for as long as photo mode stays open.
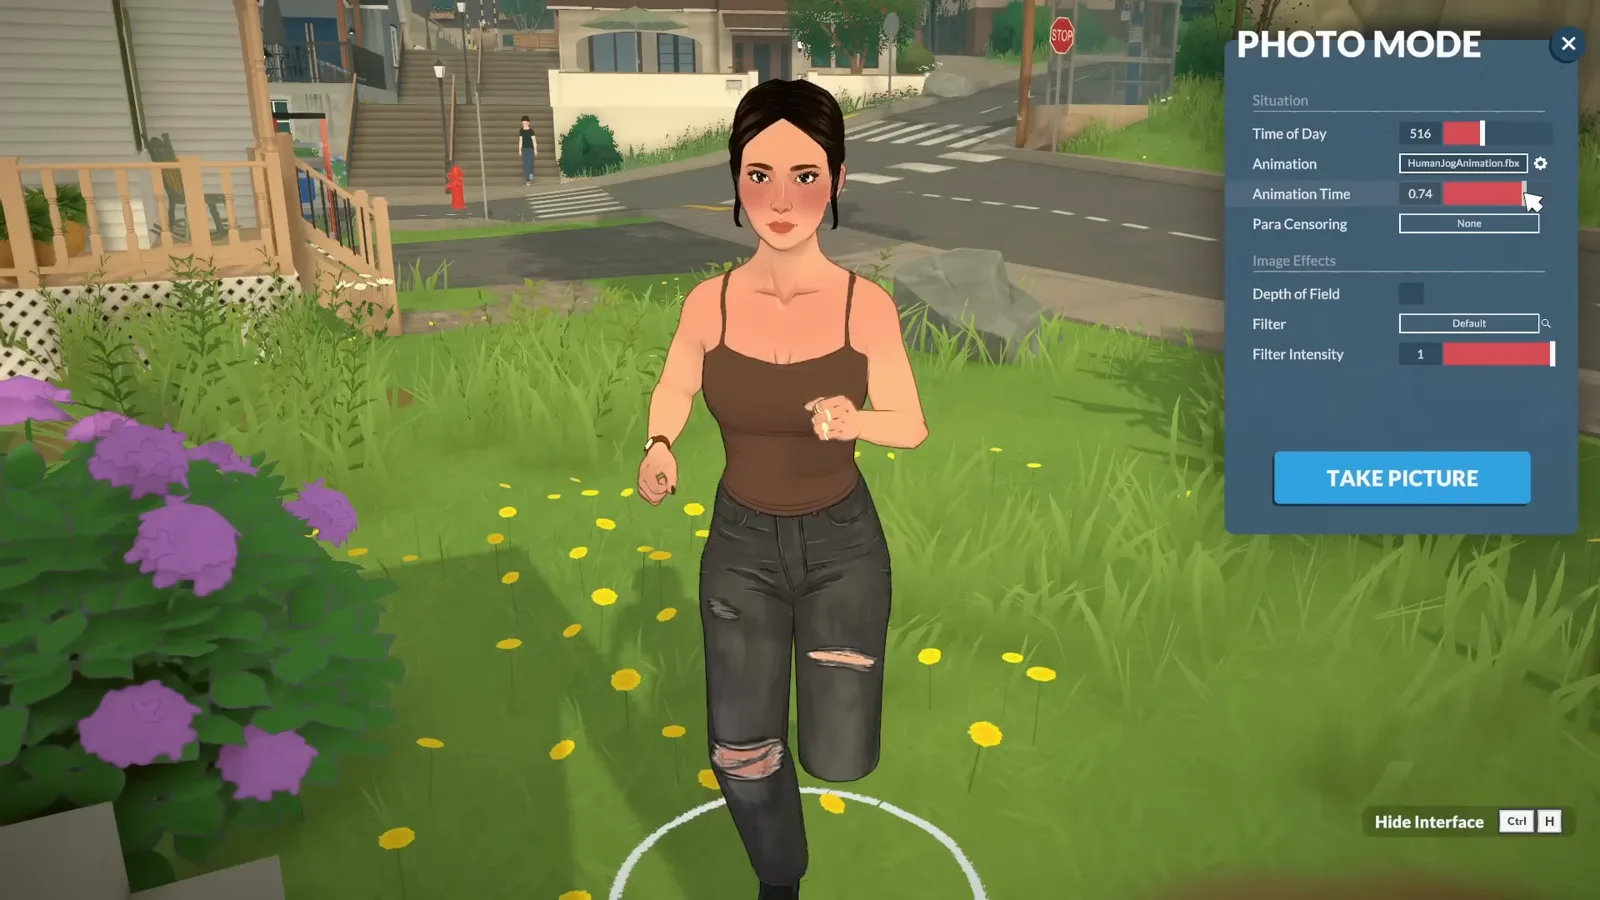
0.74 into a jog — the exact frame you want, held forever.Watch at 1:11 - 7
Swap in any animation from the search list
Click the animation's name and a searchable list opens: HumanAngryCrossedArmsAnimation, HumanBackPainAnimation and a whole catalogue of named motions. Pick one and the Para switches instantly — angry crossed arms reads nothing like a casual jog in the same frame.
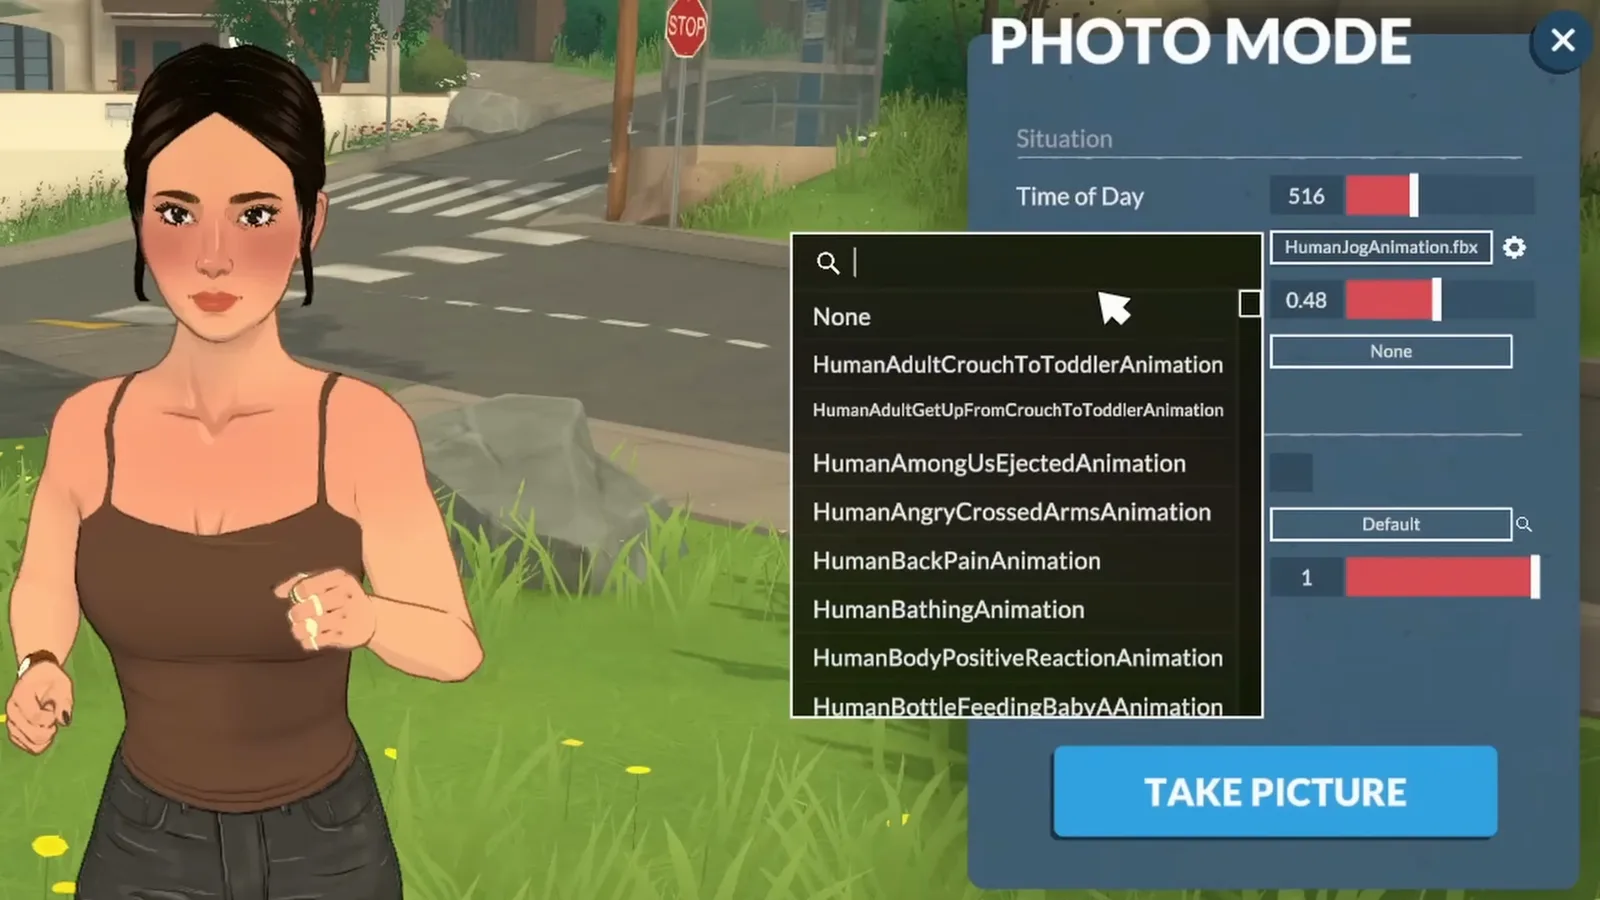
The whole animation catalogue, searchable by name.Watch at 1:22 - 8
Or use a still pose instead
Search the same list for "pose" and the animations give way to plain poses — Pose Casual, Pose Confident, Pose Shy and friends. One catch worth knowing: Animation Time does nothing for poses, because there is nothing to scrub. A pose is already its own frozen moment.
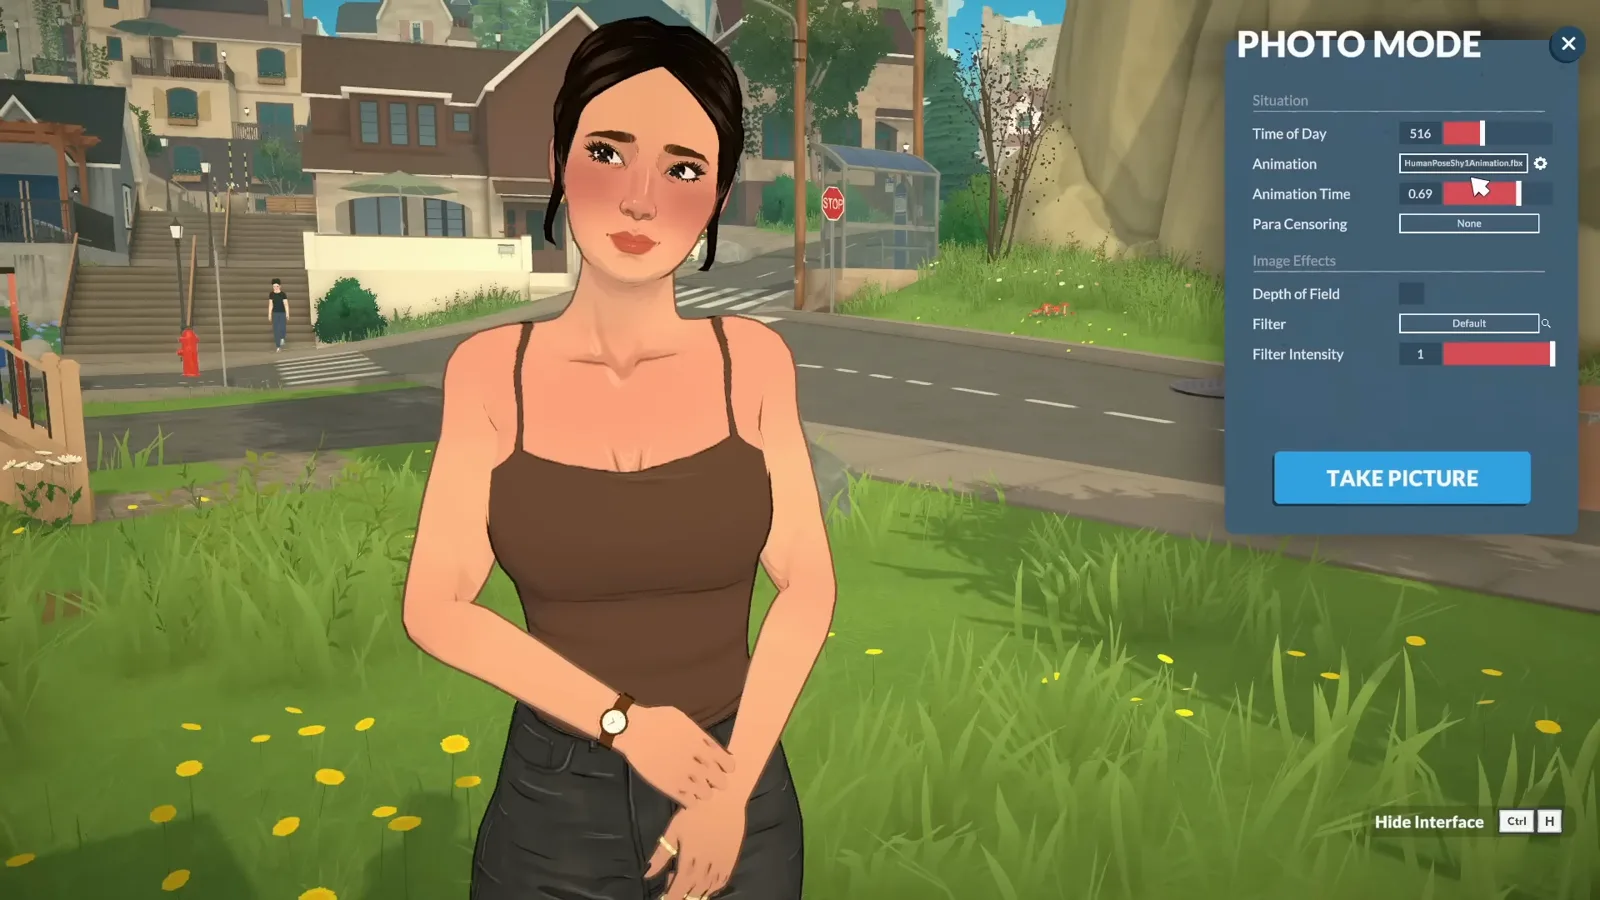
Poses are still frames — no scrubbing needed.Watch at 1:53 - 9
Censor a body area when you need to
Para Censoring, the last row in Situation, drops a pixelated block over Bottom, Knees, Chest, Head, Feet or Hands and Elbows. For most screenshots you will leave it on None — but it is there, and it applies to whatever pose your Para is holding.
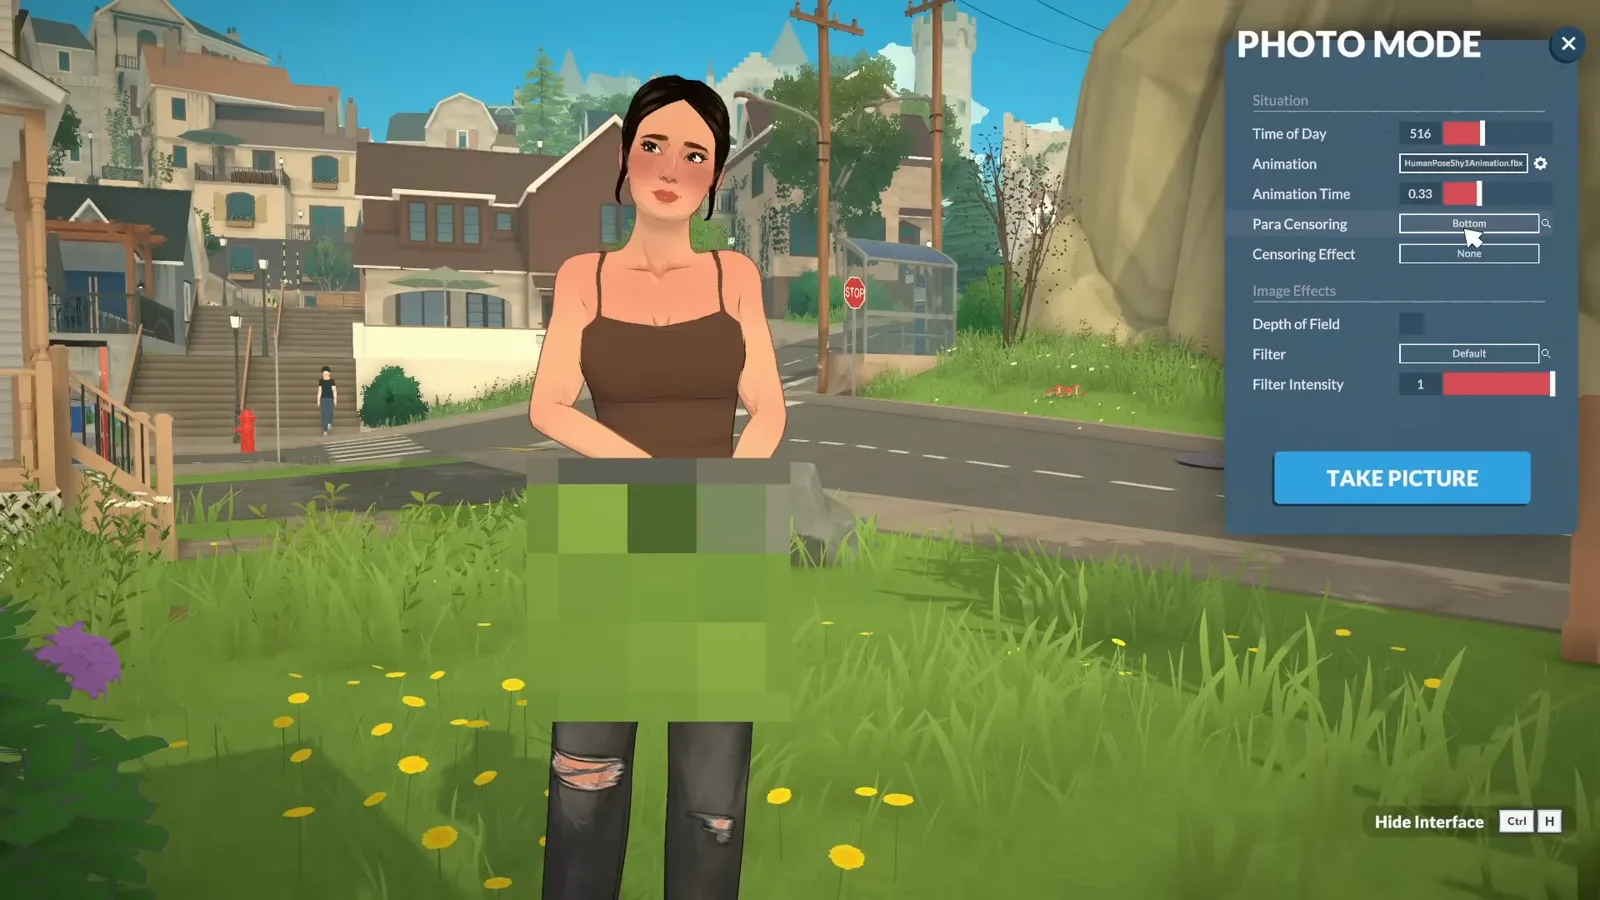
Pixelated privacy, straight from the panel.Watch at 2:13
Filters
Grade the shot with filters
Filters stack a look over the raw render, from gentle faded grades to full black and white — and the intensity slider keeps them from shouting.
- 10
Pick a filter from the Image Effects list
The Filter dropdown runs from None and Default through six Color Blindness modes and Black and White to grades like Fisheye, Alternate Reality and Cinematic Mexico. Treat it as a starting point rather than a final decision — every filter can be dialled back in the next step.
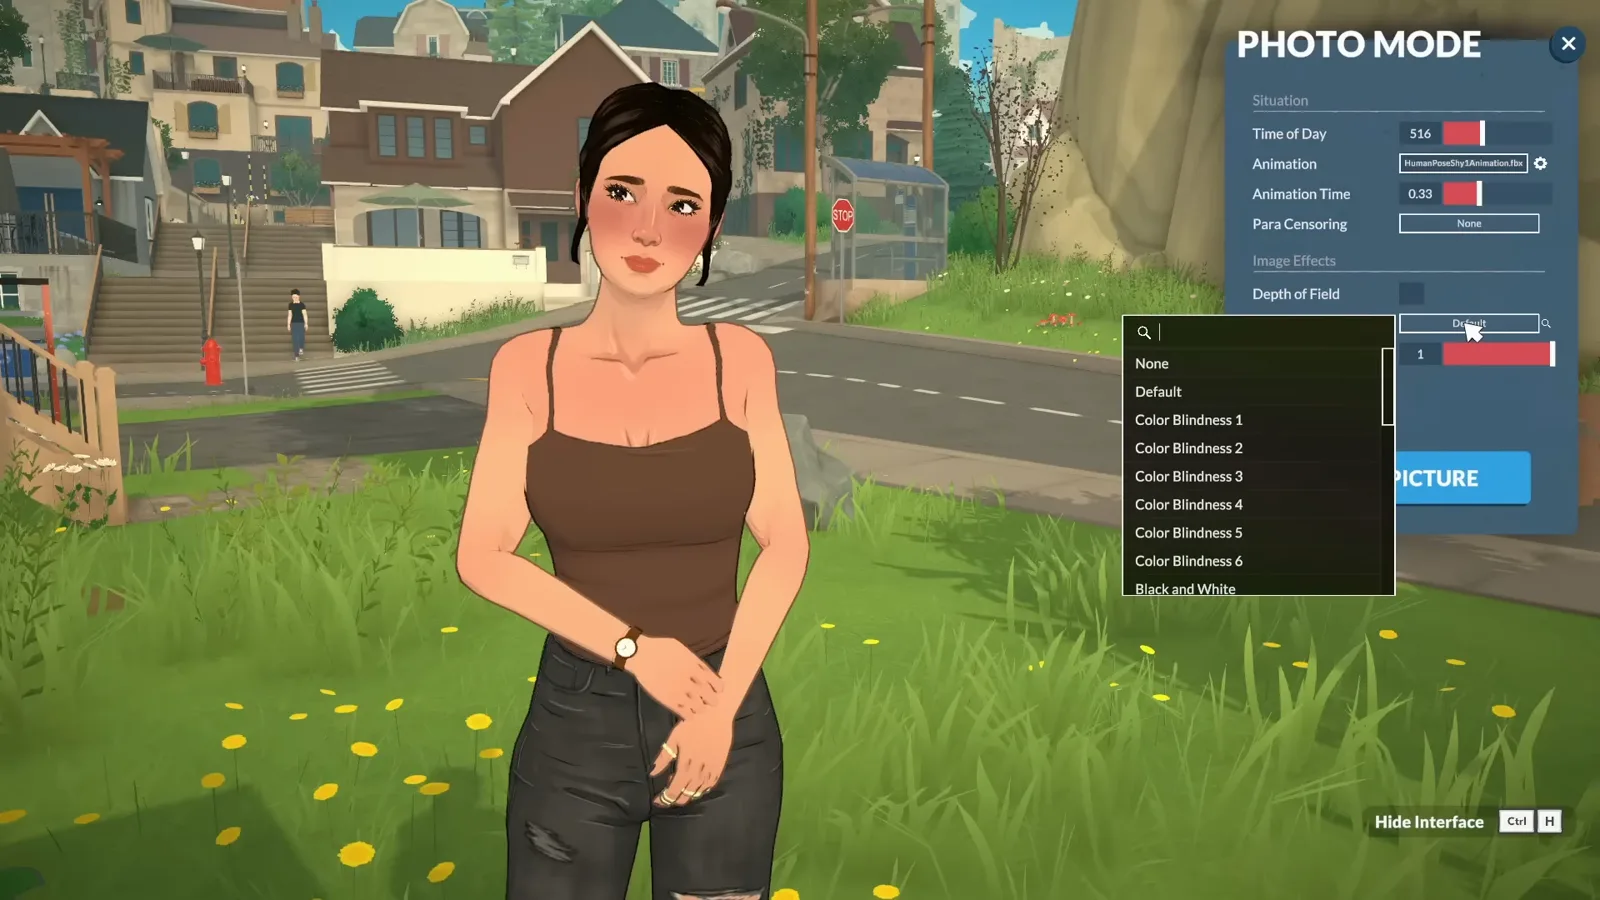
Accessibility modes and mood grades share one list.Watch at 2:59 - 11
Dial the filter back with Filter Intensity
Filter Intensity is the slider that keeps a grade from taking over the shot. Cinematic Mexico at full strength turns the whole scene warm amber; drag the intensity down and it becomes a hint of gold instead. Subtle usually beats maximum.
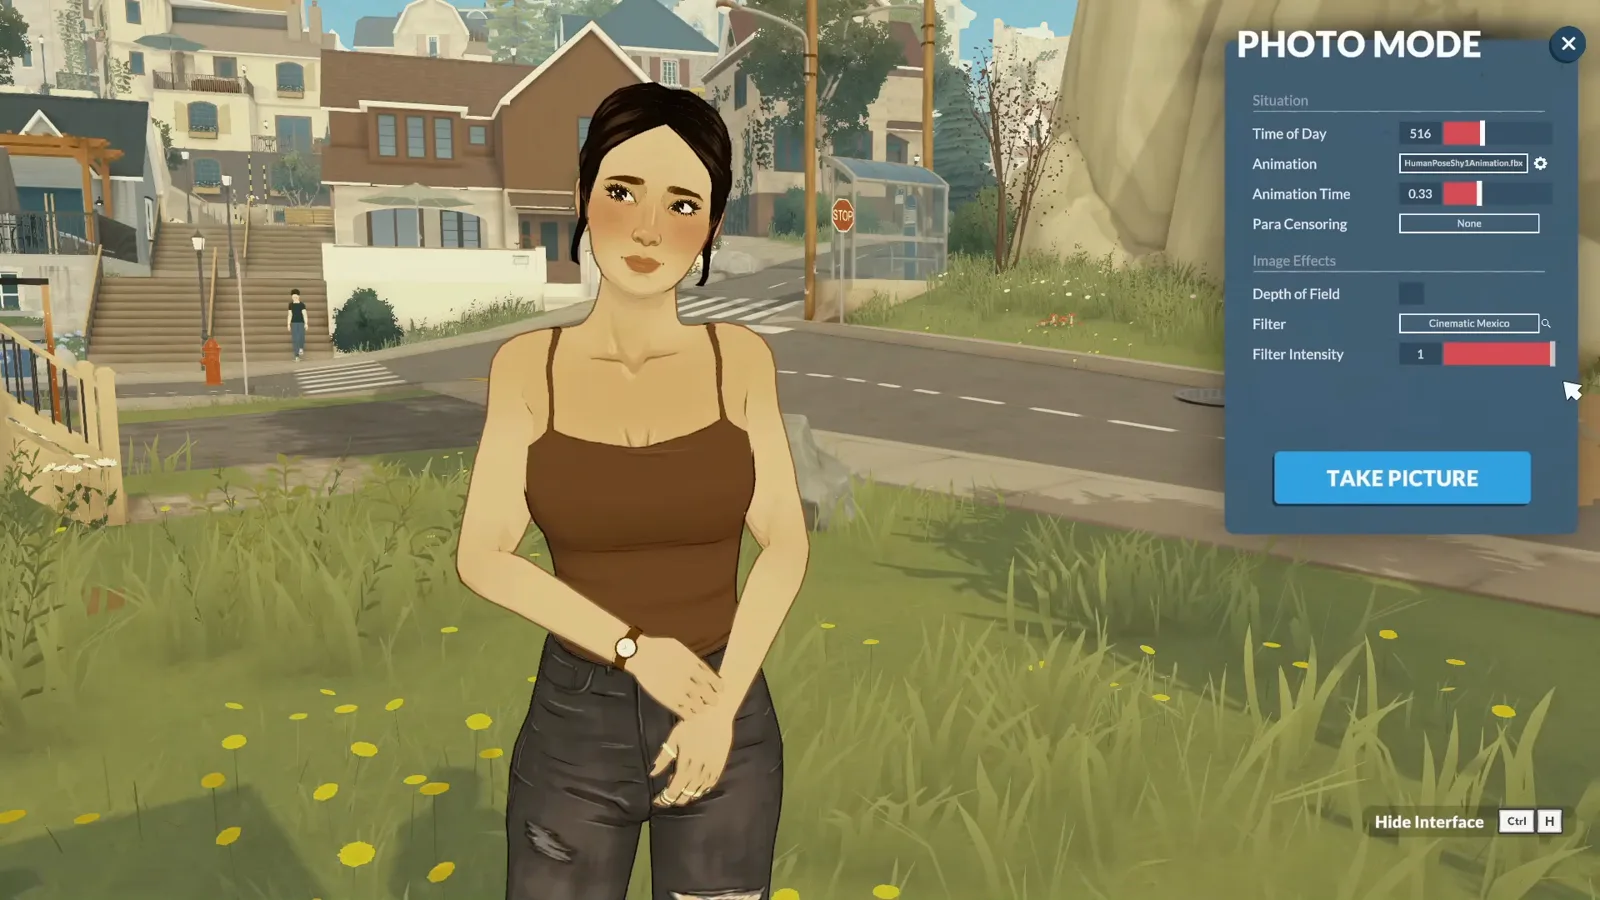
Cinematic Mexico applied — warmth you can dial down.Watch at 3:17
Staging & capture
Move the cast, cheat the set, take the picture
The last moves are pure director tricks: place your Paras wherever the composition needs them, drag a piece of furniture into frame as a prop, then take the picture.
- 12
Drag your Paras into the composition
Click any Para while photo mode is open and you can place them anywhere — same lot, a different lot, or a random street corner across town. Household members and other townies are all fair game. Click and drag before releasing to rotate them, then set them down where the frame needs them.
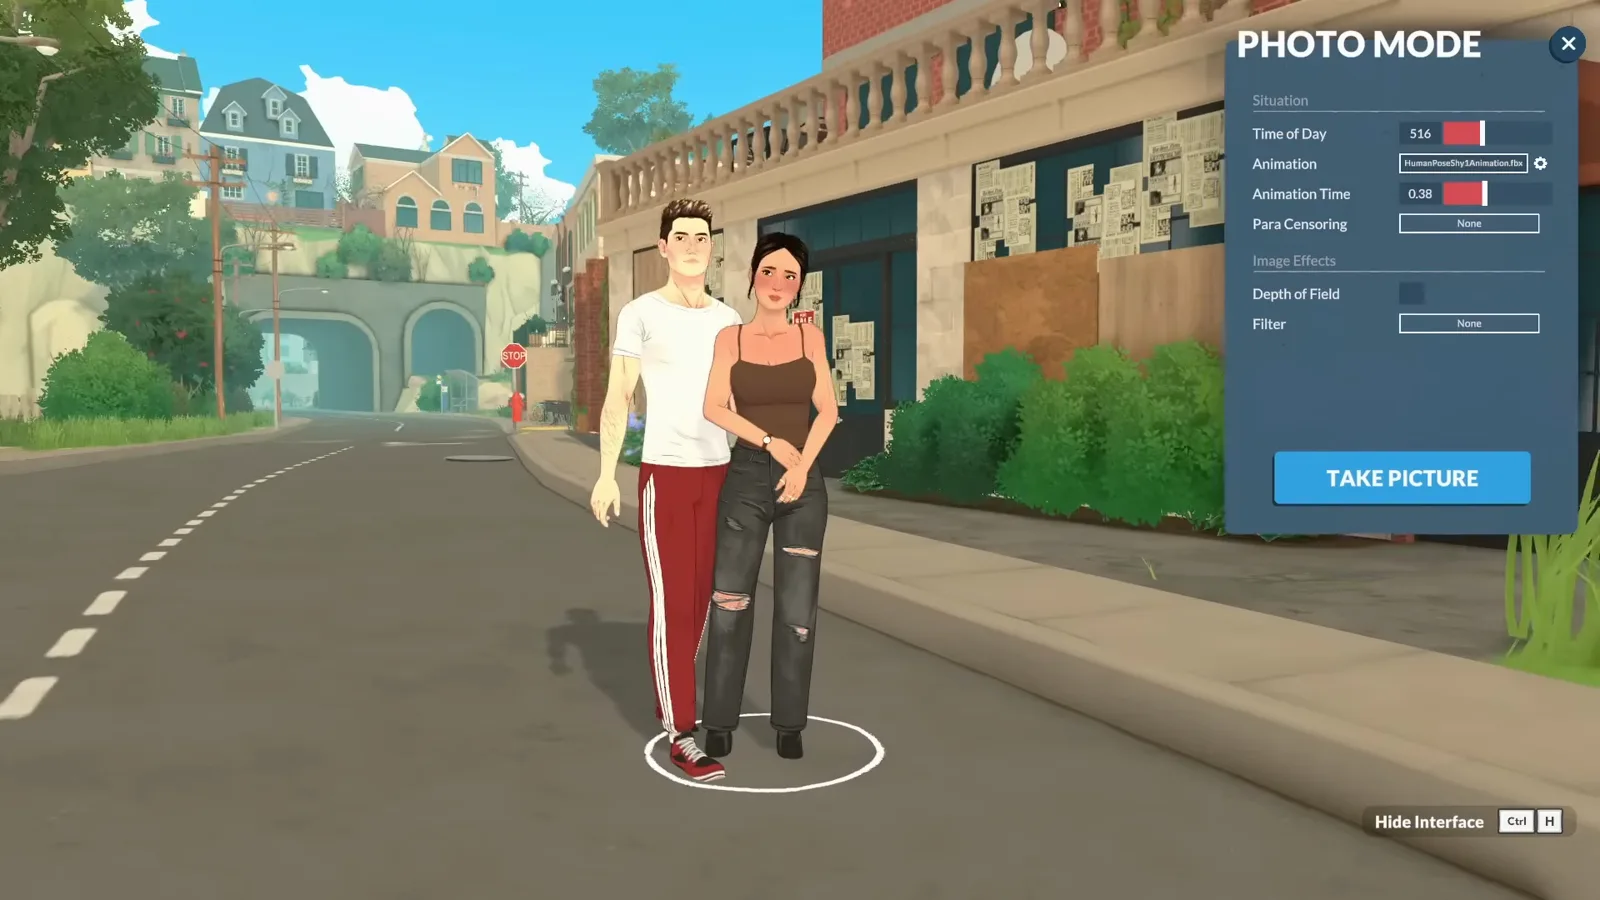
Two Paras, one frame — no lot boundaries in photo mode.Watch at 4:56 - 13
Borrow furniture as a photo prop
Objects from your home lot can be picked up and moved during photo mode too — pull a bookcase out behind your Paras and it becomes a set piece. Click More on the selected object and toggle the Advanced Transform Tool to place it outside the lot boundaries. Leave photo mode and everything walks itself back home.
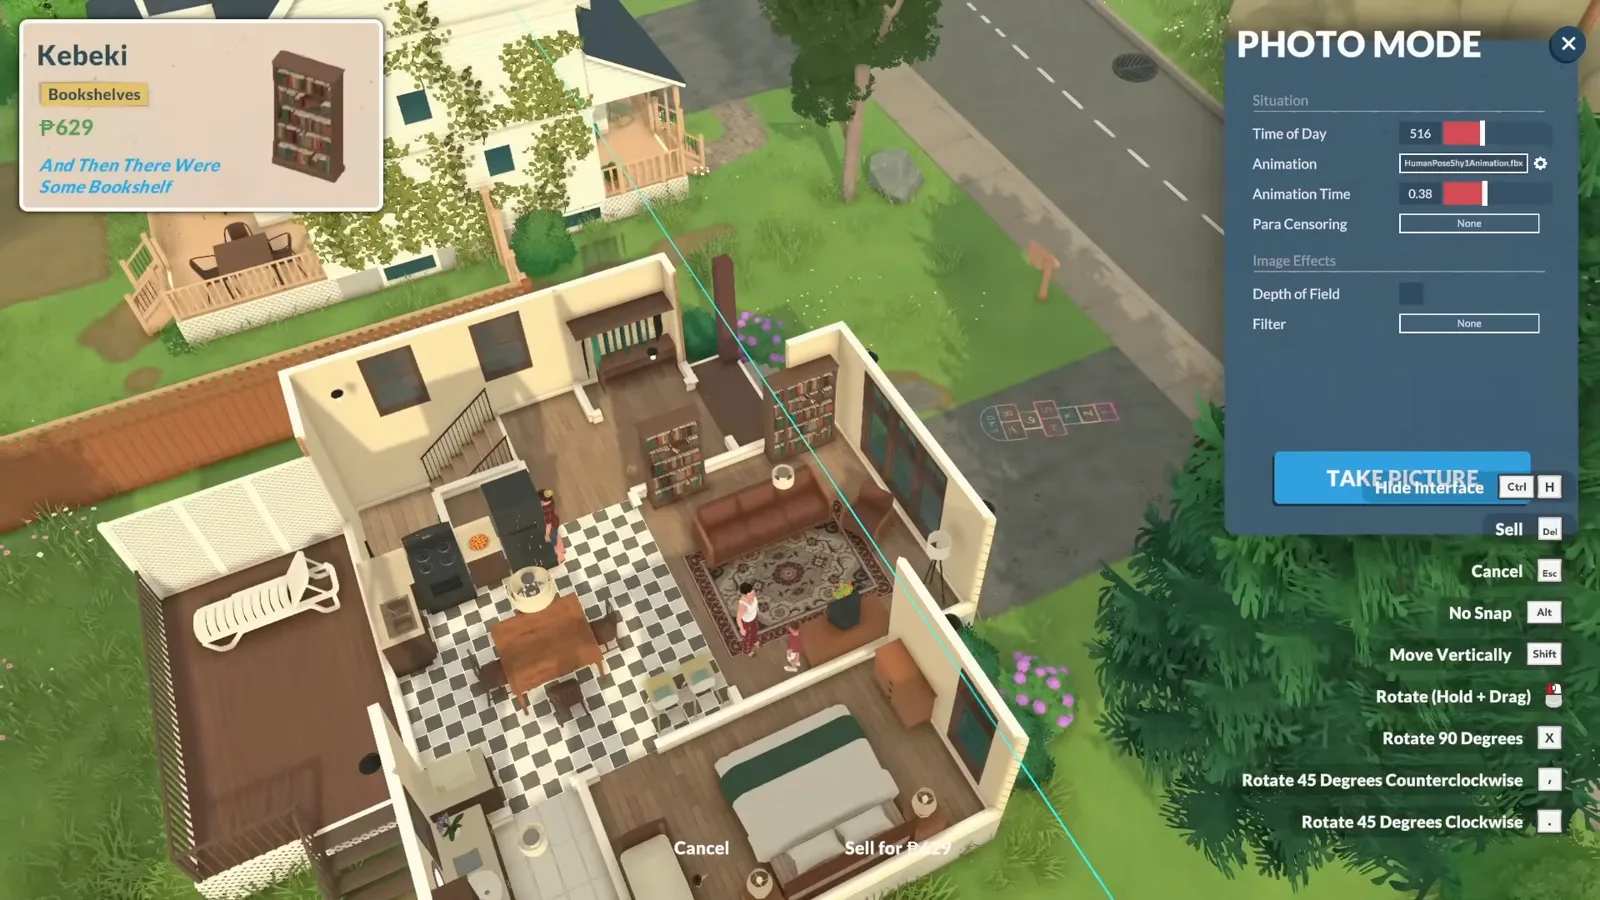
A home-lot bookcase, moonlighting as a street backdrop.Watch at 5:24 - 14
Take the picture
Frame the shot, then press TAKE PICTURE. The photo mode panel never appears in the saved image, so there is nothing to hide before capturing. Where the files land on your disk — and how to capture without photo mode at all — is in our photo mode saves guide.
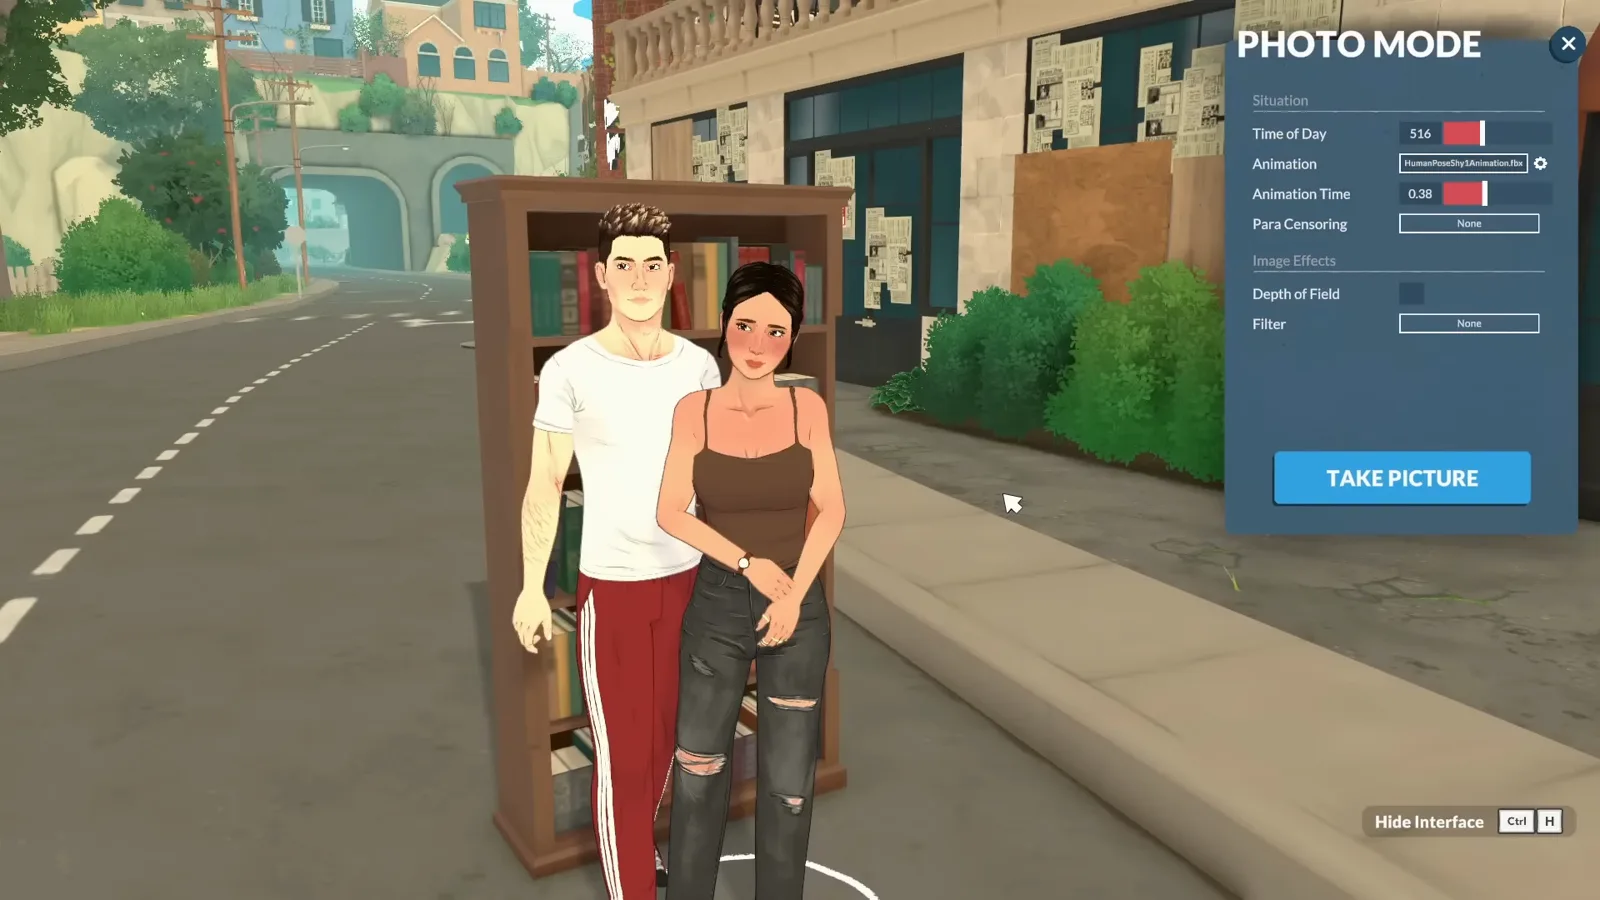
The panel stays out of the photo — compose and shoot.Watch at 6:15
Paralives screenshot questions
- How do you take a screenshot in Paralives?
- Open photo mode from the camera icon at the top of the screen, frame your shot with the panel's lighting, pose and filter controls, then press the TAKE PICTURE button at the bottom of the panel. The photo mode interface never shows up in the saved image. For capture shortcuts outside photo mode and the save folder, see our photo mode guide.
- Can you change the time of day in Paralives photo mode?
- Yes. The Time of Day slider at the top of the photo mode panel relights the entire scene as you drag it, and it is completely independent of the clock in your save — you can stage a midnight shot in the middle of the afternoon.
- Can you pause animations in Paralives photo mode?
- Yes. Your Para keeps whatever animation they were doing when photo mode opened, and the Animation Time slider under the animation name scrubs that motion so you can freeze the exact frame you want. Named poses — search the animation list for "pose" — are static already, so the slider does nothing for them.
- Does Paralives have filters for screenshots?
- Yes. The photo mode panel has a Filter dropdown with entries from Black and White and Fisheye to Cinematic Mexico, plus six Color Blindness modes. A Filter Intensity slider controls how strongly the chosen grade is applied, so nothing has to sit at full strength.
- Can you move characters around in Paralives photo mode?
- Yes. Click any Para — household member or townie — and place them anywhere: the same lot, a different lot or a random corner of town. Drag before releasing to rotate them, and remember everything returns to its real position when you leave photo mode.
Go deeper
Photo mode controls & saves
The reference half: every photo mode shortcut, free camera control and exactly where your pictures land on disk.
All keyboard shortcuts
The full rebindable key list, grouped by mode — including the photo mode and interface bindings used here.
Things to do in Paralives
Screenshots are one of the many ways to play — browse the full activity index.
Vibes & personality
Give your Para a personality worth photographing before you open the panel.
Related guides
Hidden features
Photo mode tricks are just the start — tour the rest of the game's undocumented toolkit.
Build mode tips
A set worth shooting: the build tricks that make backdrops look designed.
Melino town guide
Scenic districts and locations that make great photo backdrops.
Story cards
Turn your best screenshots into illustrated family chronicles.