
The short version
Open Doors & Windows from the build toolbar, draw a wall, then snap the preview flush before you click. Curved walls reject openings in Early Access — embed a straight wall segment instead. After placement, drag the width and height sliders; increase wall thickness for box windows; hold Alt while painting to colour the exterior frame.
- Doors and windows need a wall face — draw the wall first, then snap the preview
- Curved walls need a flat straight segment where the opening goes
- Resize after placement with the bottom sliders — combine tiles for glass walls
- Hold Alt when placing a second window to clone the same height (blue highlight)
Step 1–3
Catalogue placement
Unlike The Sims 4's room-based flow, Paralives expects you to pick an opening from the build toolbar and snap it to an existing wall. Grid on helps line up double-width doors and multi-tile windows.
- 1
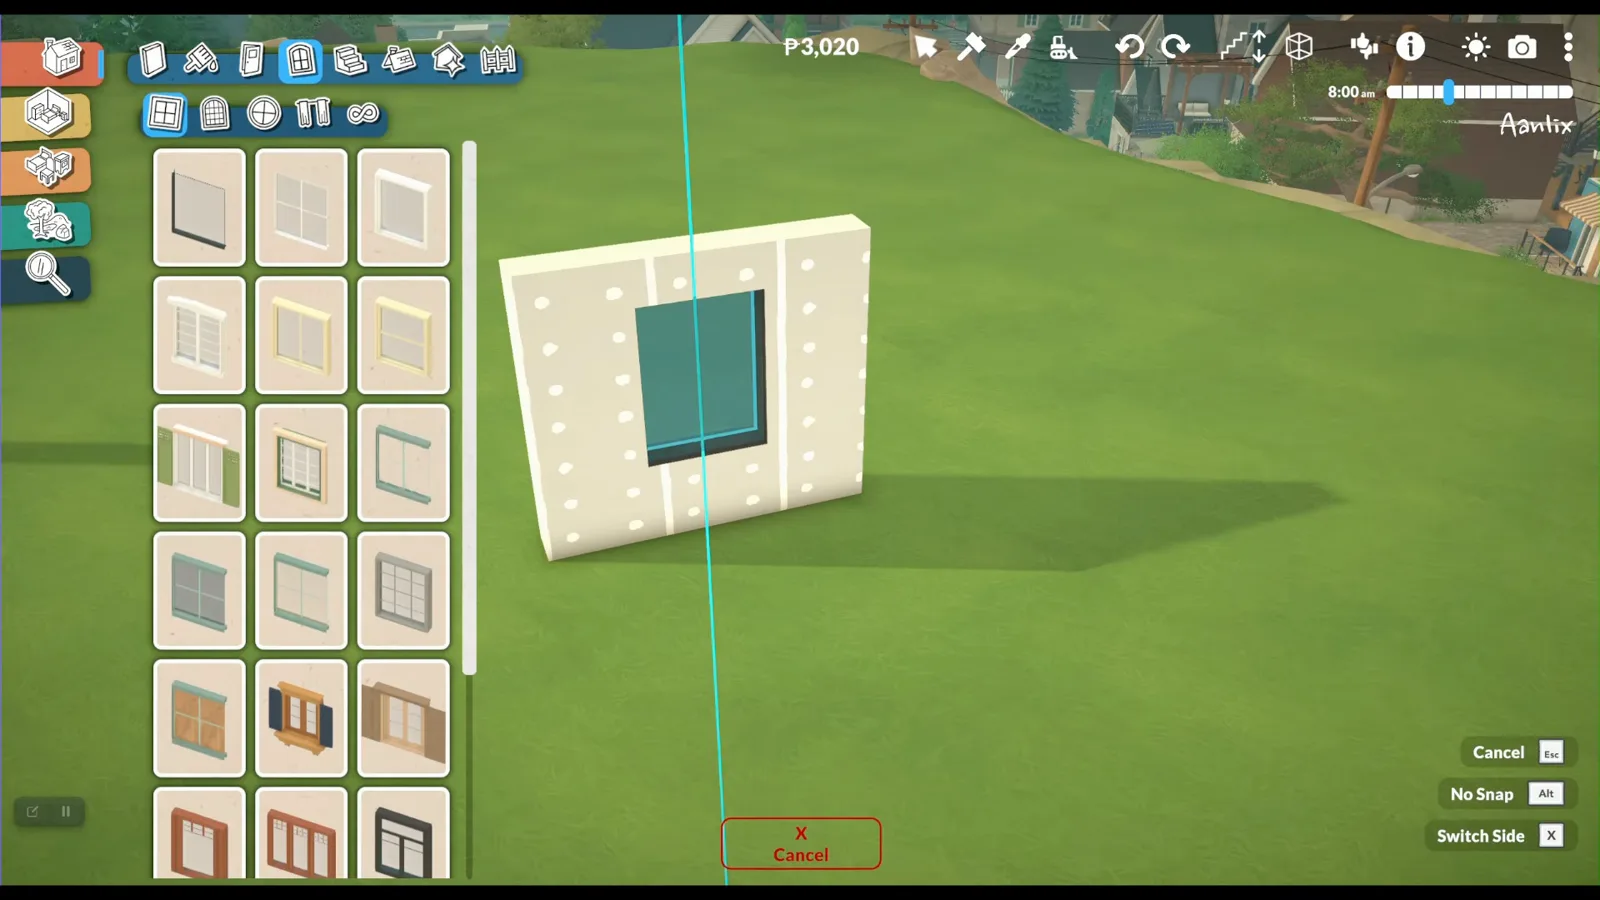
Build toolbar → Windows — pick a style before you click the wall.Watch at 3:56 - 2
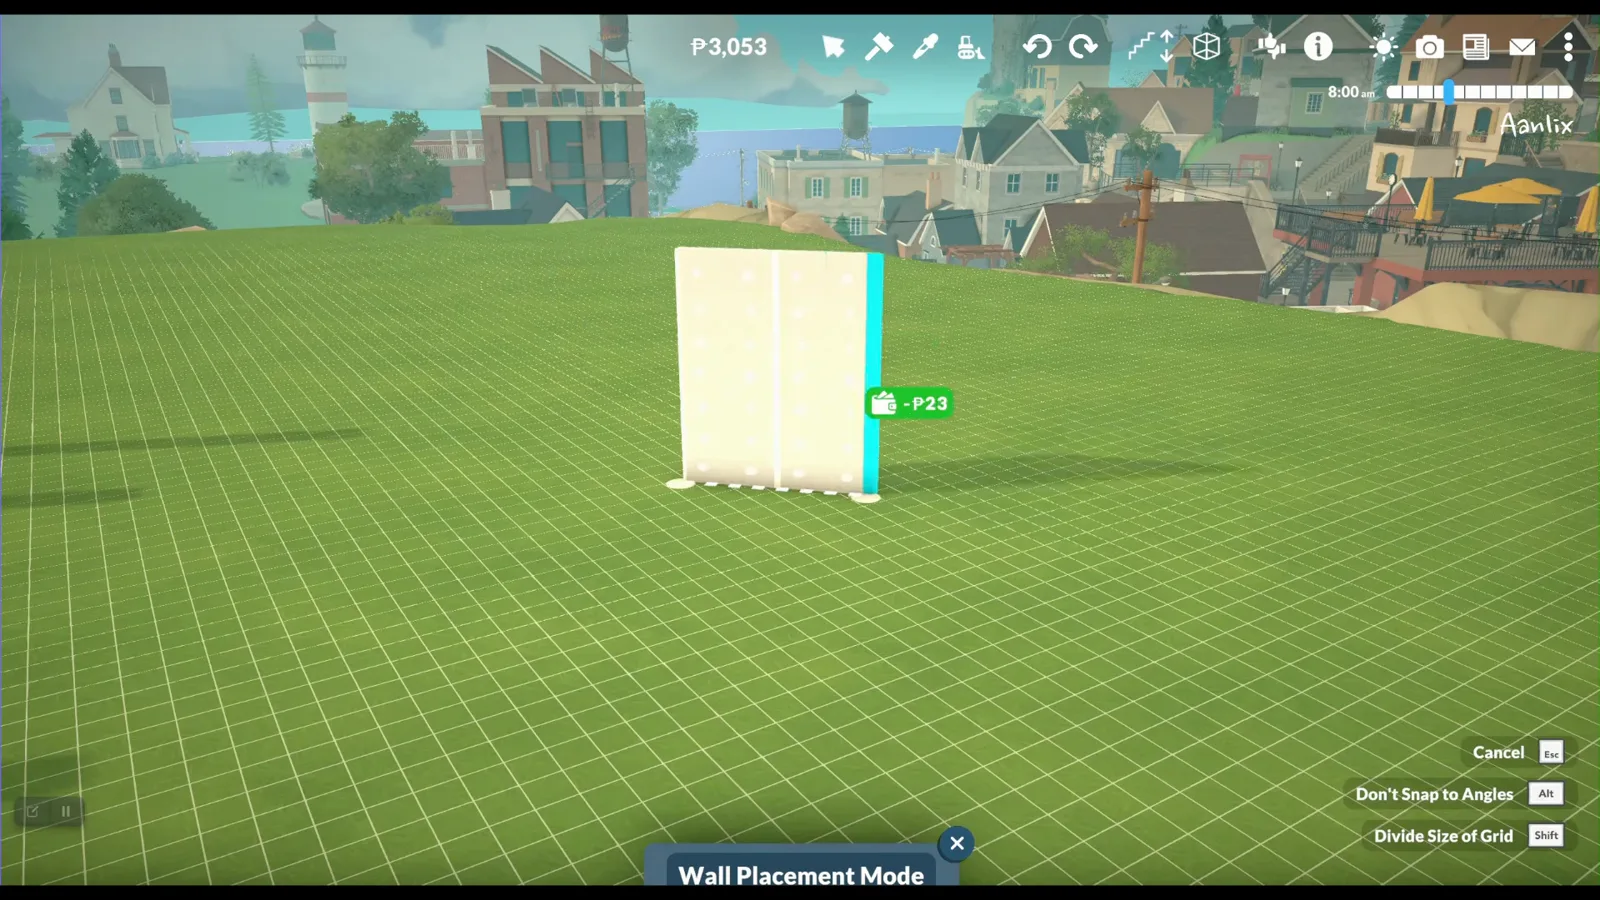
Draw the wall first — the opening preview will not snap to bare ground.Watch at 1:48 - 3
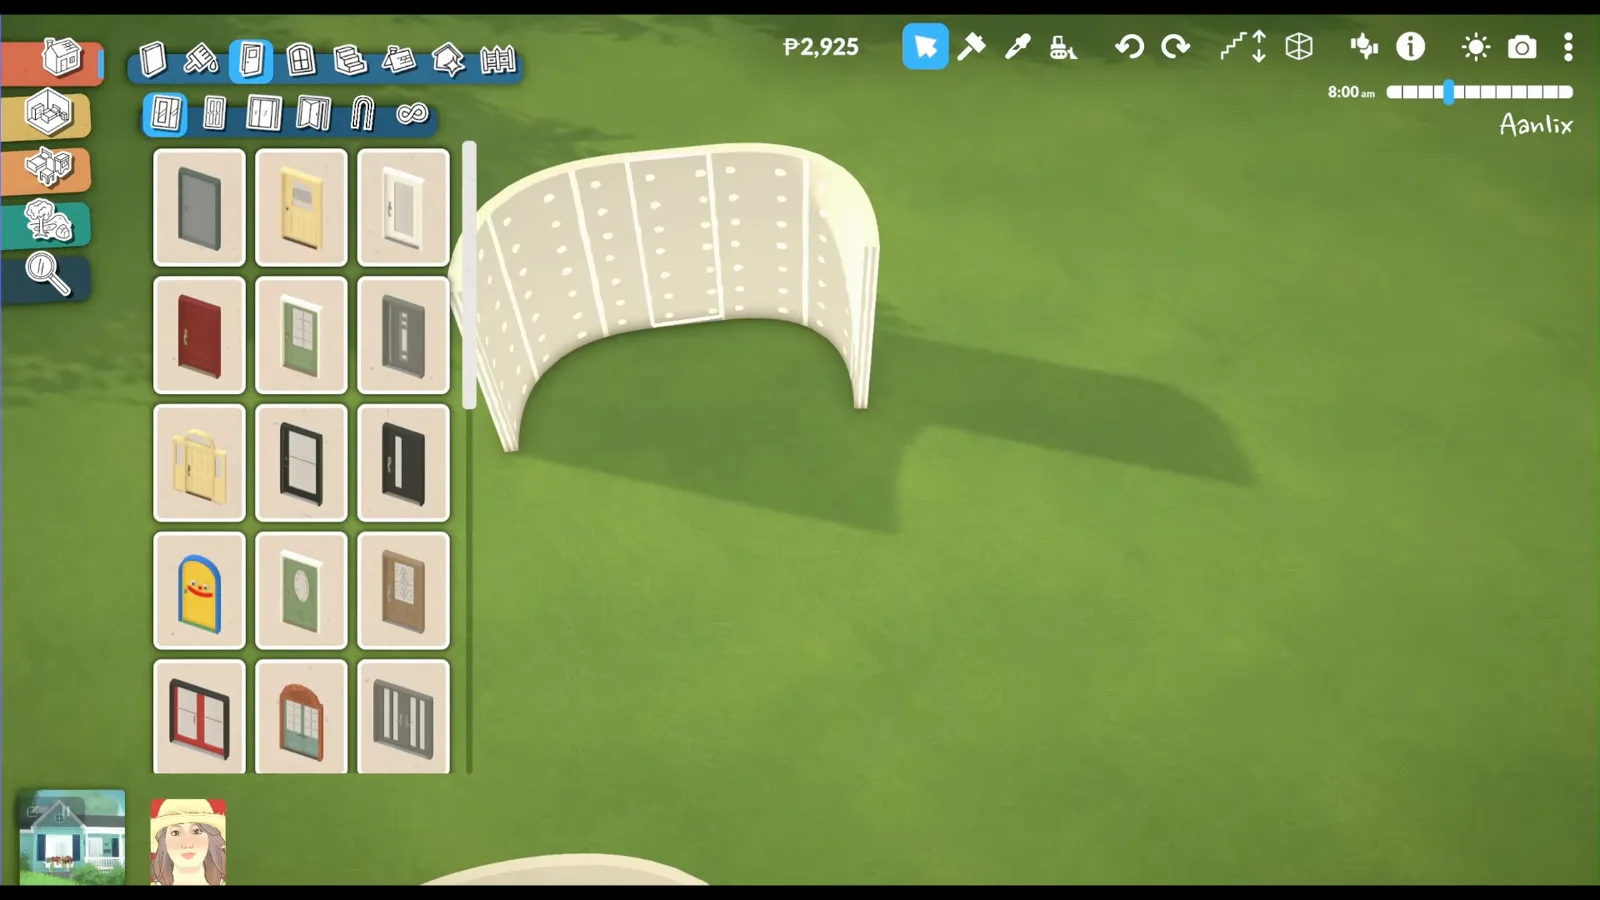
Wait for the snap on the flat section — curved faces still reject doors.Watch at 1:06
Step 4–6
Curved walls
Early Access curved walls still refuse windows and doors on the arc itself. The fix is a short straight wall across the chord — not a mod. For drawing perfect curves in the first place, see the curved-walls guide.
- 4
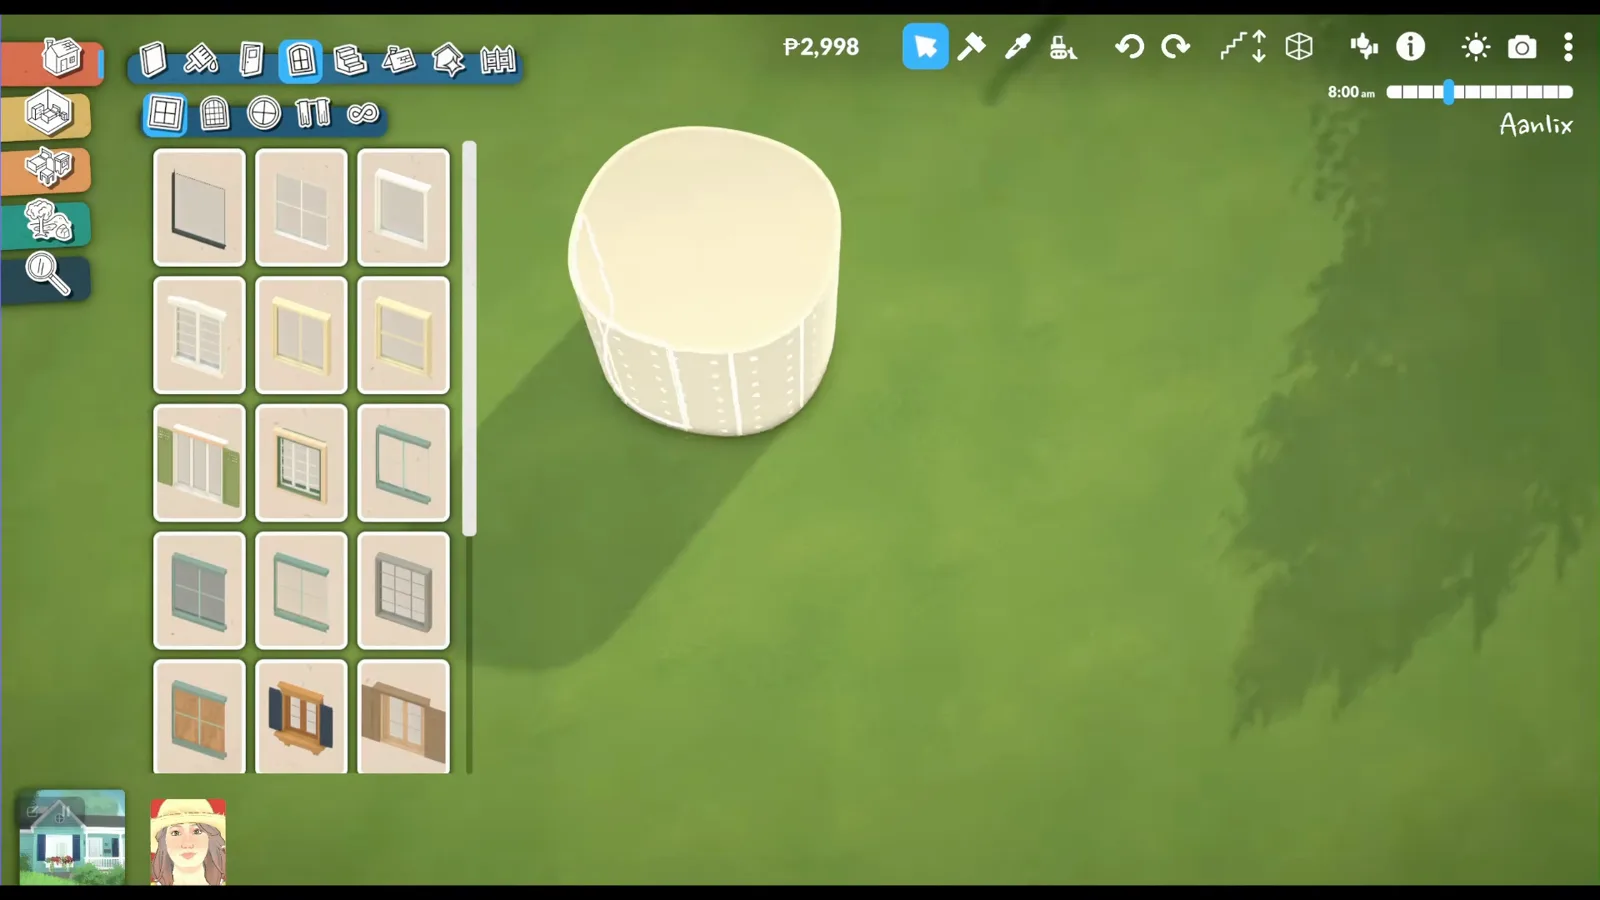
No snap on pure curves — plan a flat chord before you pick a style.Watch at 0:40 - 5
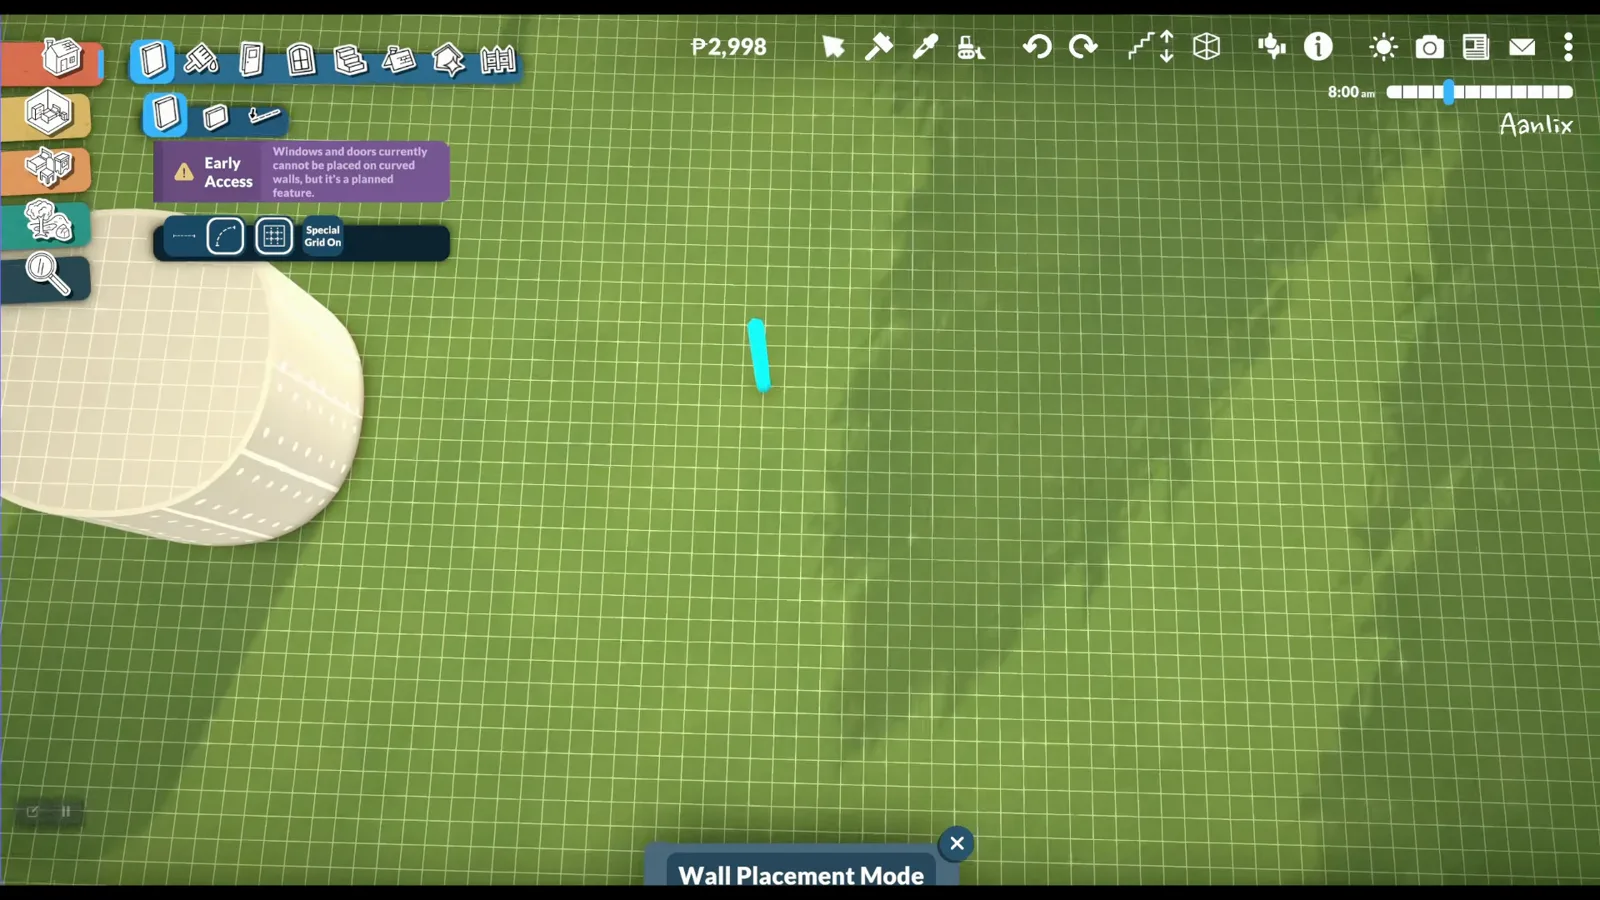
One flat segment across the chord is enough for an opening.Watch at 0:42 - 6
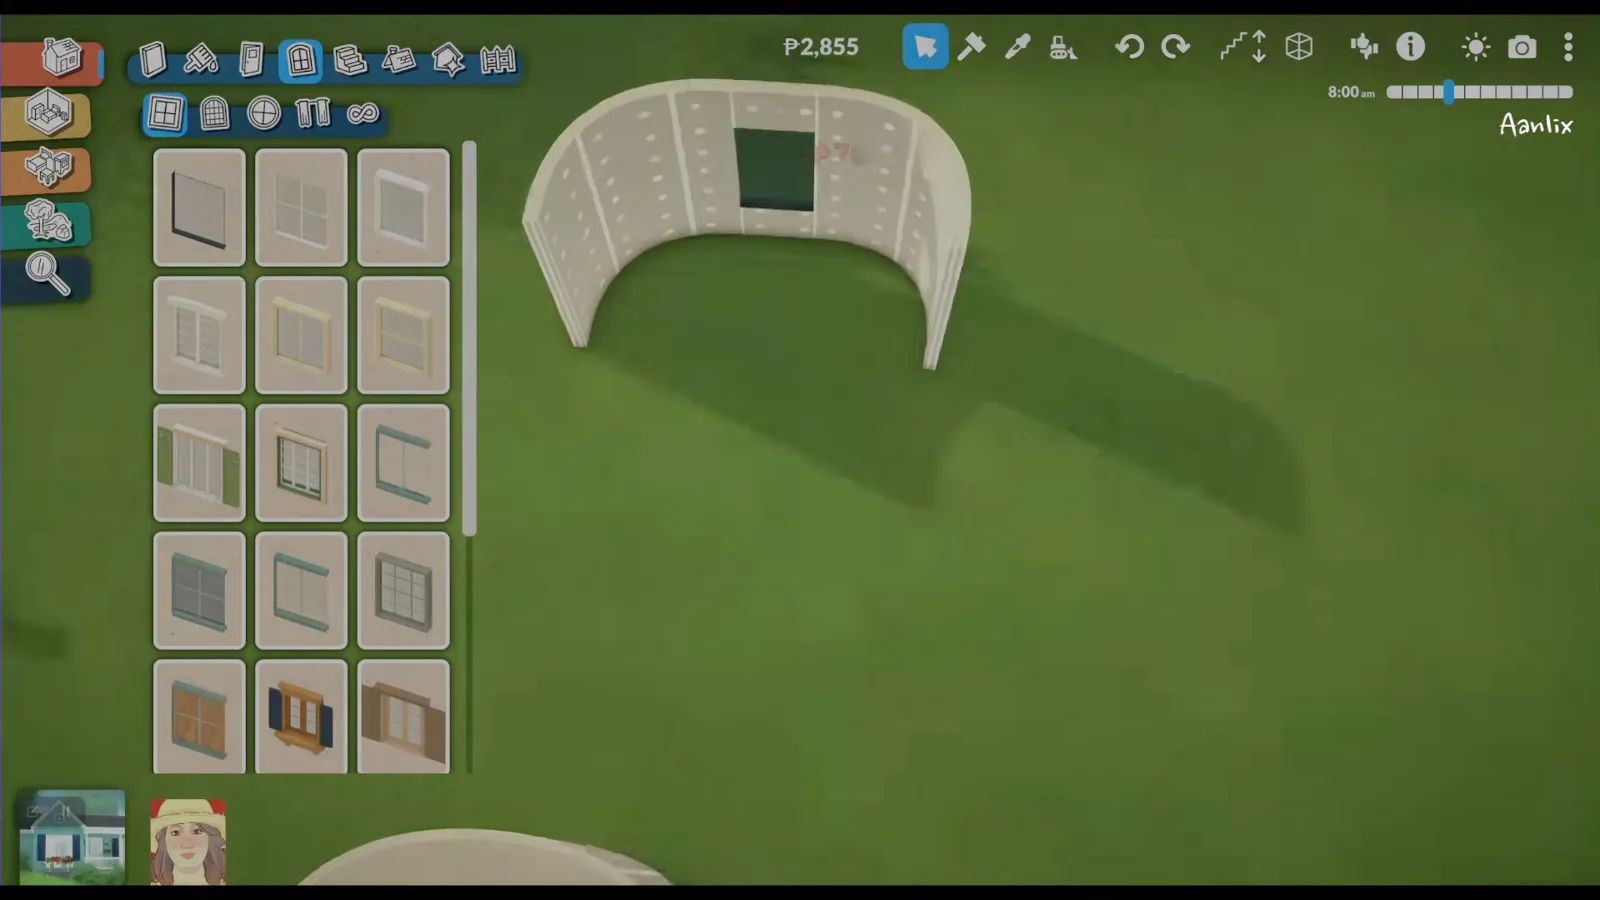
The curve looks continuous — the opening sits on the hidden flat chord.Watch at 1:10
Step 7–9
Resize, thickness and paint
Once an opening is placed you can stretch it, thicken the host wall for a box window and Alt-paint the exterior frame to match the wall material — three separate controls Sims players often miss.
- 7
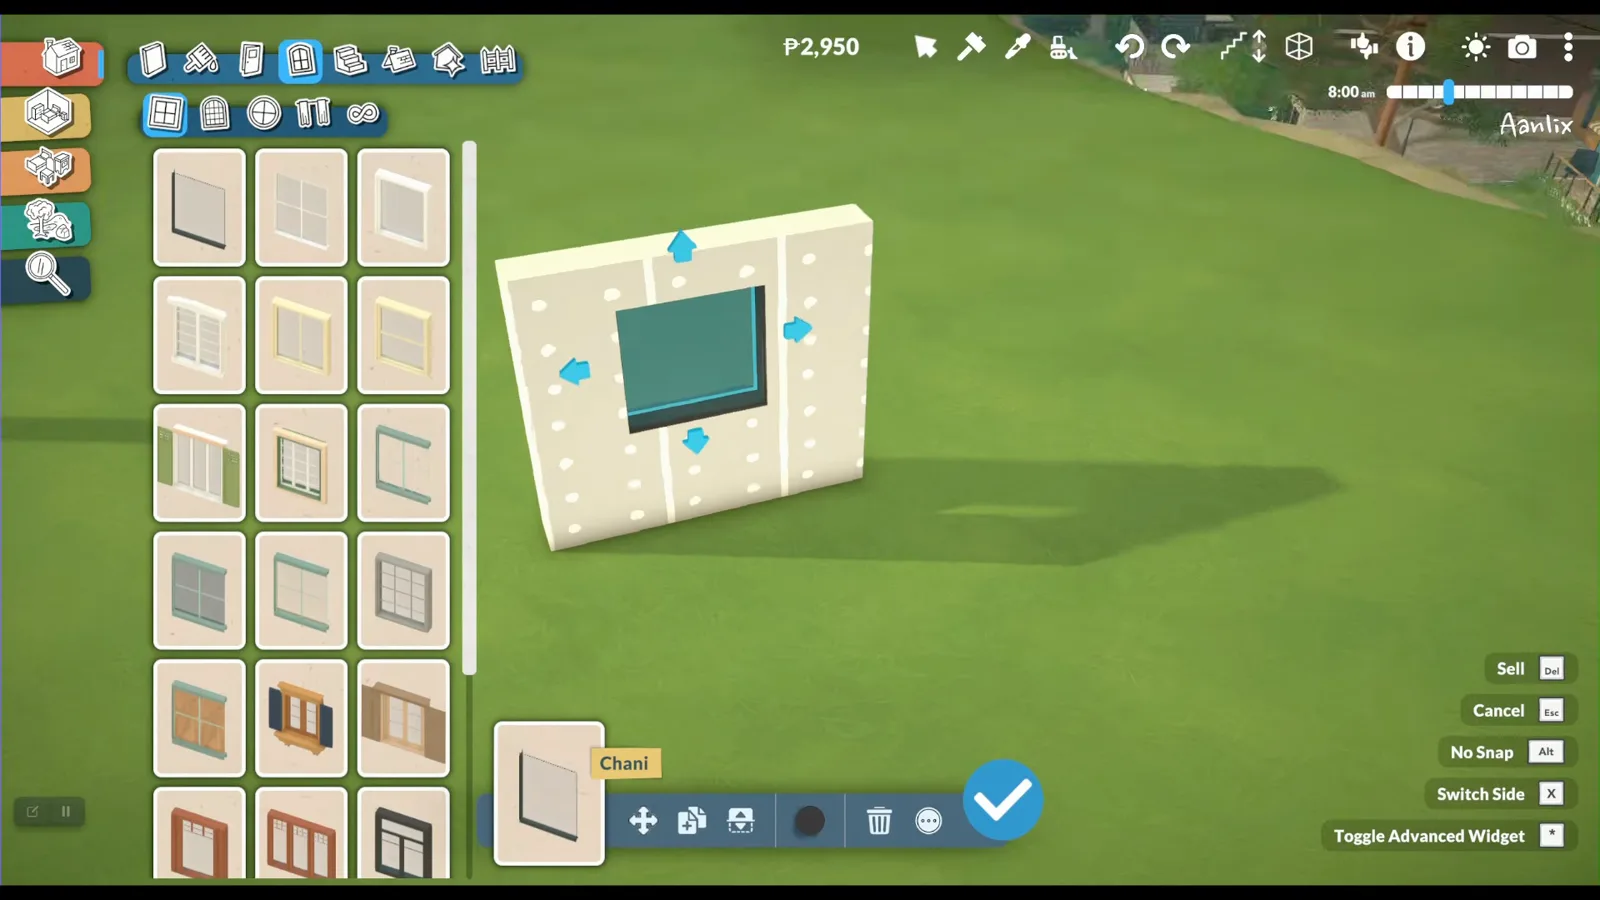
Drag the on-screen arrows after placement — combine units for glass walls.Watch at 2:02 - 8
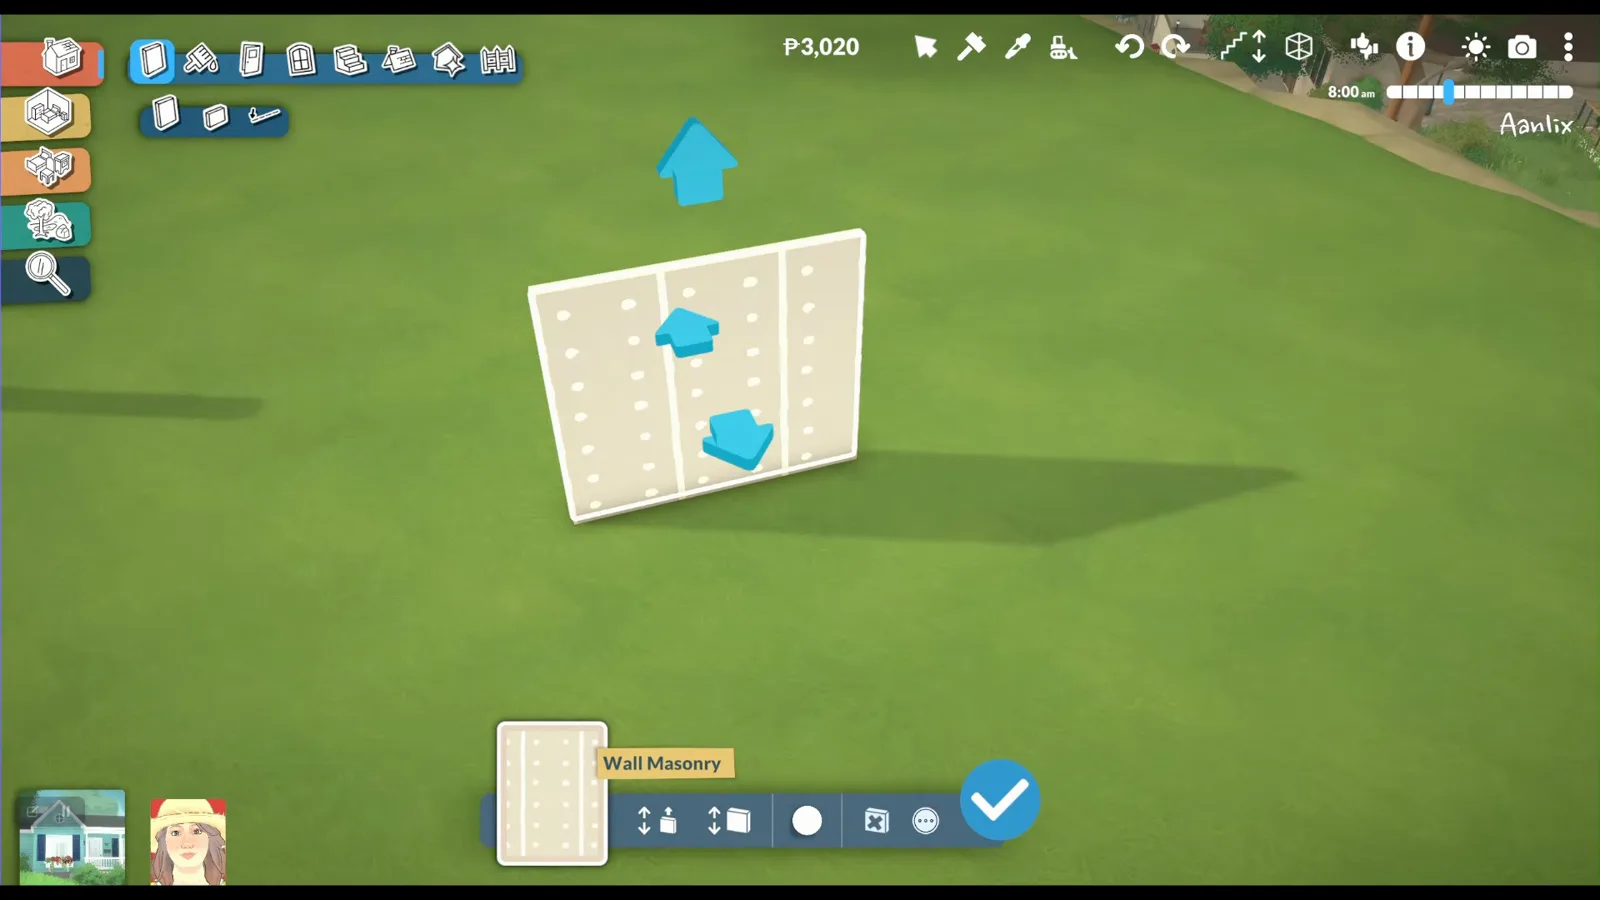
Thicken the host wall first — the sill depth follows the masonry size.Watch at 1:54 - 9
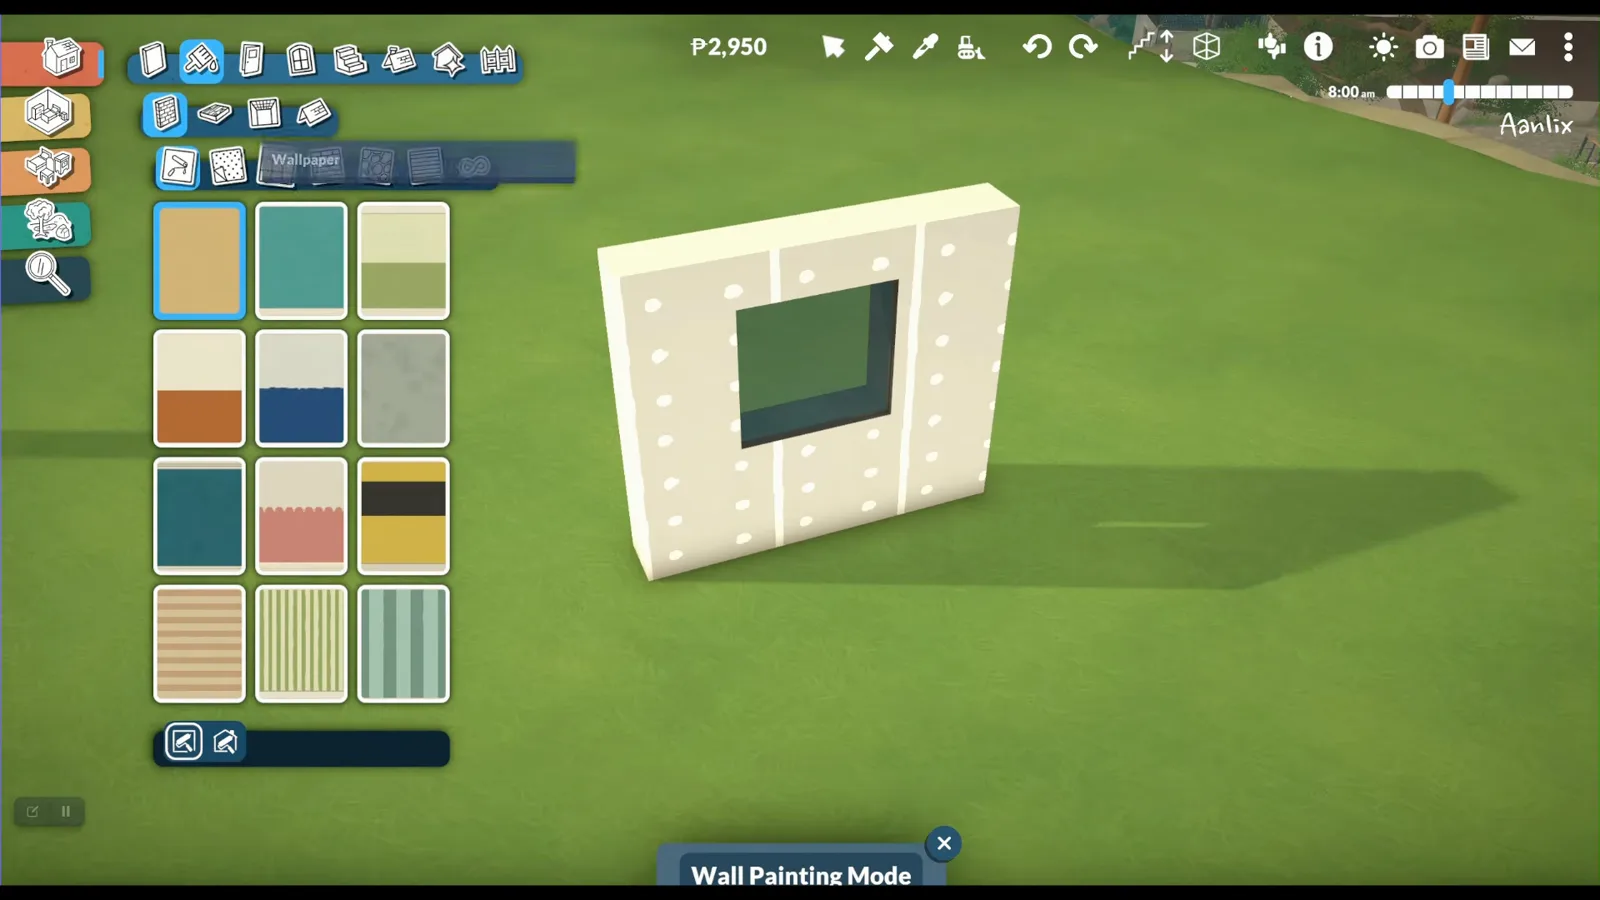
Hold Alt and click the frame to paint exterior trim without repainting the whole wall.Watch at 2:08
Step 10
Match heights across a facade
Symmetric rows of windows are faster with Paralives' height clone than with Sims-style moveobjects nudging.
- 10
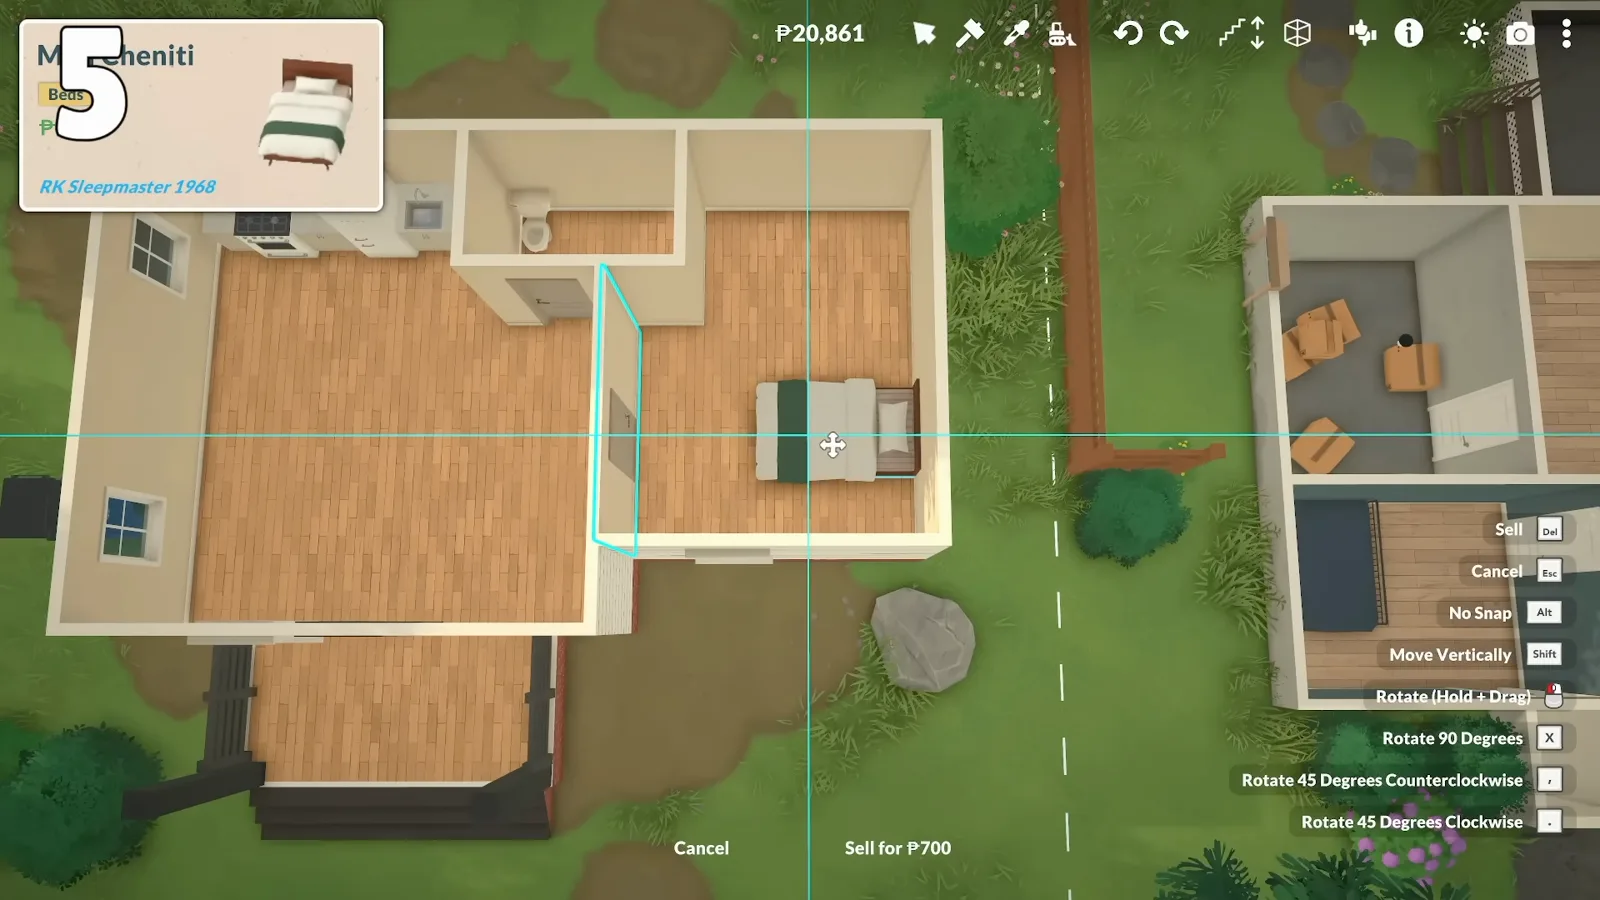
Crosshair guides mean matched height — Alt-clone beats manual nudging.Watch at 4:08
Windows & doors questions
- Can you put windows on curved walls in Paralives?
- Not directly on the arc in Early Access 0.1.8b. Insert a straight wall segment across the inside of the curve and place the window there. See the curved-walls guide for drawing the arc itself.
- Do double-width doors need two tiles?
- Pick a double-door style from the catalogue — the preview spans the width automatically when the wall is long enough. If the preview floats, the wall segment is too short or the grid snap is fighting you; extend the wall one tile.
- How do you paint the outside of a window differently from the inside?
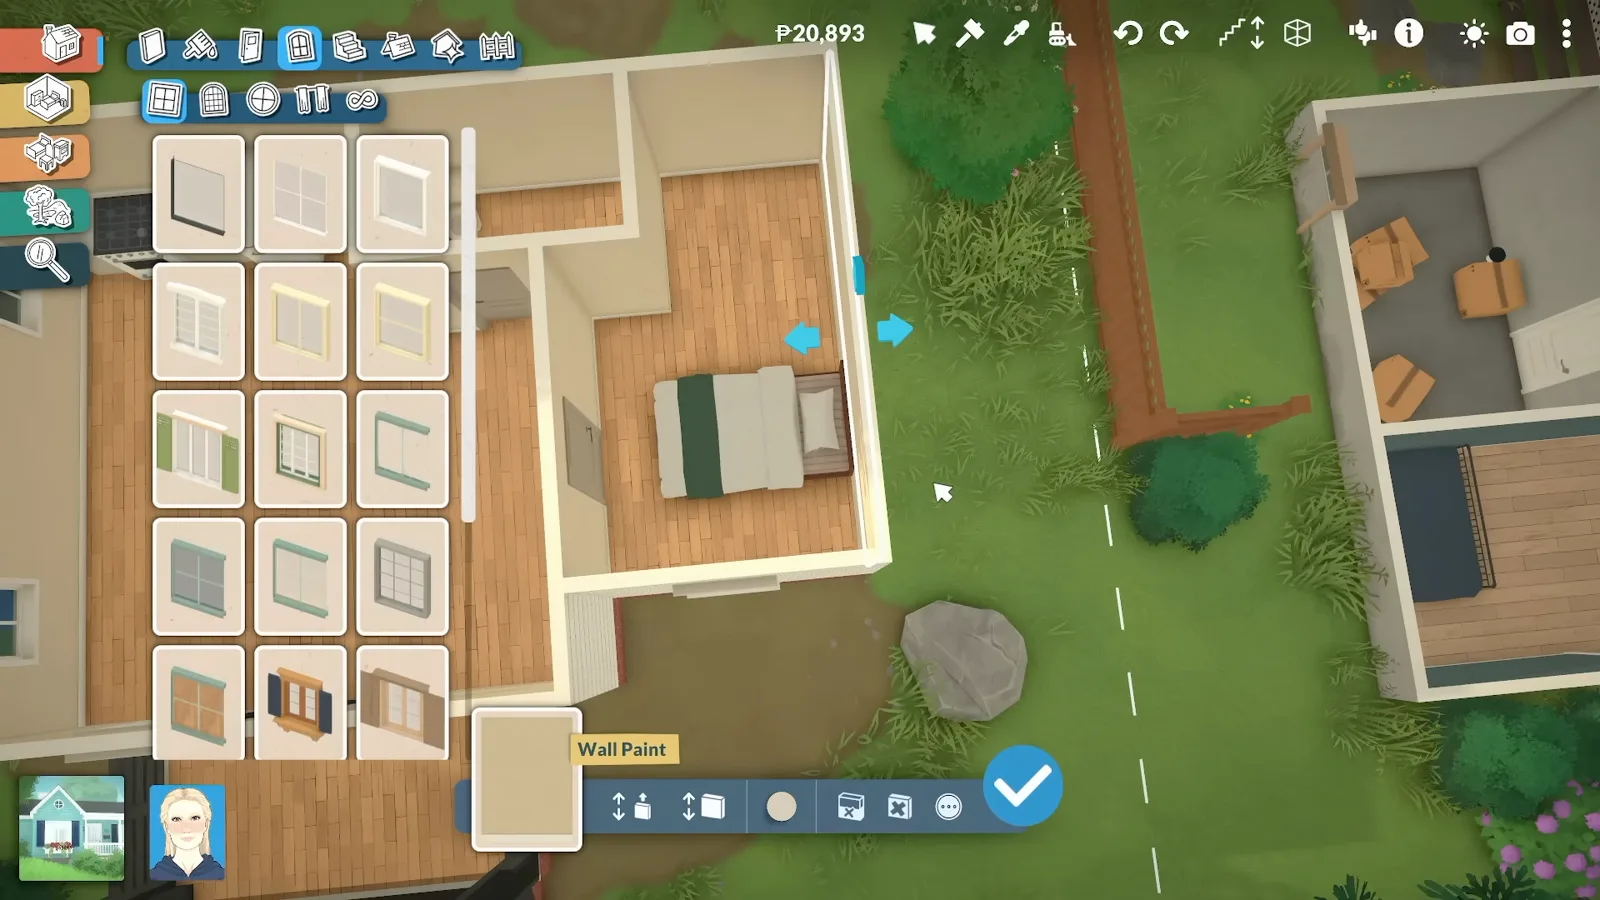
- Paint walls one face at a time. For the frame, use the paint tool with Alt held and click the window — that applies the swatch to the exterior trim without repainting the whole wall.
- Why will my door not snap to the wall?
- The most common causes: no wall behind the preview, a half-wall segment that is too short, or trying to place on a curved section. Draw or extend a full-height straight wall first, wait for the flush snap, then click.
- Why won't windows snap to my curved wall?
- Early Access curved walls reject openings on the arc. Embed a short straight wall segment across the chord, place the window there, then blend the curve back — see step 4 in this guide.
Keep building
Walls guide
Connect misaligned segments, fix different-heights errors and toggle wall visibility.
Curved walls guide
Draw perfect arcs with equal grid legs — the setup this page builds on.
Full build tutorial
Seventeen steps from empty lot to saved house if openings are your first project.
15 build tips
Separator porches, colour codes and other shortcuts that pair with facade work.
Move objects guide
Advanced Transform for shutters, awnings and decor behind window nooks.
All build guides
Split-level, terrain, garages and the rest of the build cluster.