
The short version
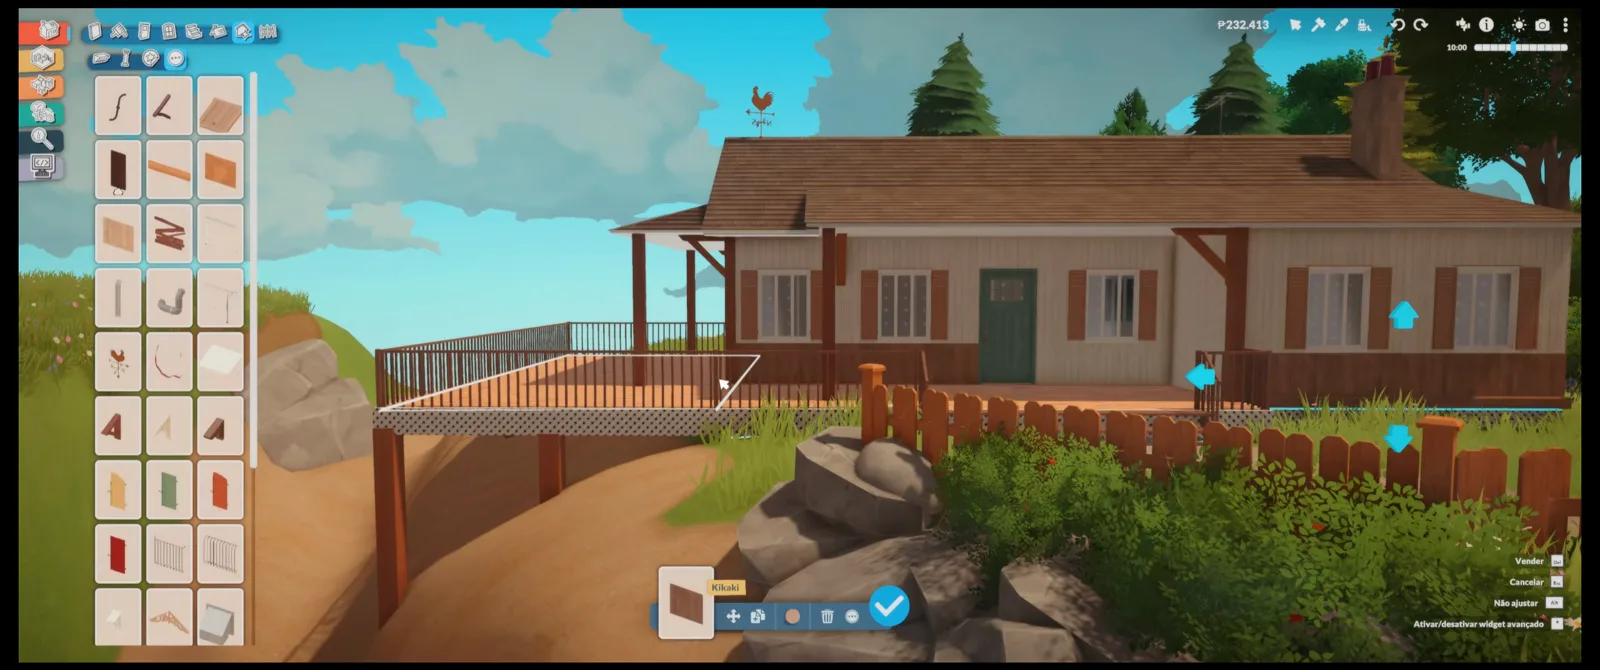
Water comes first: lower the terrain in passes, smooth the shoreline, then paint dirt where land meets water. A fence-railed footbridge crosses the river, and the cabin itself is a flattened pad on a platform foundation, dressed with painted shingles, wood trim and a furnished porch.
- Lower the river bed before you build — terrain passes, not one deep dig
- Smooth the shoreline, then paint dirt and sand where water meets land
- Fence pieces make a credible footbridge railing over water
- Flatten a pad on the bluff and stand the cabin on a platform foundation
- Roof pieces take paint — one colour turn makes red shingles read as wood
- Wood panelling and paintings keep the single-room interior cozy
The water comes first
Carve the shore before anything else
The world starts as a blank map. The river is dug with the terrain height tool in several lowering passes, the banks are smoothed into the water, and dirt, rocks and forest close in before a single wall exists.
- 1
Lower the river bed in passes
Terrain Height Lower mode digs the river in several shallow passes rather than one deep cut, which keeps the banks from turning into walls. The white outline is the brush footprint — each pass drops the bed a step.
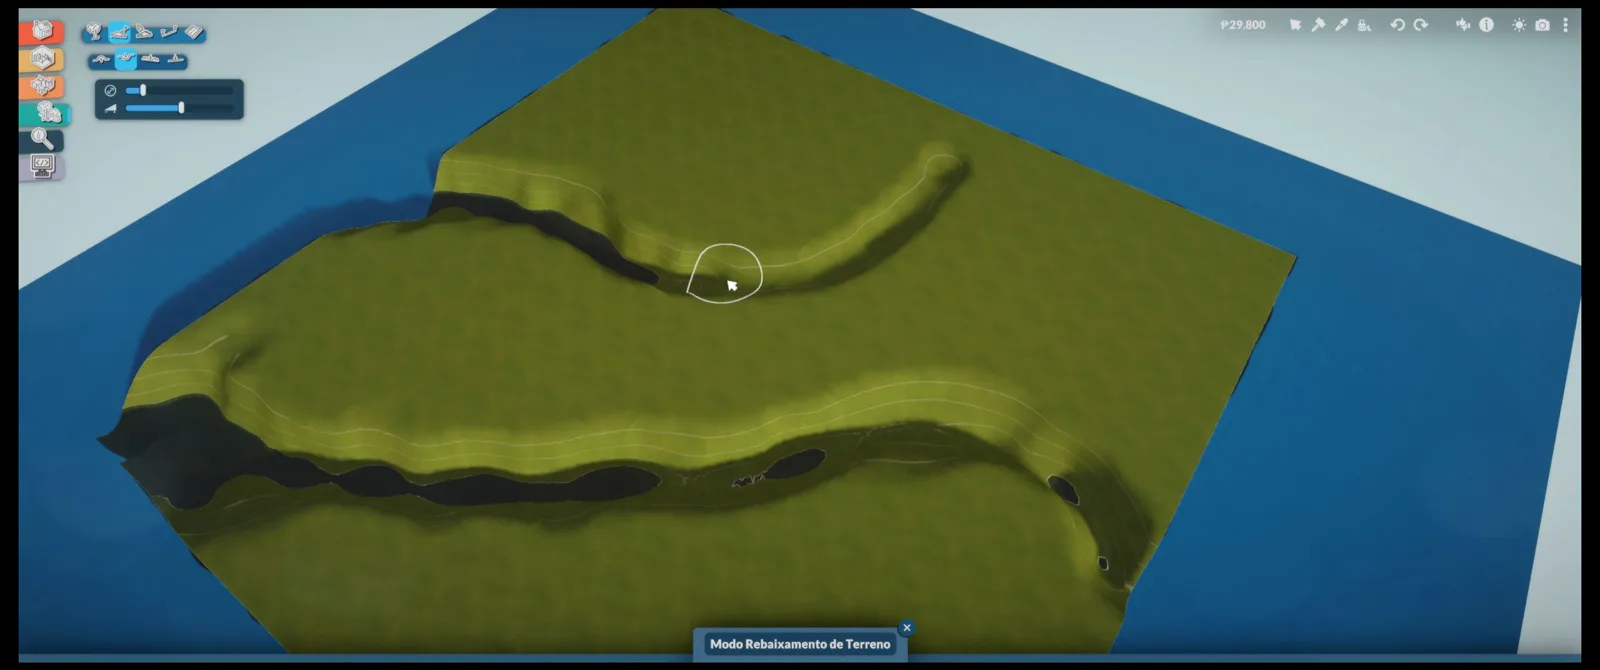
The first bend: shallow passes keep the banks gentle.Watch at 1:50 - 2
Smooth the shoreline
The smoothing brush softens the cut edges so the banks slope into the water instead of cliffing. Where the slope is right, dirt paint marks the true waterline.
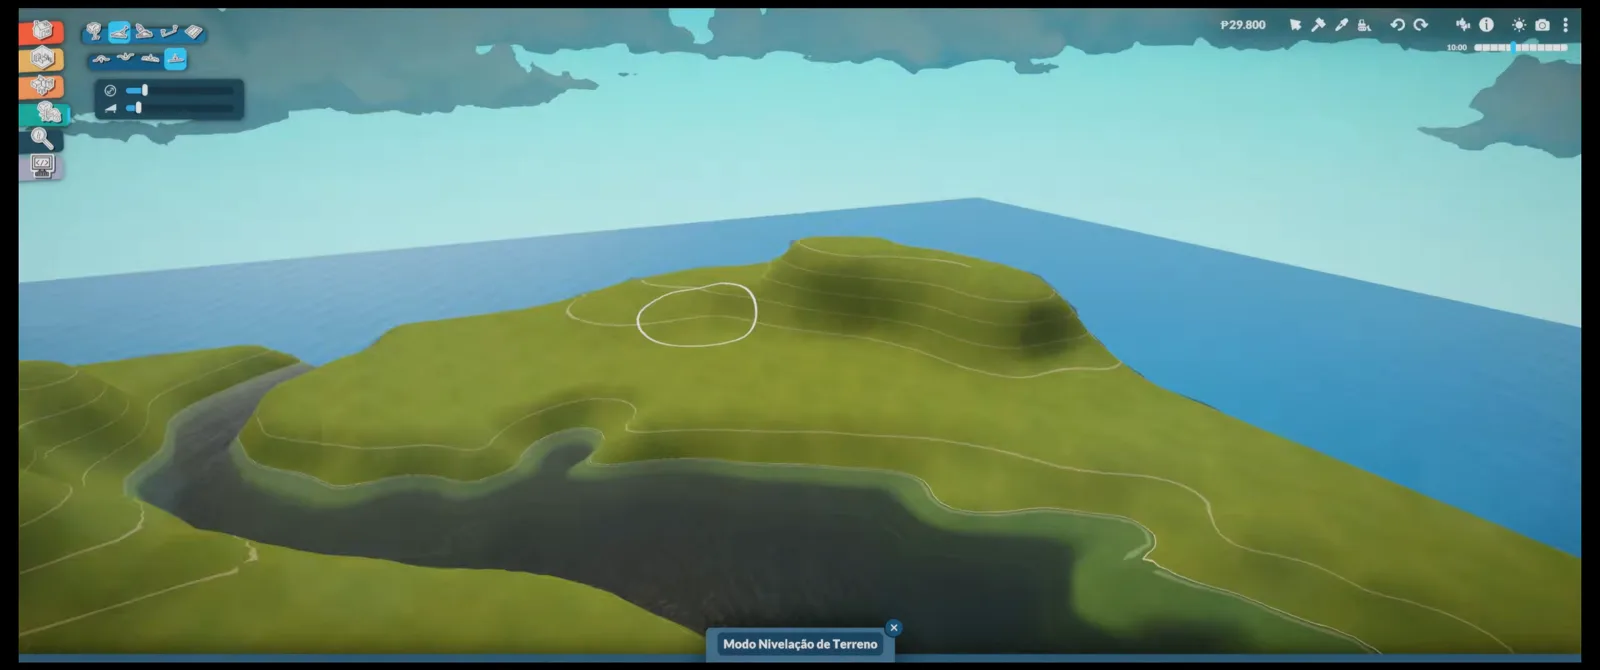
A bank that slopes into the water reads as a real shore.Watch at 3:30 - 3
Anchor the banks with dirt and rock
Dirt and sand paint mark the wet edge of the river, and the first boulders go in at the bend — rocks read as erosion, not decoration, when they sit exactly where the water turns.
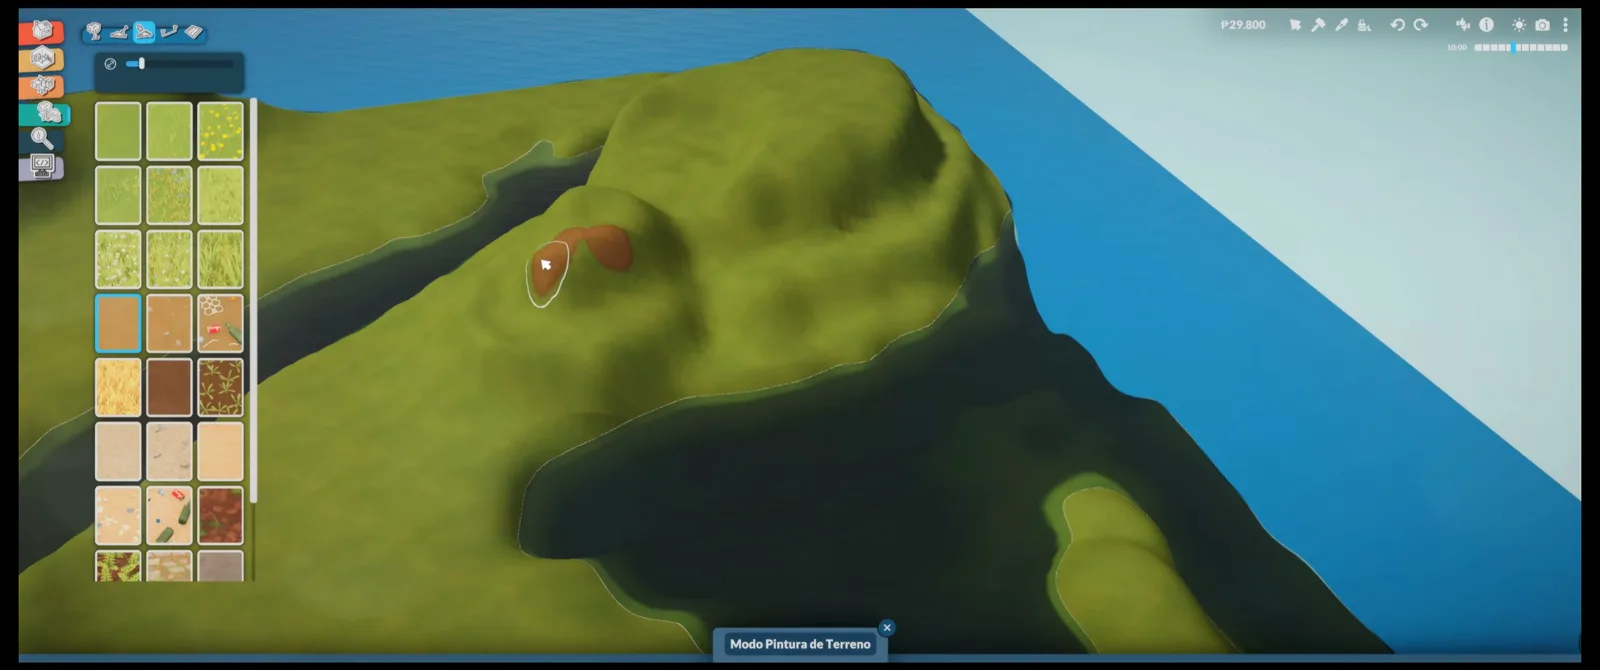
Rocks at the bend read as erosion, not clutter.Watch at 4:10 - 4
Plant the forest closed
Conifers go in tight clusters with the tree catalogue, thickest on the ridge lines. A forest that touches itself frame-to-frame is what makes the valley read as wilderness.
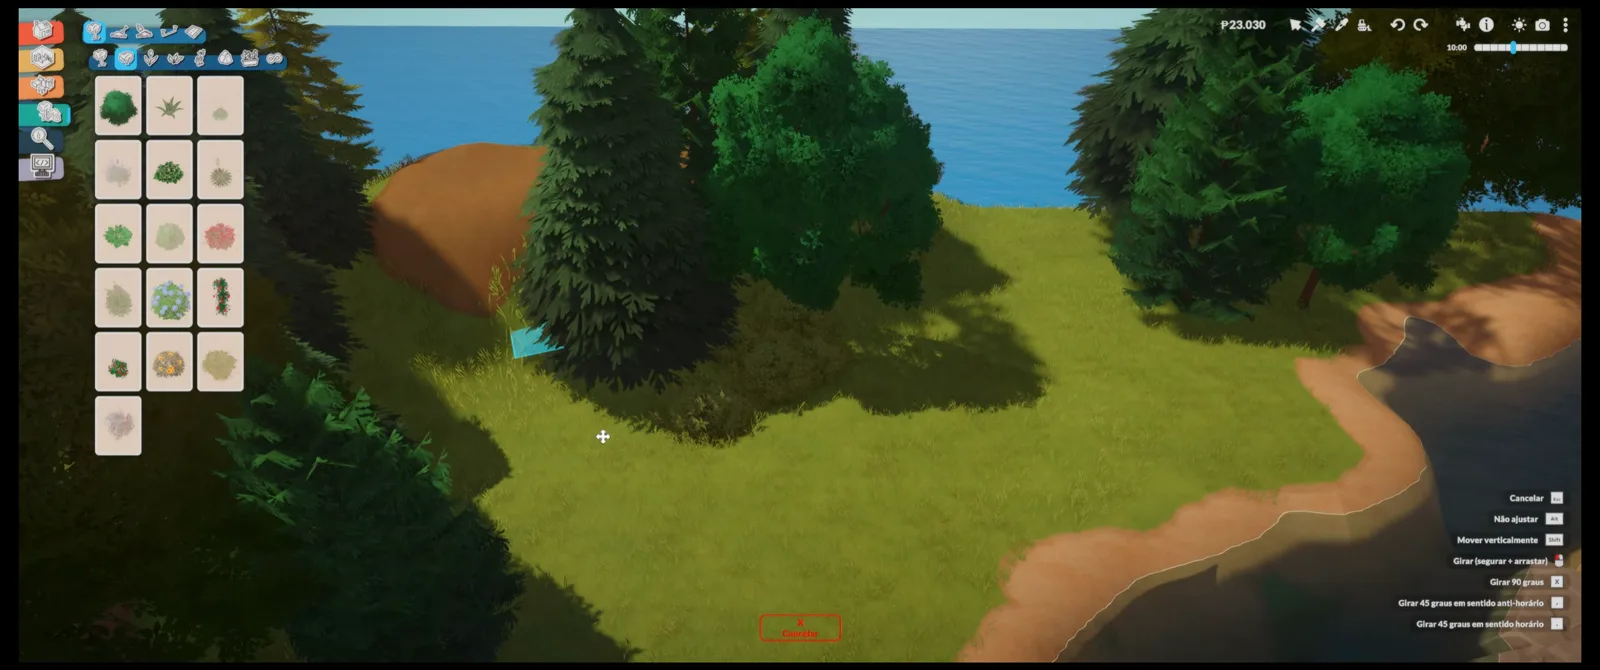
Tight clusters on the ridges, gaps left for the cabin view.Watch at 8:25
Span the water
A footbridge and a house pad
With the valley shaped, a fence-railed footbridge crosses the river and a pad is flattened into the bluff on the far side — the cabin's footing.
- 5
Cross the river with a fence-railed footbridge
Floor pieces span the channel, and fence pieces do double duty as railings. The rotation gizmo tilts the support trusses so the bridge sits naturally over the water.
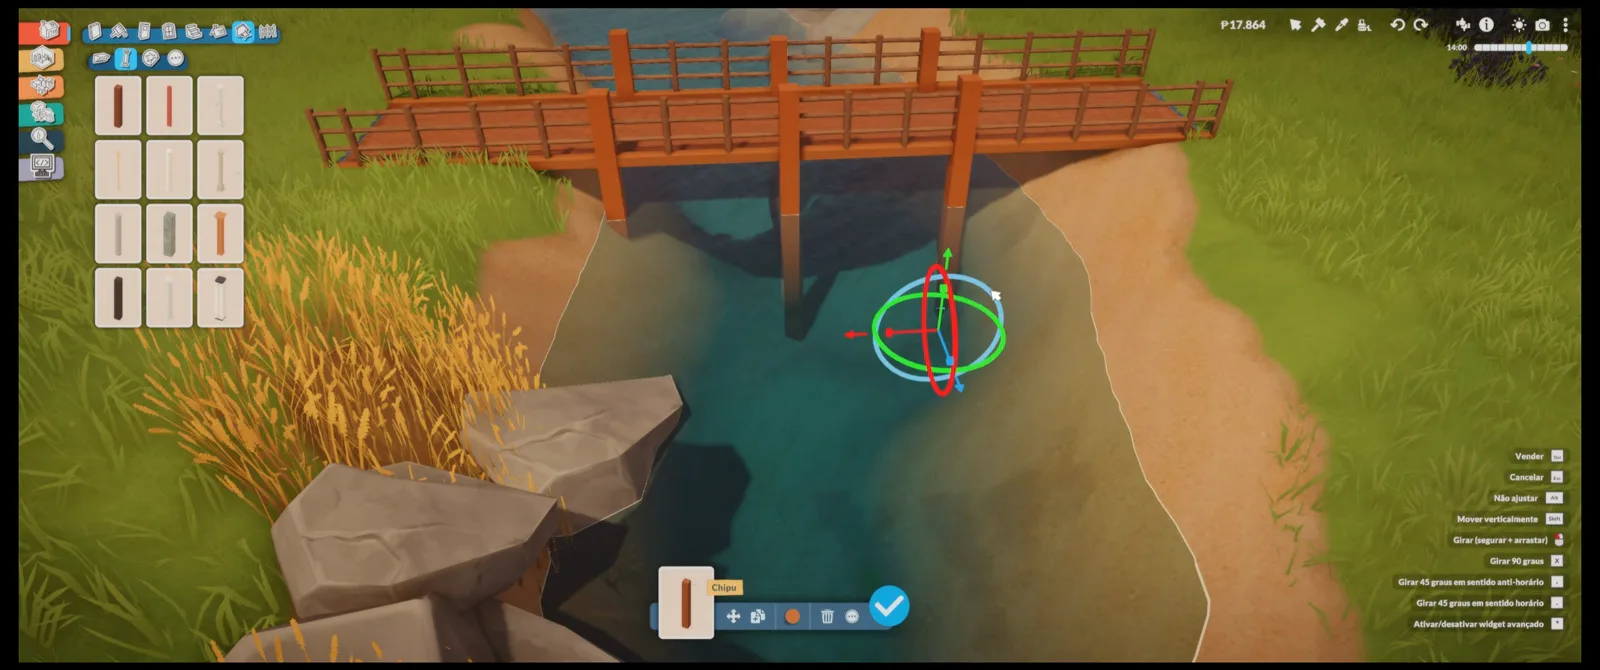
Fence pieces are the railing; the gizmo sets the truss angle.Watch at 11:30 - 6
Flatten a pad into the bluff
On the far side, the terrain height tool flattens a building pad into the slope, leaving the conifers standing at the lot edge. This is the cabin's footprint.
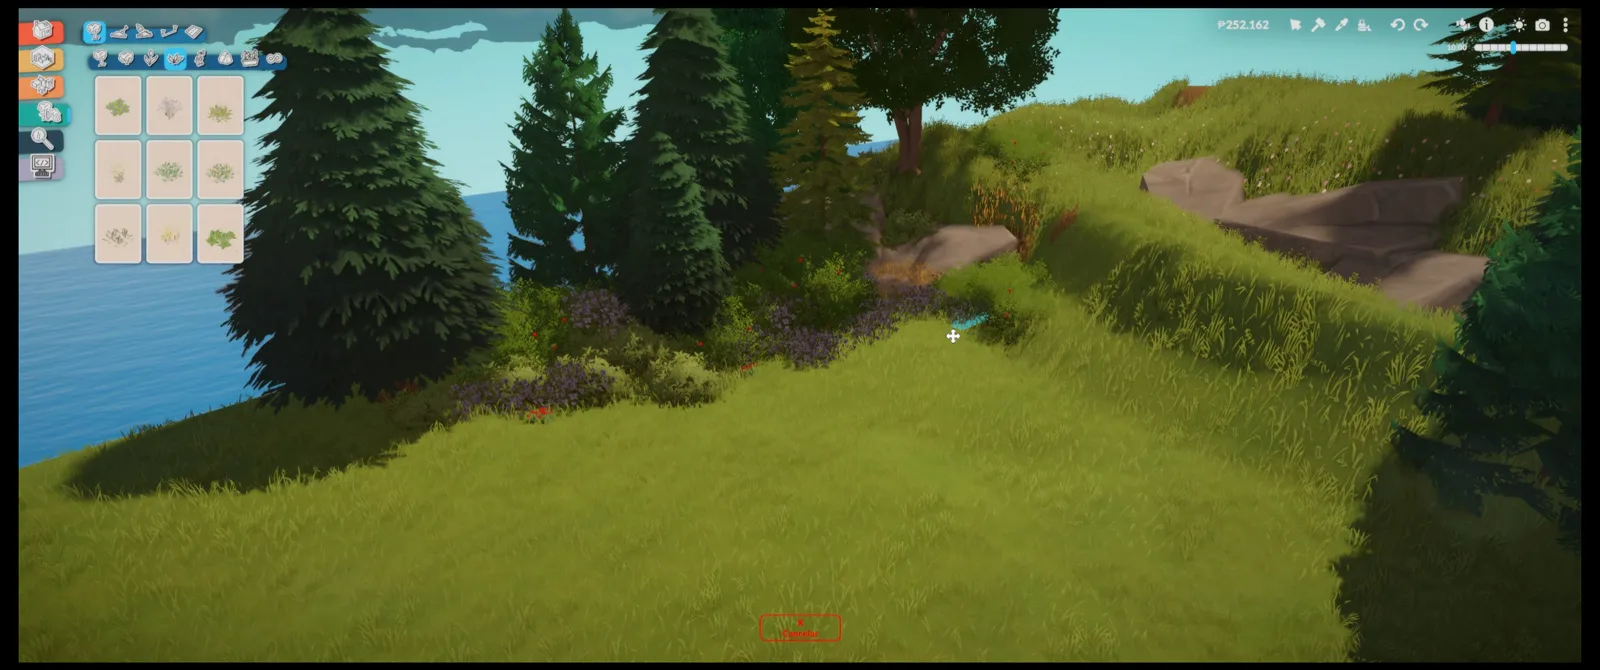
Flat where the house stands, wild everywhere else.Watch at 15:10
The cabin
Platform, paint and a porch facade
The cabin stands on a platform foundation over the dug slope. Roof shingles get one coat of brown paint, wood trim frames the porch, and the facade is finished with shutters, a green door and a gabled porch roof.
- 7
Stand the shell on a platform foundation
The cabin shell starts on a platform foundation rather than raw terrain — it bridges the dug slope, keeps the floor level, and lifts the porch above the grade.
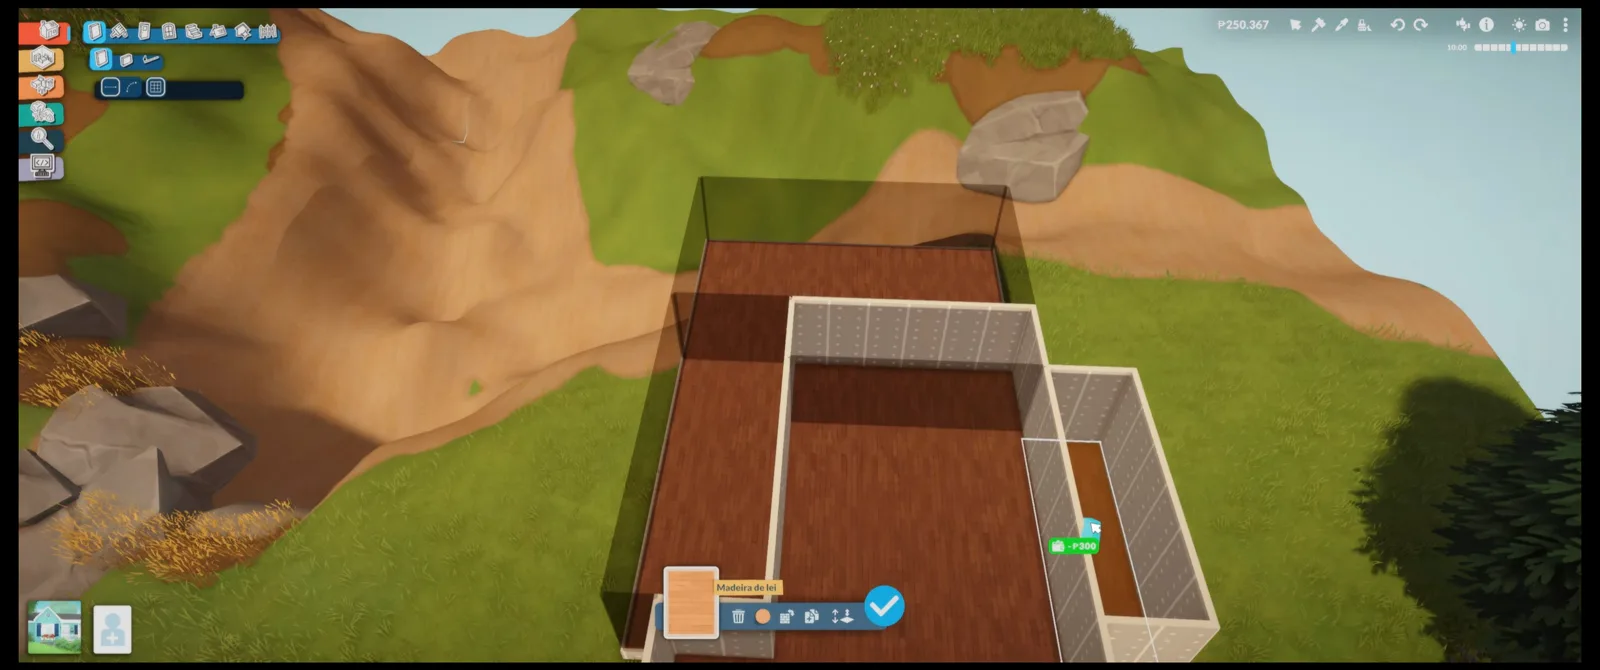
The platform carries the level floor across the uneven pad.Watch at 16:10 - 8
Repaint the shingles to wood brown
Roof pieces place in their default red, then take paint like any surface — one brown coat turns them into wood shingles that sit quietly against the forest.
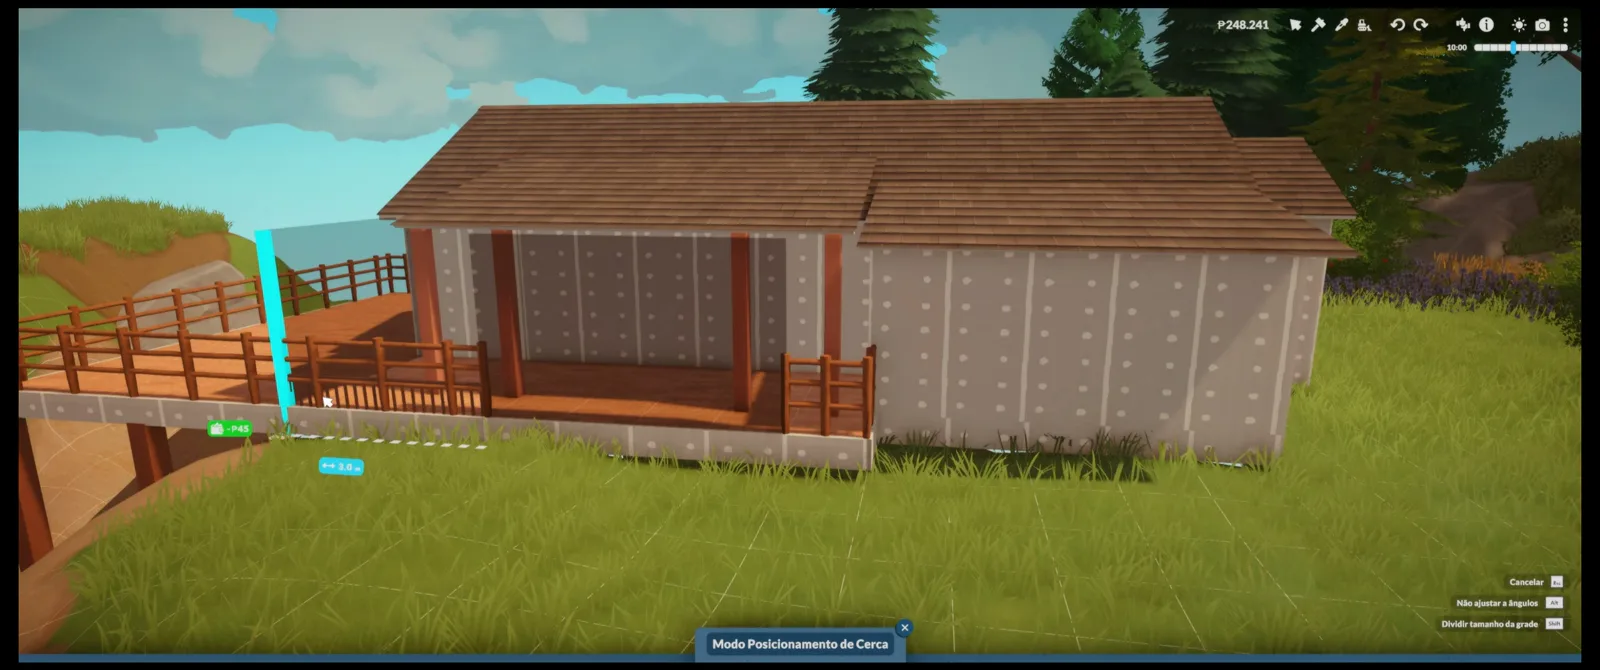
Same pieces, one coat of brown: cabin, not barn.Watch at 17:30 - 9
Frame the facade in wood trim
Wood paint on the posts, skirt and porch structure warms the white walls and ties the cabin to its deck. The long, low shell keeps the profile modest against the trees.
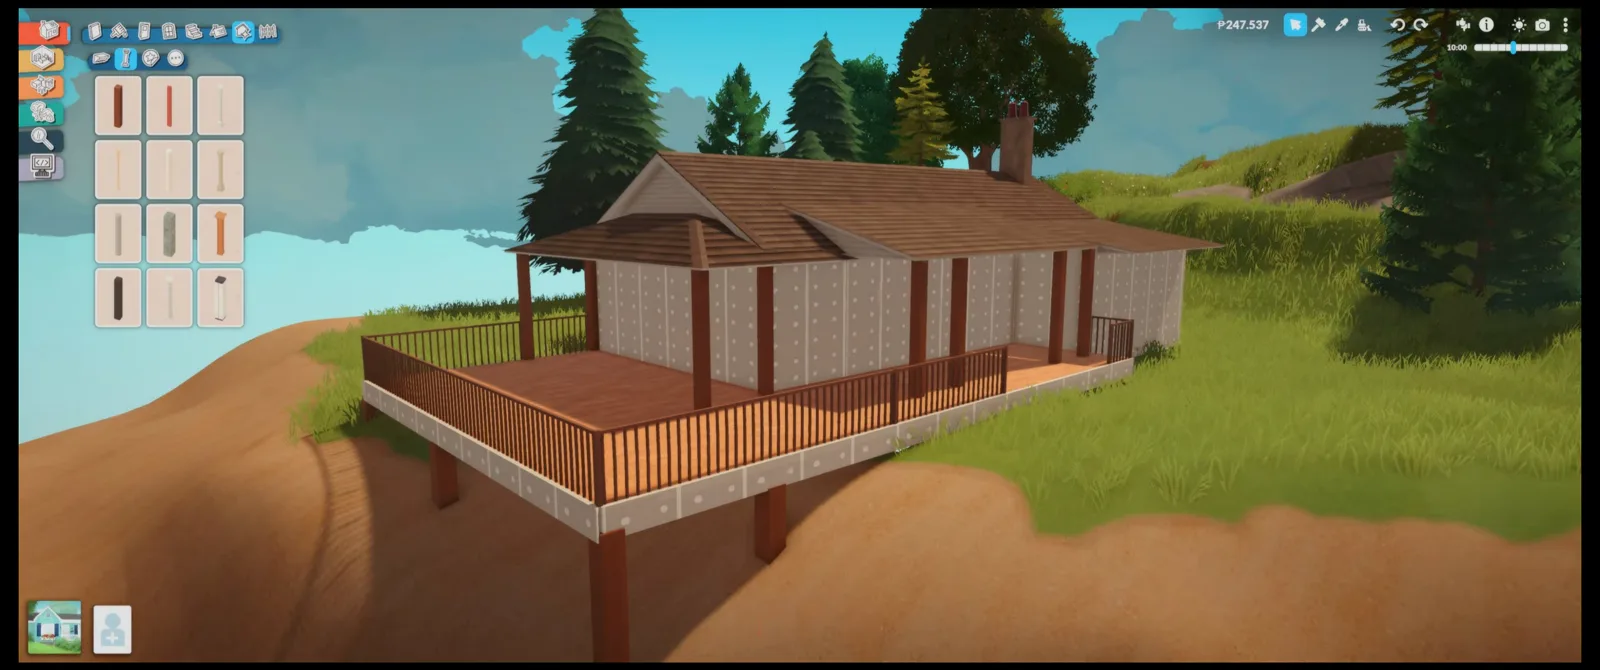
White walls, wood structure — the lakeside palette.Watch at 18:00 - 10
Dress the porch facade
Shuttered windows go along the porch wall and a green front door takes the centre — the colour pop the facade needed. The rail closes the deck edge.
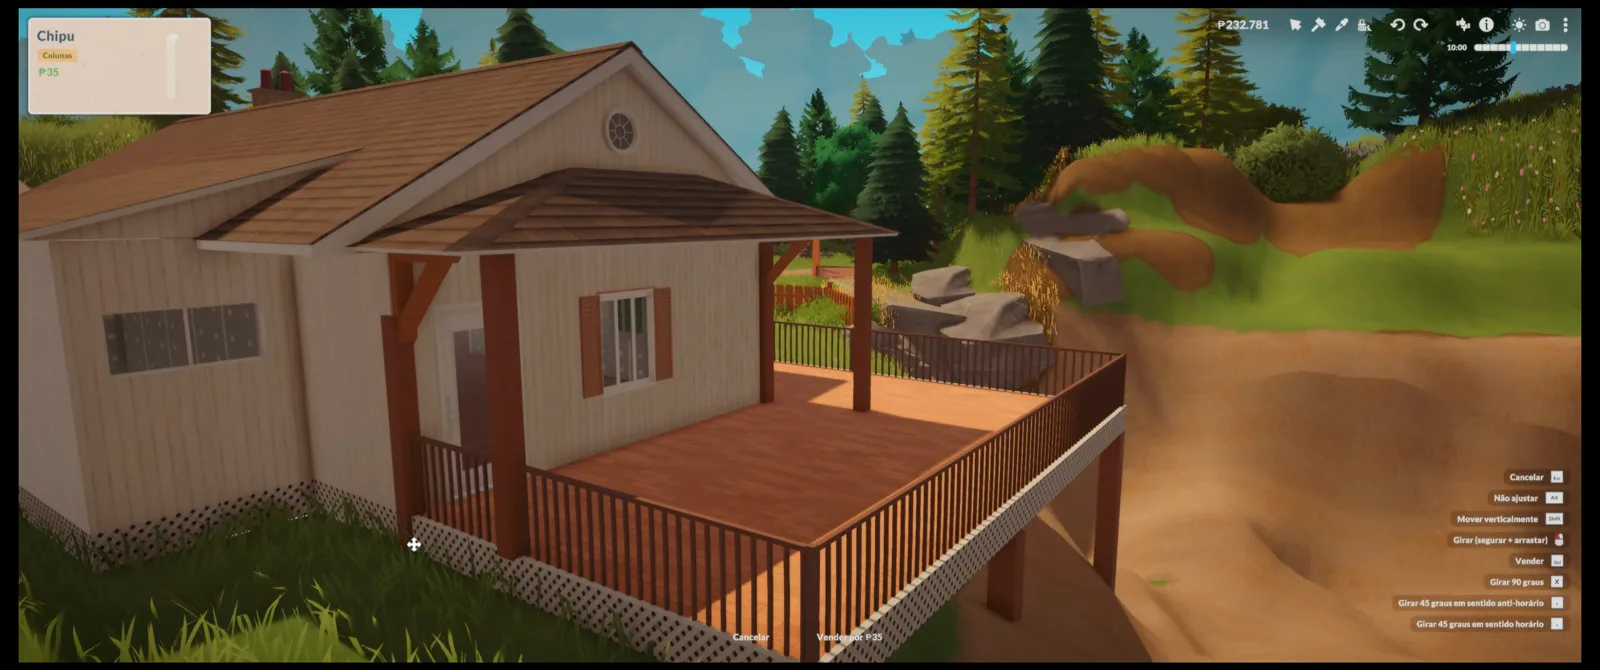
Shutters for rhythm, one green door for contrast.Watch at 23:20 - 11
Shelter the entry with a gabled porch roof
A small gabled roof extends over the front door, supported on the porch posts. It shades the entry and breaks up the long roofline.
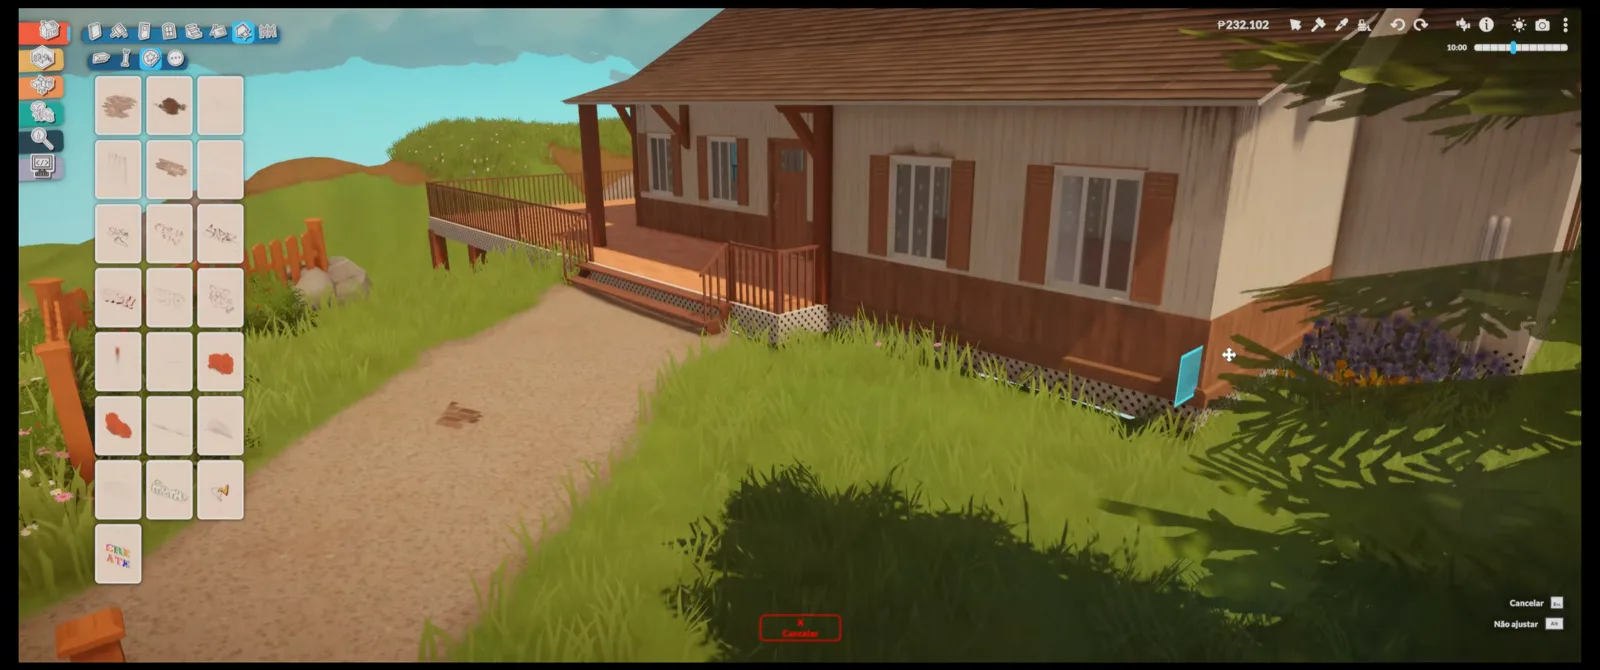
The entry gable gives the long facade a focal point.Watch at 24:40
Grounds and inside
Fences, stairs, furniture and panelling
The lot is closed out with a picket fence and dirt path, exterior stairs step down the bluff, the porch gets a dining set, and the single shown interior is warmed with wood panelling and paintings.
- 12
Fence the garden and lay a dirt path
A picket fence closes the yard from the bluff edge and a dirt path runs gate-to-porch, then wanders off toward the footbridge.
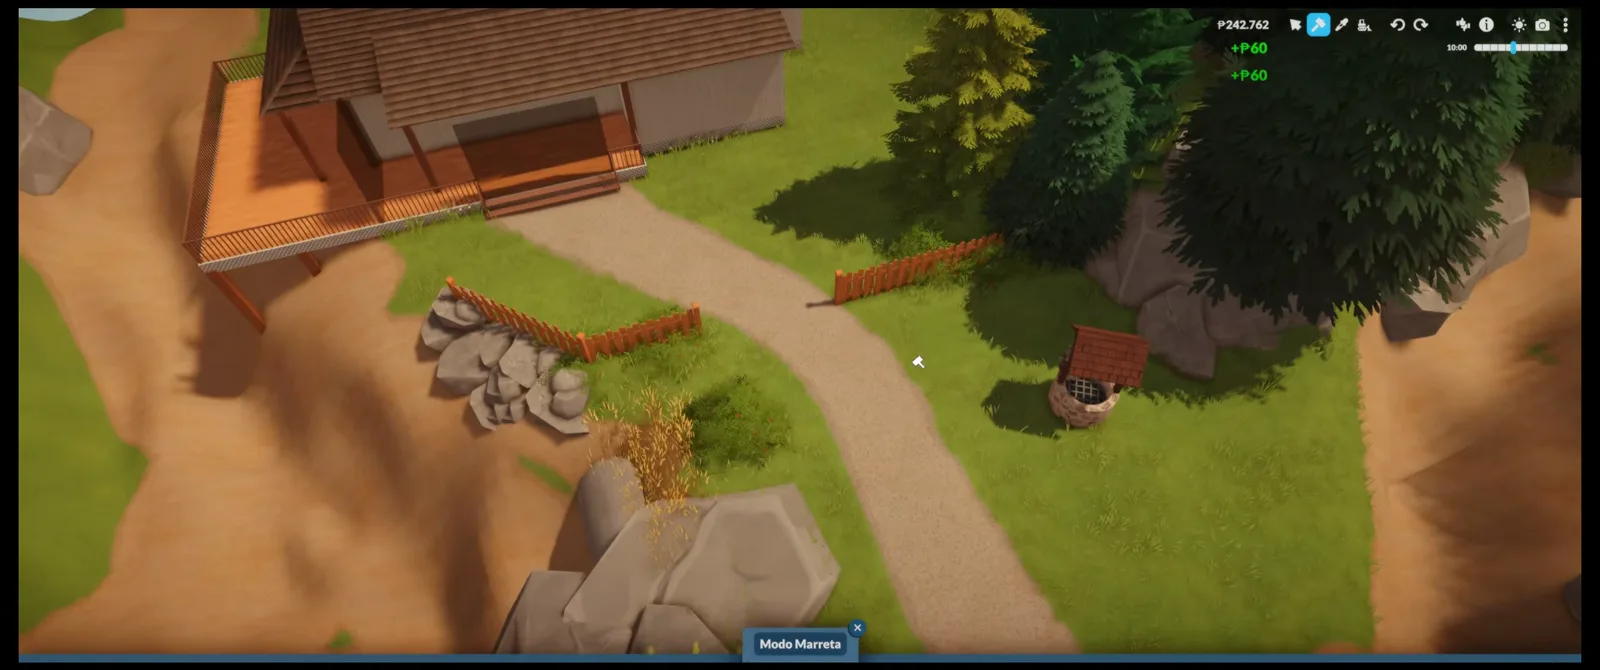
The path does the inviting; the fence does the enclosing.Watch at 19:52 - 13
Step down the bluff
Exterior stairs and a planted rock garden carry the slope from the yard toward the water — the only built connection between cabin level and the shore.
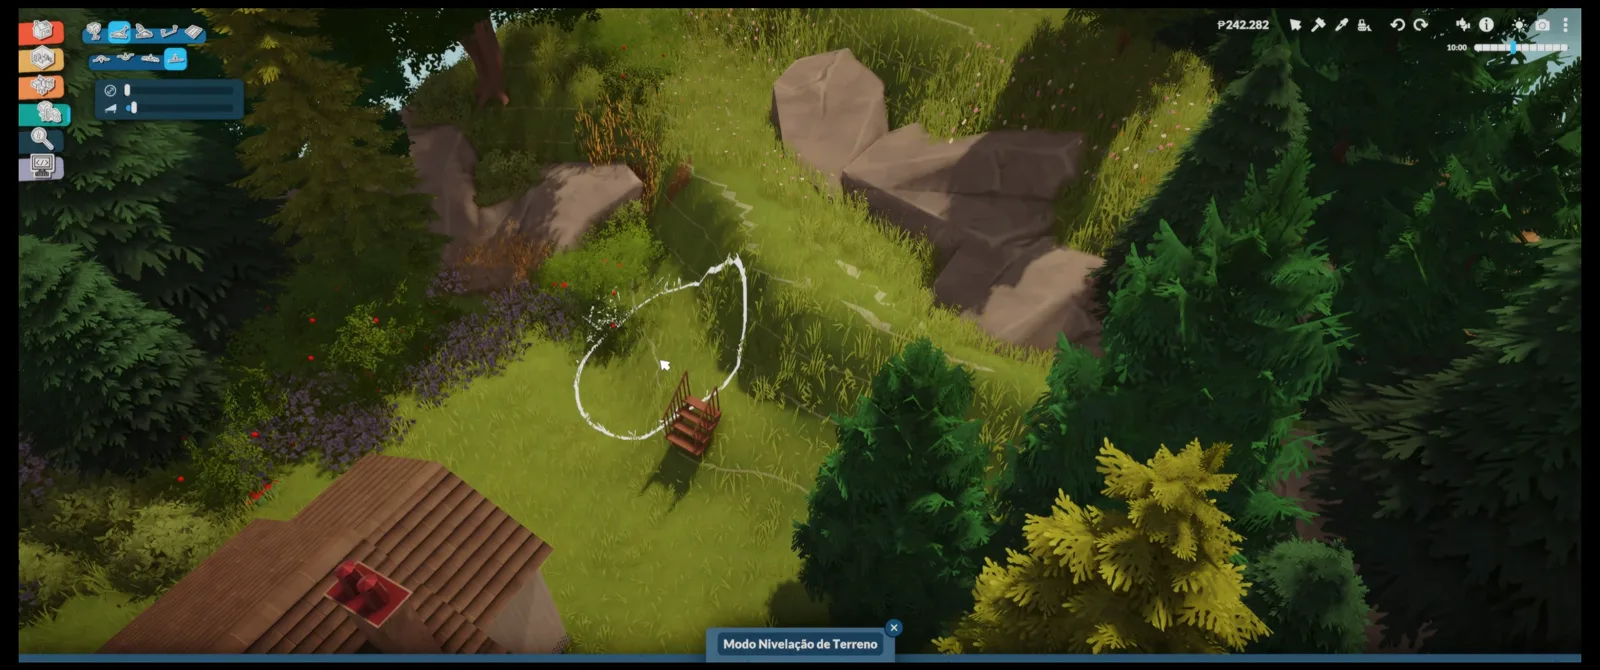
Stairs plus rocks: the engineered way down.Watch at 20:12 - 14
Furnish the porch
A dining set, potted plants and a hanging light turn the deck into the room the cabin is actually lived in — the view does the rest.
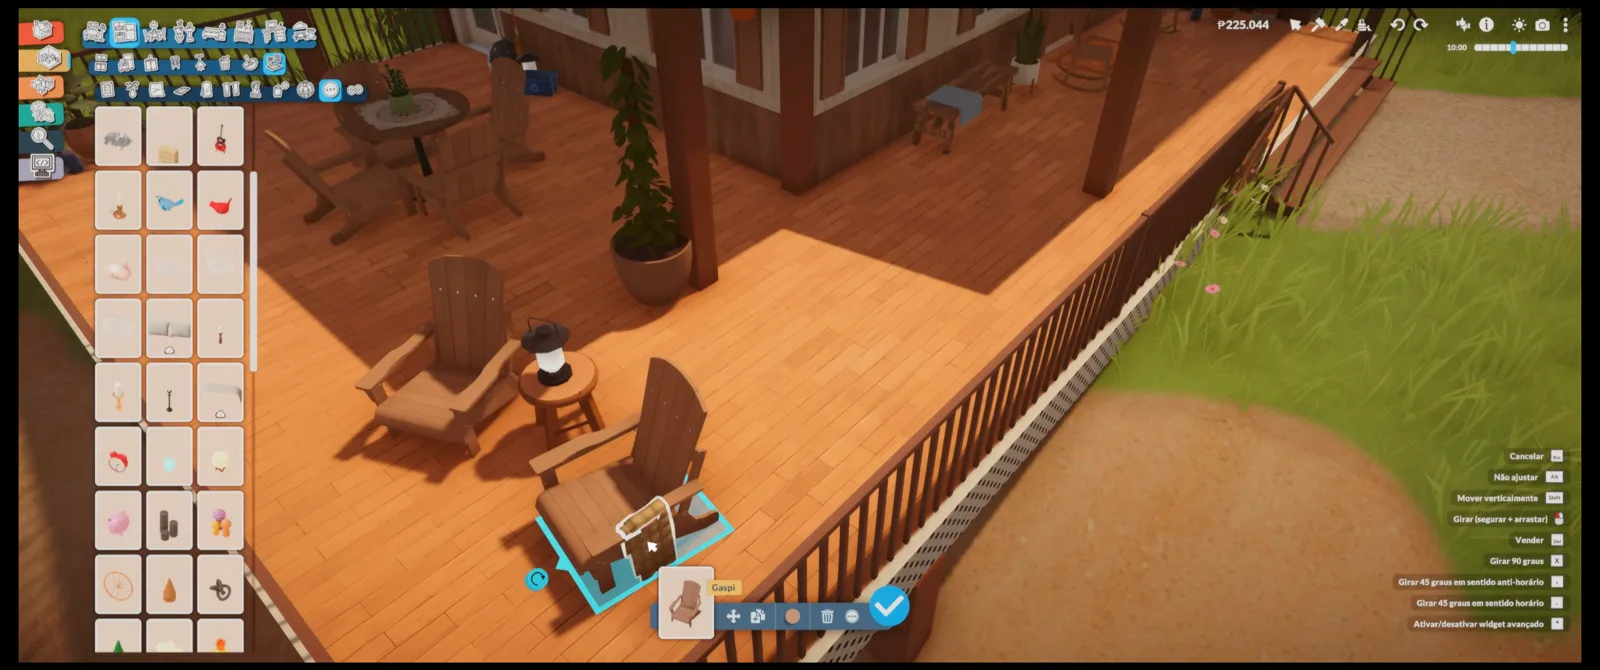
The porch is the living room; the lake is the view.Watch at 27:20 - 15
Warm the interior with panelling
Inside, wood panelling runs below the dado with paint above, and a landscape painting plus a hanging lamp finish the one room the video shows. Cozy on a small budget.
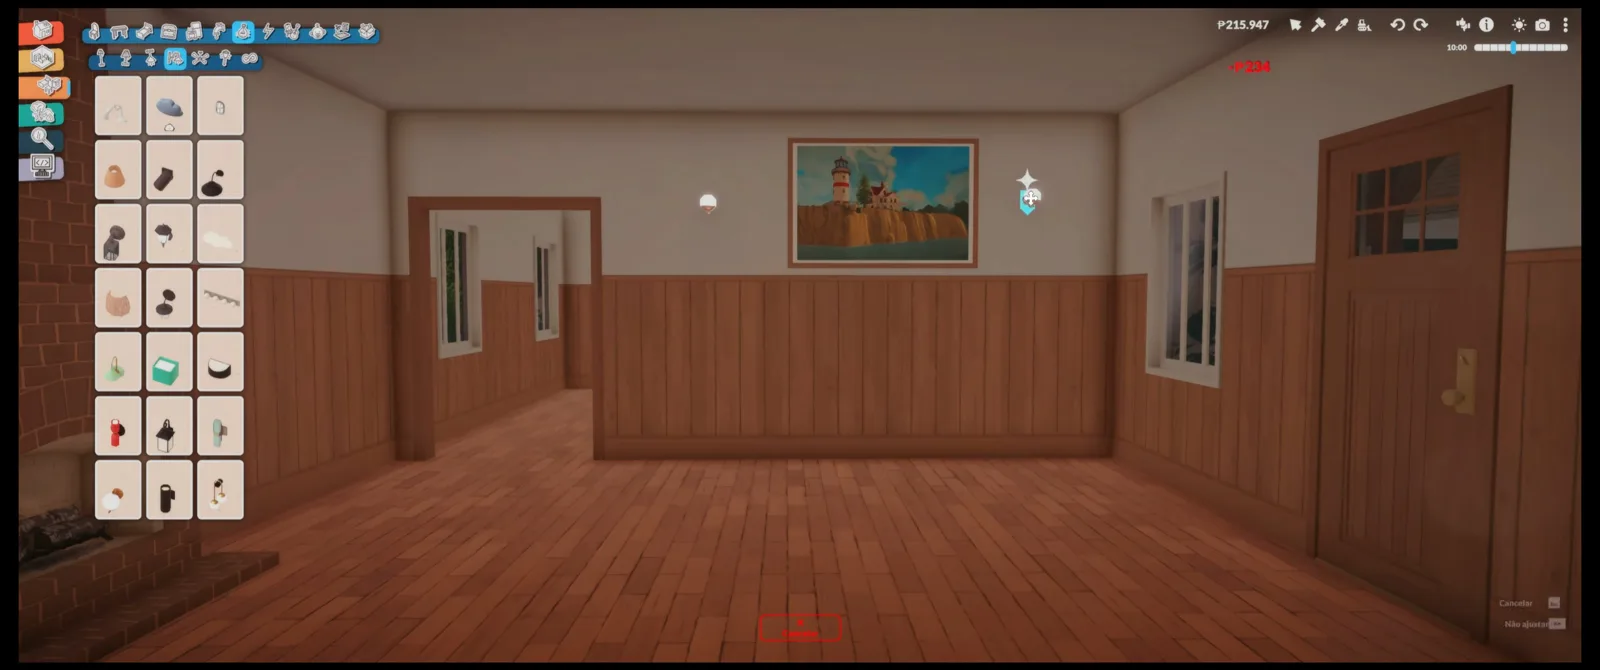
Panelling below, paint above — the cabin interior formula.Watch at 28:48
What this page leaves unverified
The video is a build-mode speedbuild: nobody ever walks through the front door in live mode, so how the porch, stairs and interior actually play is not shown.
Only one interior room appears (the wood-panelled space in step fifteen); the rest of the cabin behind the walls is never opened on camera.
The world's lot size and whether the creator used the standard empty map or an expanded one are never stated — the page describes only what the UI shows.
Lake house FAQ
- How do you make a river in Paralives?
- Use Terrain Height Lower mode in several shallow passes instead of one deep dig, then run the smoothing brush along the cut so the banks slope into the water. Paint dirt on the wet edge to finish the shoreline — the exact sequence is steps one to three above.
- Can you build a bridge over water in Paralives?
- Yes — floor pieces span the channel and fence pieces work as railings. In this build the support trusses are tilted into place with the rotation gizmo so the bridge sits naturally over the river (step five).
- Can you put a house on a slope or cliff in Paralives?
- That is what the platform foundation is for: flatten a pad with the terrain tools, then start the shell on a platform so the floor stays level across the uneven ground (steps six and seven). Exterior stairs connect the levels.
- Do you need mods for a lake house in Paralives?
- No. Everything in this build — terrain shaping, the footbridge, the platform foundation, the painted shingles, the shutters and the furniture — is base game. The video uses no mods on screen.
- Where do you build a lake house in Paralives?
- This build starts from the world editor's blank terrain, so the whole shore is drawn by hand. You can also claim a waterside lot in an existing world and terraform it the same way — the tools work the same on any lot.
paralives.build_lake_house_page.related_title
Beach house
The saltwater version: stilts, sand and a walkway to the surf.
Houseboat
Living on the water instead of beside it.
Garden pond
A small-scale shore: the pond digs and banks in miniature.
Terrain tools reference
Every raise, lower, smooth and paint control in one page.
Create a world
The blank-map editor workflow this build follows.